
GRUBBIN CROCHET PATTERN
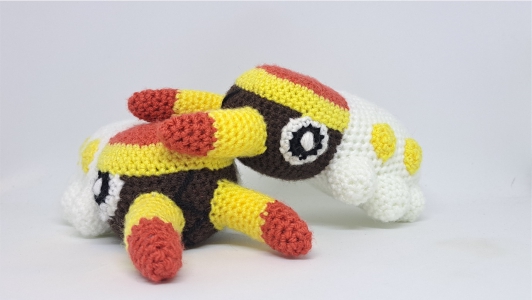
I first saw this guy while playing Pokemon Go and I loved his design so much that I decided I needed one in my life - so naturally I made two as ya do. I must admit I'm extremely happy with the size that this guy turned out, he's just such a great play size! It also fits in my bag when I'm out playing PoGo and the group that plays together in my town all love my crochet creations!
Grubbin would love to accompany someone outside while playing Pokemon Go, and may even become a lucky mascot when it comes to raids! So why not make one for yourself, or a friend or family member?
Materials:
4mm crochet hook
4mm yarn in dark brown, yellow, orange, black and white.
Toy stuffing
Tapestry / Embroidery needle
Abbreviations:
SC – Single Crochet
INC – Increase
DEC – Decrease
** - Repeat around
Pattern:
Head - Dark Brown
Magic Ring 8 (8)
1 Inc around (16)
2 *Sc, inc* (24)
3 *2 sc, inc* (32)
4 *3 sc, inc* (40)
5 *4 sc, inc* (48)
6-14 Sc around (48)
15 *4 sc, dec* (40)
16 *3 sc, dec* (32)
17 *2 sc, dec* (24)
18 *sc, dec* (16)
19 Dec around (8)
- Stuff and finish off with an Ultimate Finish
Head Cap - Orange
Magic Ring 8 (8)
1 Inc around (16)
2 *sc, inc* (24)
3 *2 sc, inc* (32)
4 *3 sc, inc* (40)
5 *4 sc, inc* (48)
- Change to Yellow -
6 – 9 Sc around (48)
- Finish off, leave a long tail for sewing
Tusks (x2) - Orange
Magic Ring 6 (6)
1 *sc, inc* (9)
2 Sc around (9)
3 *2 sc, inc* (12)
4 - 5 Sc around (12)
- Change to Yellow -
6 *3 sc, inc* (15)
7-13 Sc around (15)
- Finish off, stuff, turn inside out and leave a tail for sewing
Body - White
Magic Ring 8 (8)
1 Inc around (16)
2 Sc around (16)
3 *sc, inc* (24)
4 – 5 Sc around (24)
6 *2 sc, inc* (32)
7 – 9 Sc around (32)
10 *3 sc, inc* (40)
11-20 Sc around (40)
- Finish off, stuff and leave a long tail for sewing
Legs (x6) - White
Magic Ring 8 (8)
1 Inc around (16)
2 – 4 Sc around (16)
- Finish off, turn inside out, stuff and leave a tail for sewing
Body Spots (x4) - Yellow
Magic Ring 6 (6)
1 Inc around (12)
- Finish off, leave a long tail for sewing
OPTIONAL: You can make these out of felt and glue or even needle felt them.
Eyes (x2) - Black
Magic Ring 6 (6)
1 Inc around (12)
- Change to White -
2 *sc, inc* (18)
- Finish off, leave a tail for sewing
Assembly:
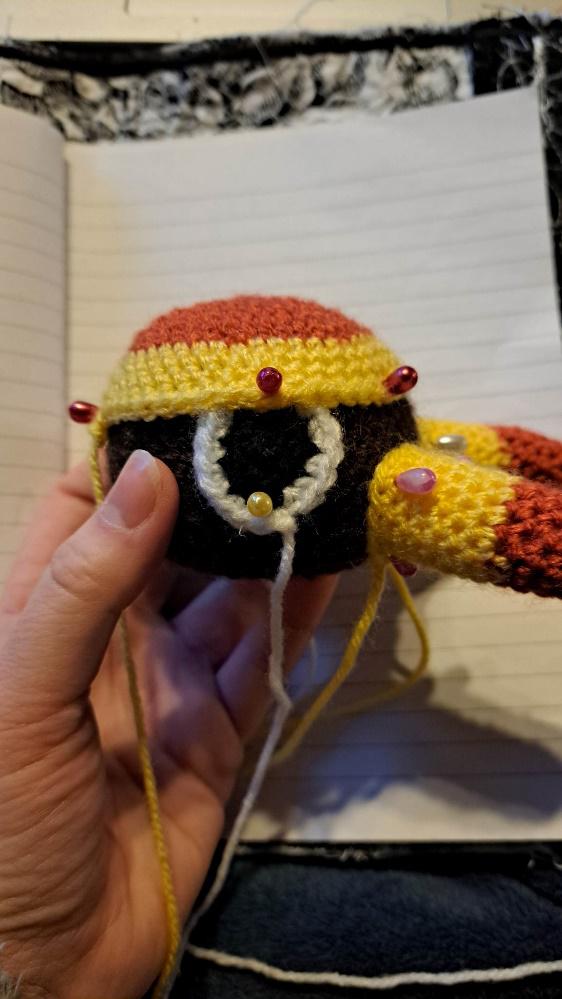
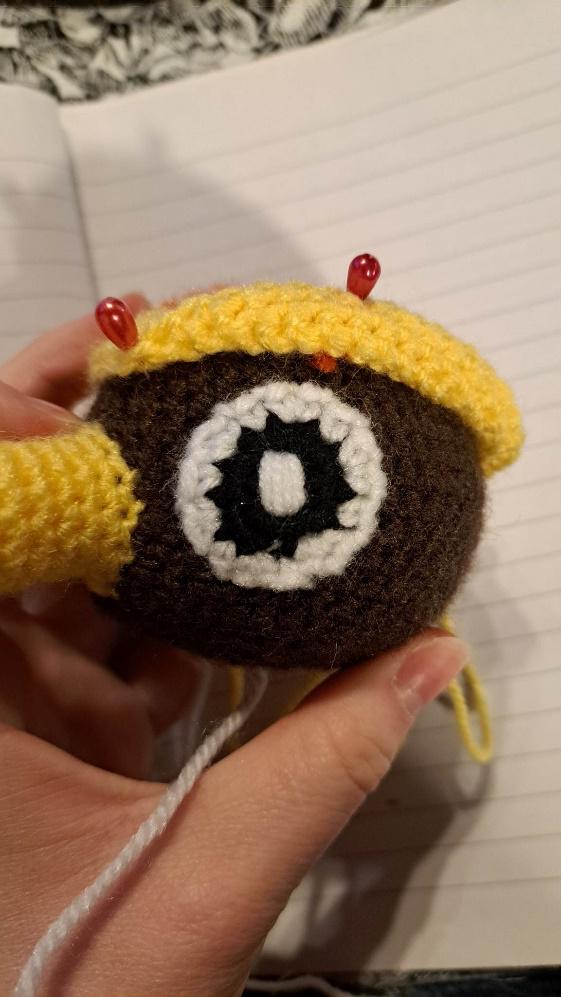
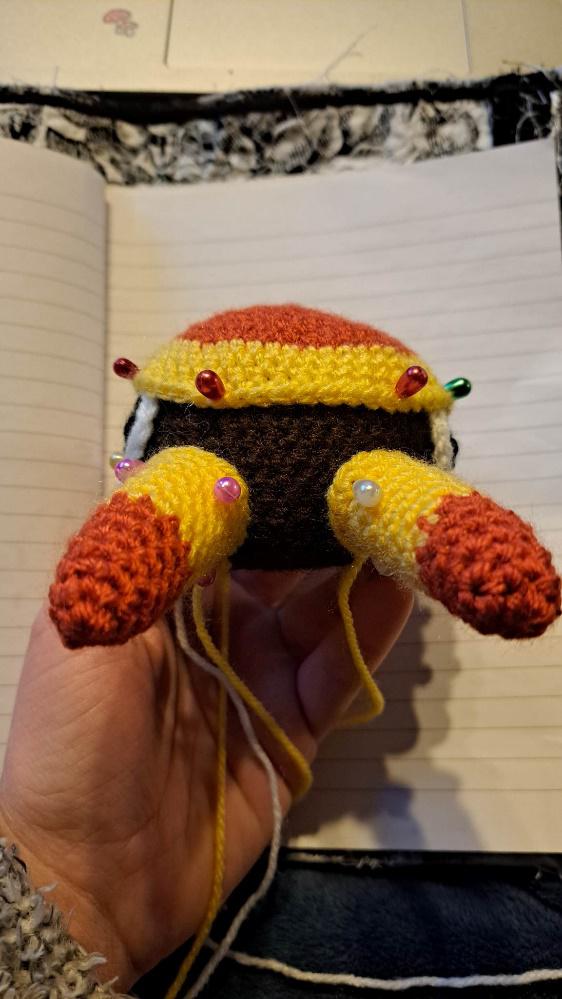
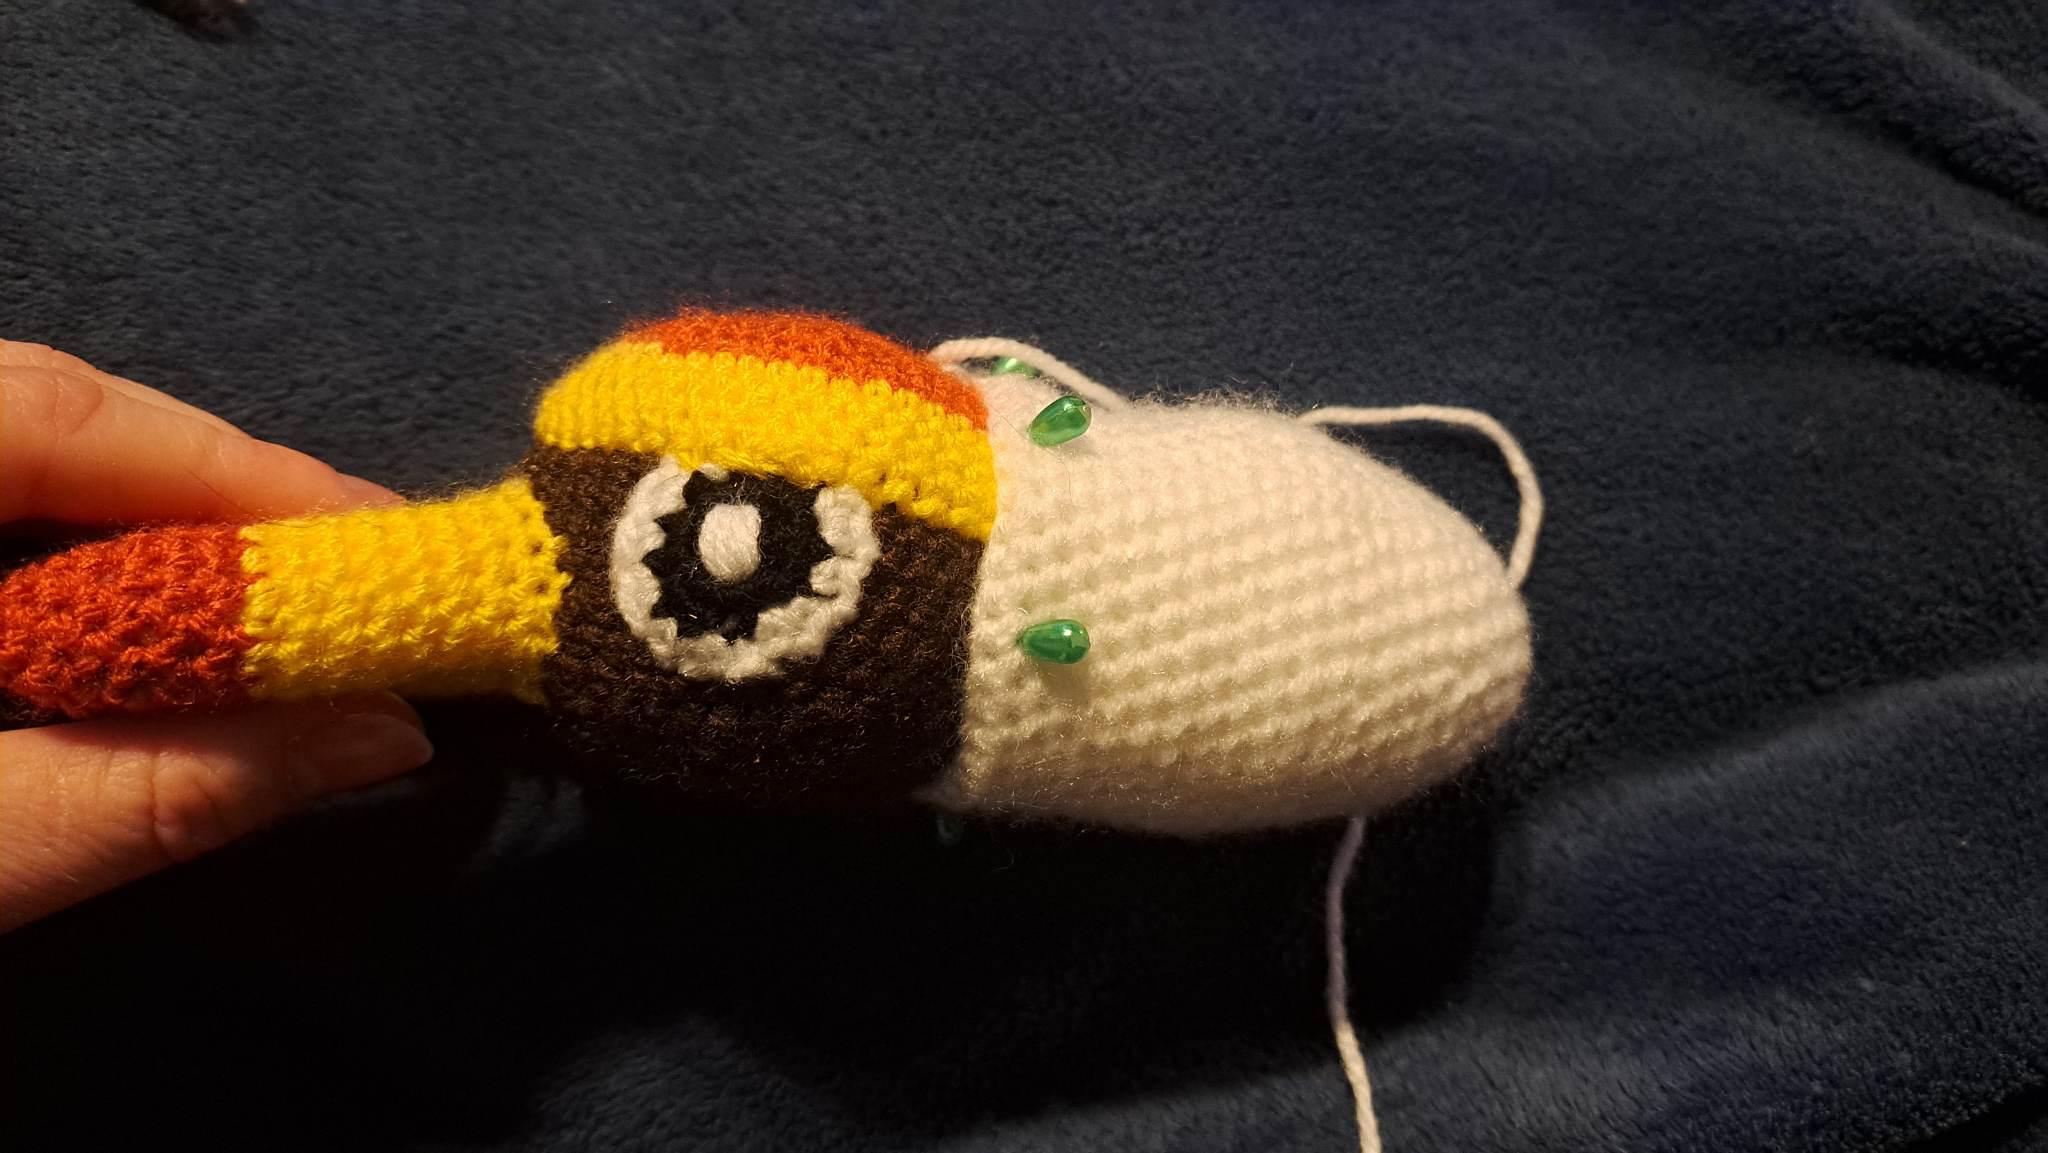
Start with the head. Pin everything in place before you sew so you can get a good idea of how everything should look – make sure that the head cap slightly overlaps the tops of the eyes (sew the eyes on first). When the eyes are sewn on, take up some white yarn and embroider a thick line down to form the white pupil. I did 4 strands of yarn for the thickness shown in the photo. Make sure that the Tusks are in line. When you’re happy with your placements of everything else, neatly sew it all in place. Please see pictures below for placement referencing.
In the middle photo I had pinned the Head Cap up onto itself while I embroidered the pupil in the eye.
Next, when the head has been assembled, take up the body and pin it to the head, making sure that you’ve got a few stitches between the body line and the eyes.
When you’re happy with the placement, neatly sew it on.
Next, move onto the legs. Take them all up and pin them to the body making sure that Grubbin can still lie flat, and make sure that they’re all in line too.
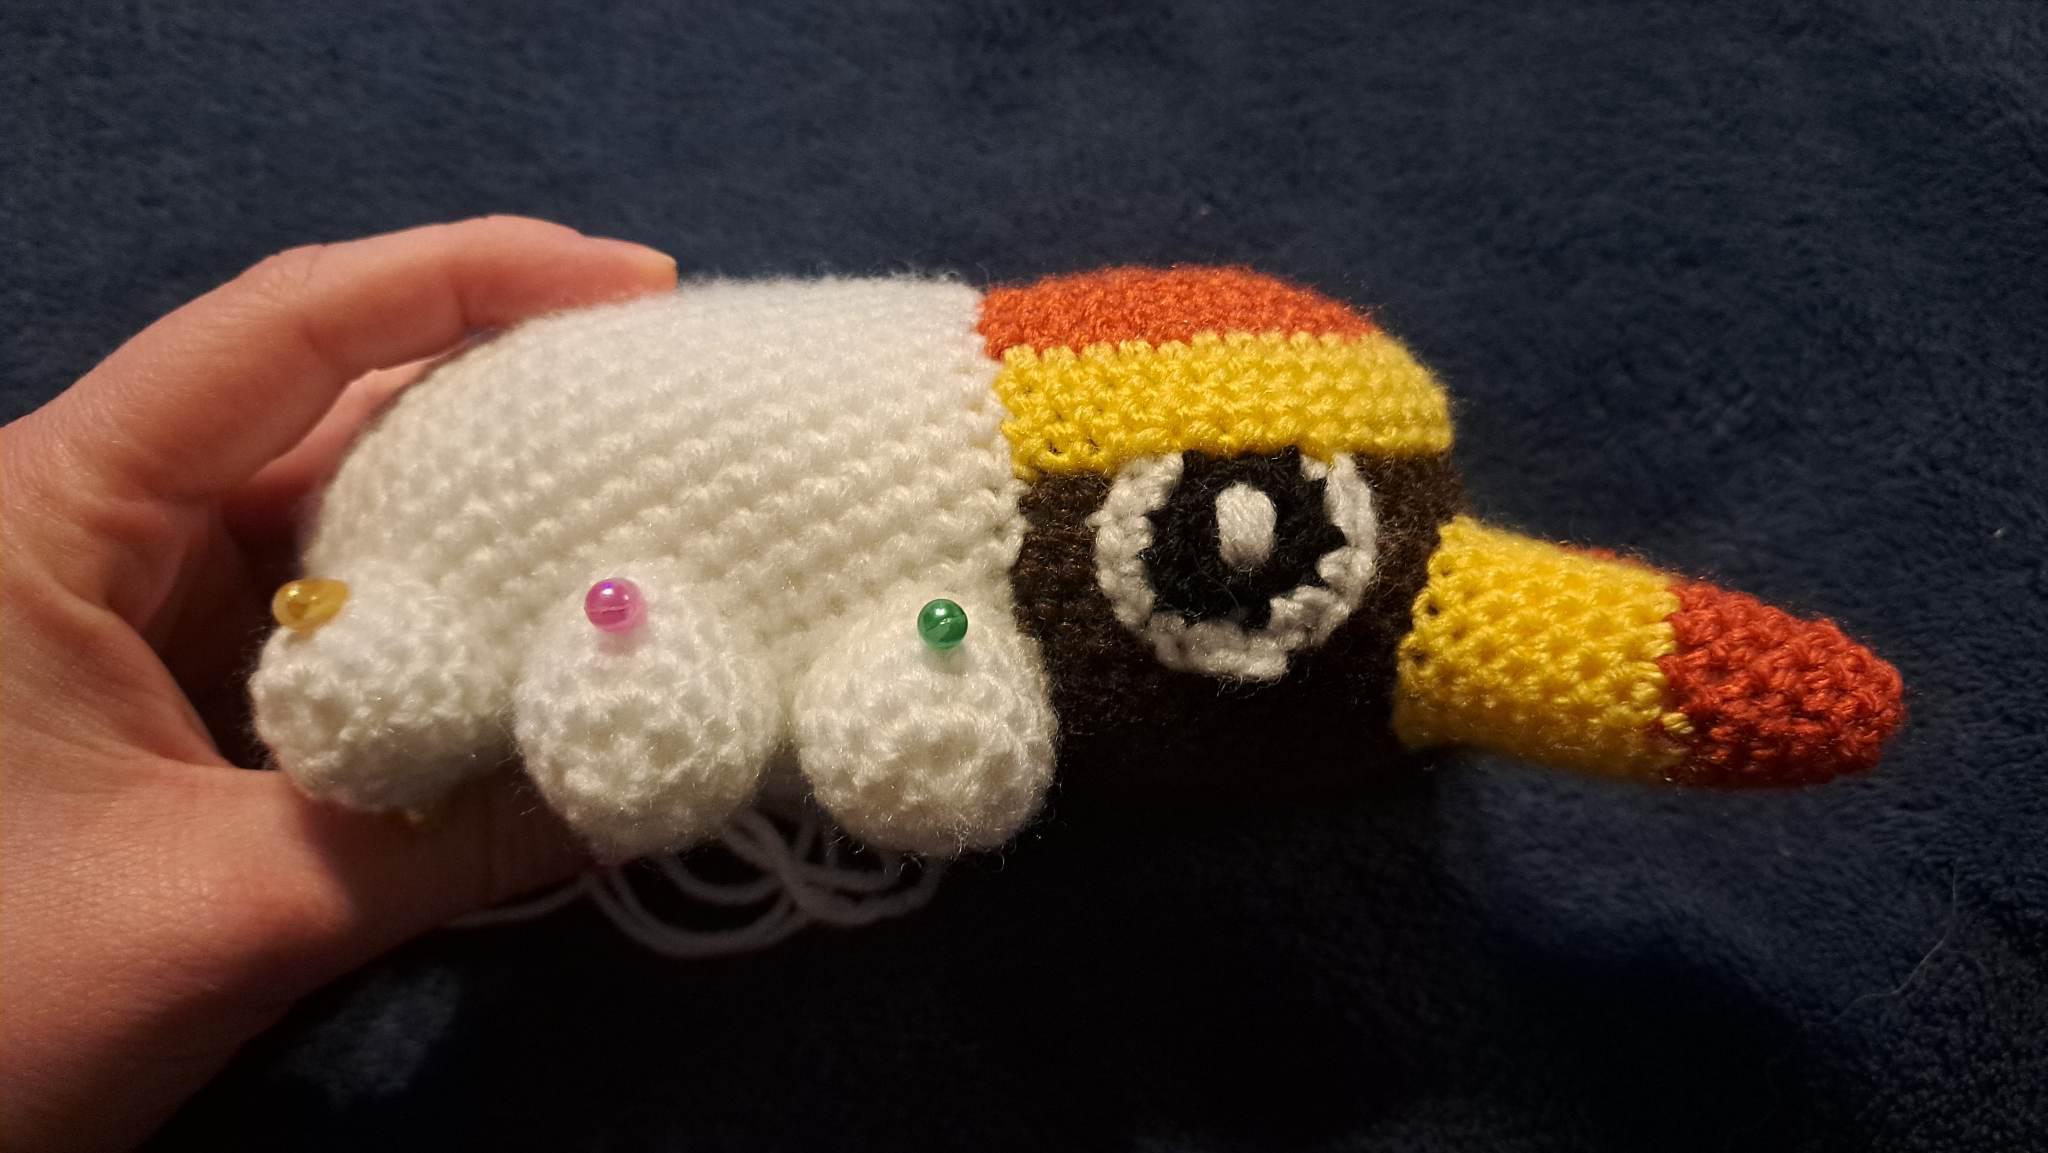
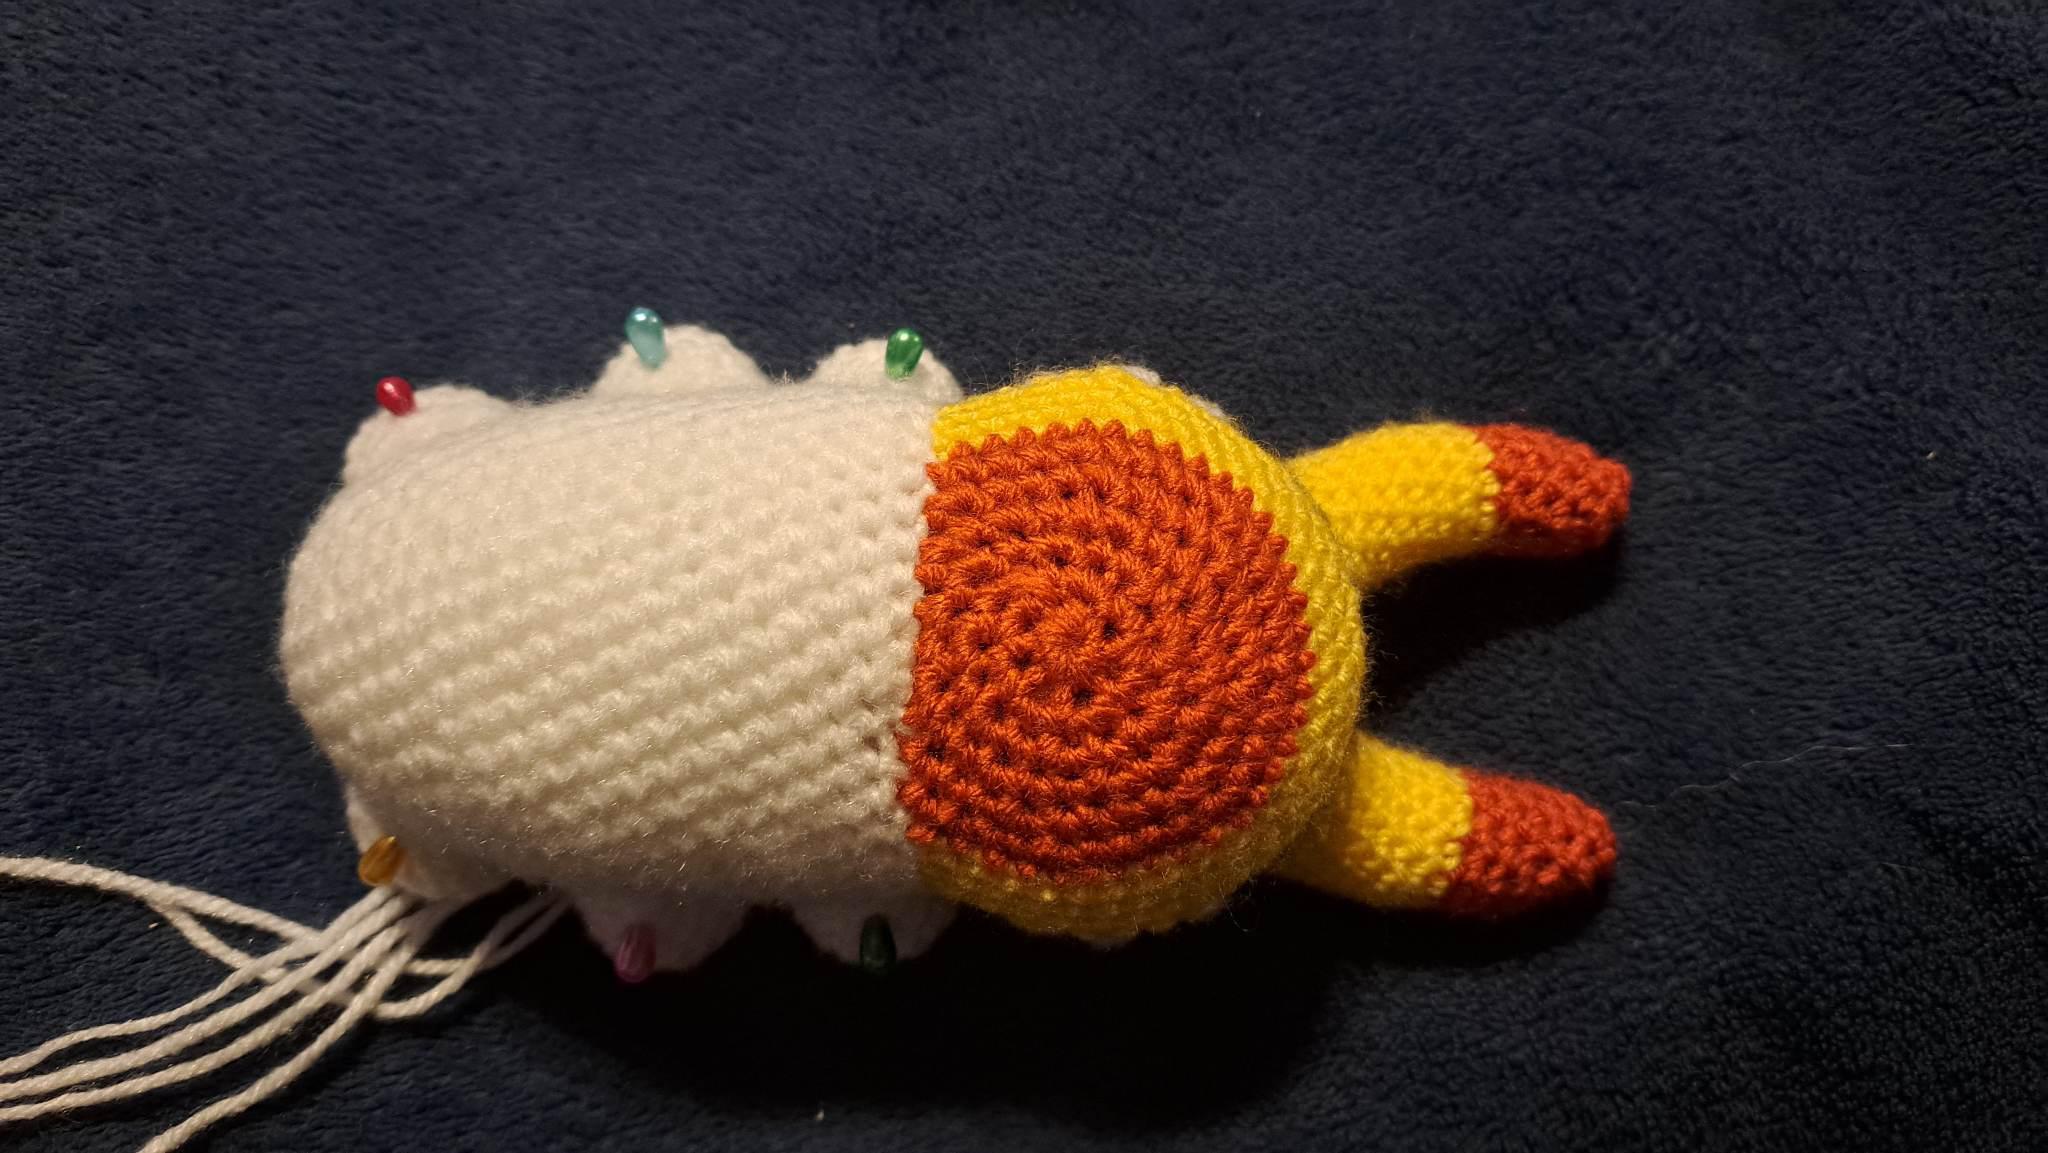
Sew them neatly in place.
Almost there!
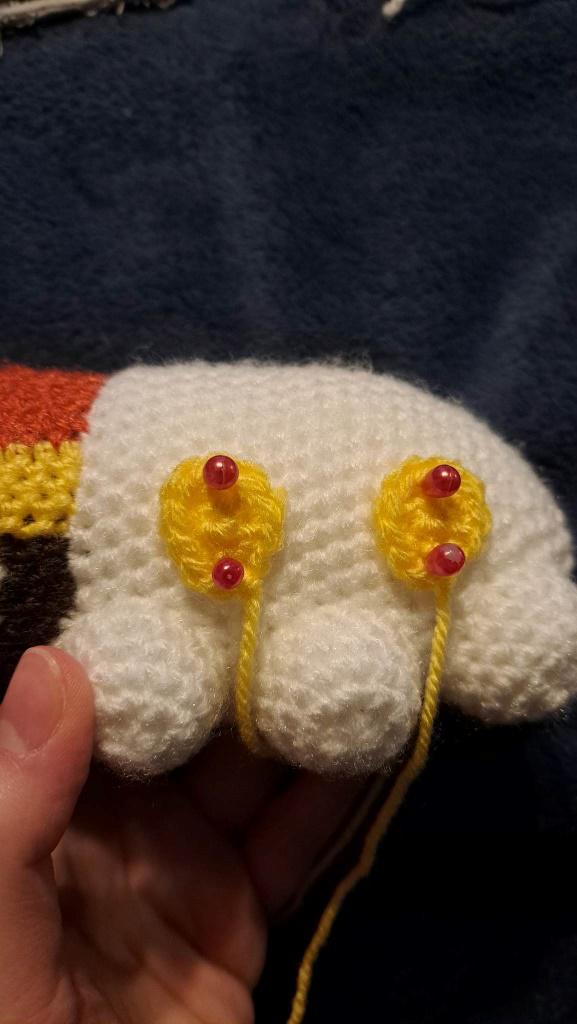
Take up the body spots and pin them so there’s two on each side, just between the gaps of the legs. When you’re happy with the placement, sew them on. See picture for reference.
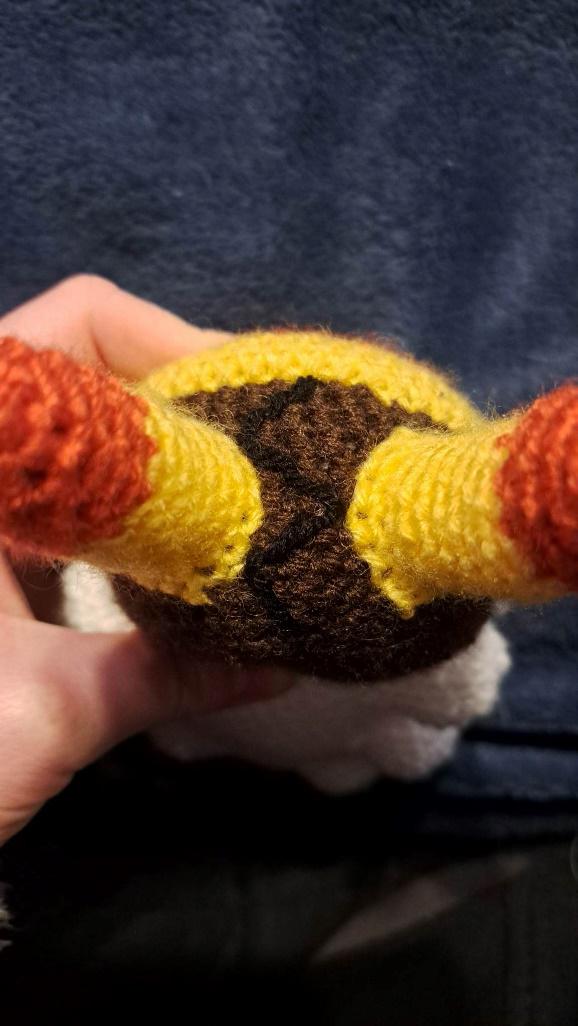
Finally for the facial details! Take up your black yarn and an embroidery needle and work the mouth onto the head between the tusks. It’s got a zigzag shaped mouth, make is as pointed / exaggerated as you’d like.
That’s it! You’re done! Enjoy your new adorable little Grubbin!
STEP BY STEP TUTORIAL
If you have any questions about this pattern, feel free to contact me.
This pattern is property of BlueFoxPaws. Please do not claim or resell this pattern as your own. You can sell the finished product as long as credit is given -BlueFoxPaws-.
Leave a Reply