
GREAT GIRROS FROM MONSTER HUNTER CROCHET PATTERN
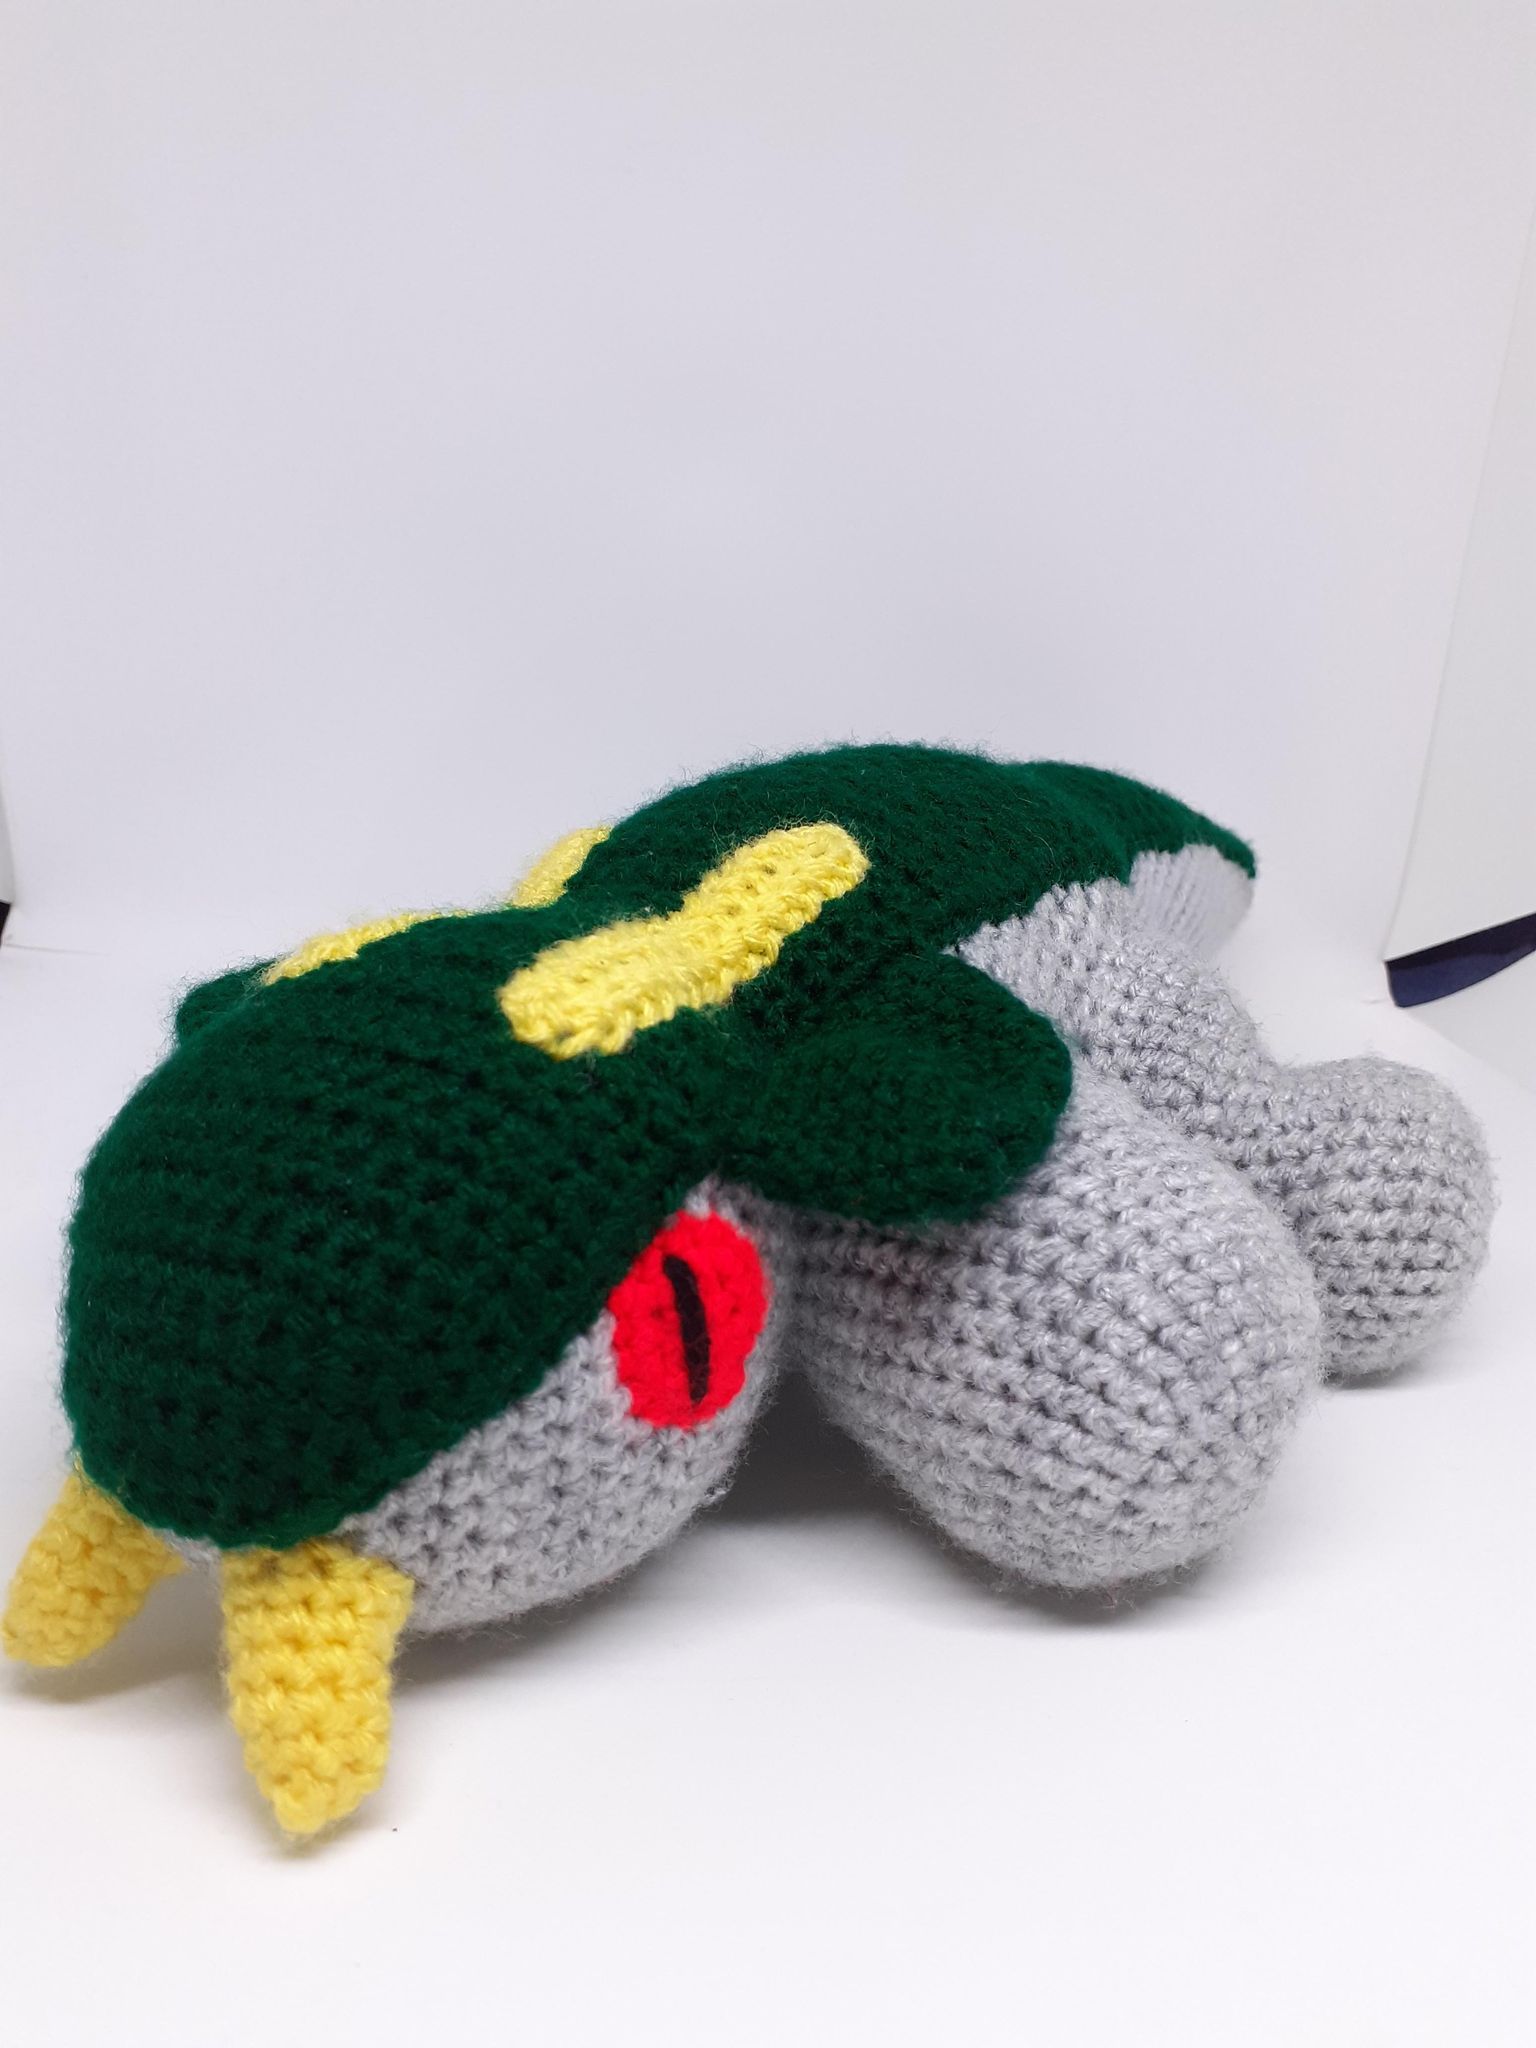
The Great Girros! I must admit I've got a soft spot for this critter in my heart, I just really like the sleek design of it, as soon as I saw my first ever Great Girros I fell in love and I knew I needed to have one in my life... so naturally I crocheted one.
I love it when they go BLAH.
Straight from the amazing Monster Hunter franchise, this Great Girros works up quite quickly considering the size it comes out at, and only basic stitches are used too which is always a bonus!
Let's get stuck in, don't forget to keep some antidotes handy in case of any bites while you're working on your Great Girros...
Materials
4mm crochet hook
4mm yarn in light grey, dark green, yellow, red and black.
Toy stuffing
Tapestry / Embroidery needle
Abbreviations
SC – Single Crochet
INC – Increase
DEC – Decrease
** - Repeat around
Pattern
Head - Light Grey
Magic Ring 8 (8)
1 Inc around (16)
2 Sc around (16)
3 *sc, inc* (24)
4 Sc around (24)
5 *2 sc, inc* (32)
6 Sc around (32)
7 *3 sc, inc* (40)
8 *4 sc, inc* (48)
9 – 18 Sc around (48)
19 *4 sc, dec* (40)
20 *3 sc, dec* (32)
21 *2 sc, dec* (24)
22 *sc, dec* (16)
- Finish off, stuff, leave a long tail for sewing
Body - Light Grey
Magic Ring 8 (8)
1 Inc around (16)
2 *sc, inc* (24)
3 *2 sc, inc* (32)
4 *3 sc, inc* (40)
5 *4 sc, inc* (48)
6 – 28 Sc around (48)
I recommend a stitch marker in every 5th round to help keep count.
29 *4 sc, dec* (40)
30 Sc around (40)
31 *3 sc, dec* (32)
32 Sc around (32)
33 *2 sc, dec* (24)
34 Sc around (24)
35 *sc, dec* (16)
- Finish off, stuff, leave a long tail for sewing
Front Legs (x2) - Light Grey
Magic Ring 8 (8)
1 Inc around (16)
2 *sc, inc* (24)
3 *2 sc, inc* (32)
4 – 16 Sc around (32)
- Finish off, stuff and leave a long tail for sewing
Back Legs (x2) - Light Grey
Magic Ring 8 (8)
1 Inc around (16)
2 *sc, inc* (24)
3 *2 sc, inc* (32)
4 – 7 Sc around (32)
8 *2 sc, dec* (24)
9 – 12 Sc around (24)
13 *2 sc, inc* (32)
14 Sc around (32)
15 *3 sc, inc* (40)
16 – 19 Sc around (40)
- Finish off, stuff and leave a long tail for sewing.
Tail - Light Grey
Magic Ring 8 (8)
1 *sc, inc* (12)
2 – 3 Sc around (12)
4 *2 sc, inc* (16)
5 – 6 Sc around (16)
7 *3 sc, inc* (20)
8 – 9 Sc around (20)
10 *4 sc, inc* (24)
11 – 12 Sc around (24)
13 *5 sc, inc* (28)
14 – 15 Sc around (28)
16 *6 sc, inc* (32)
17 – 20 Sc around (32)
21 *7 sc, inc* (36)
22 – 33 Sc around (36)
34 *8 sc, inc* (40)
35 – 38 Sc around (40)
- Finish off, stuff, leave a long tail for sewing
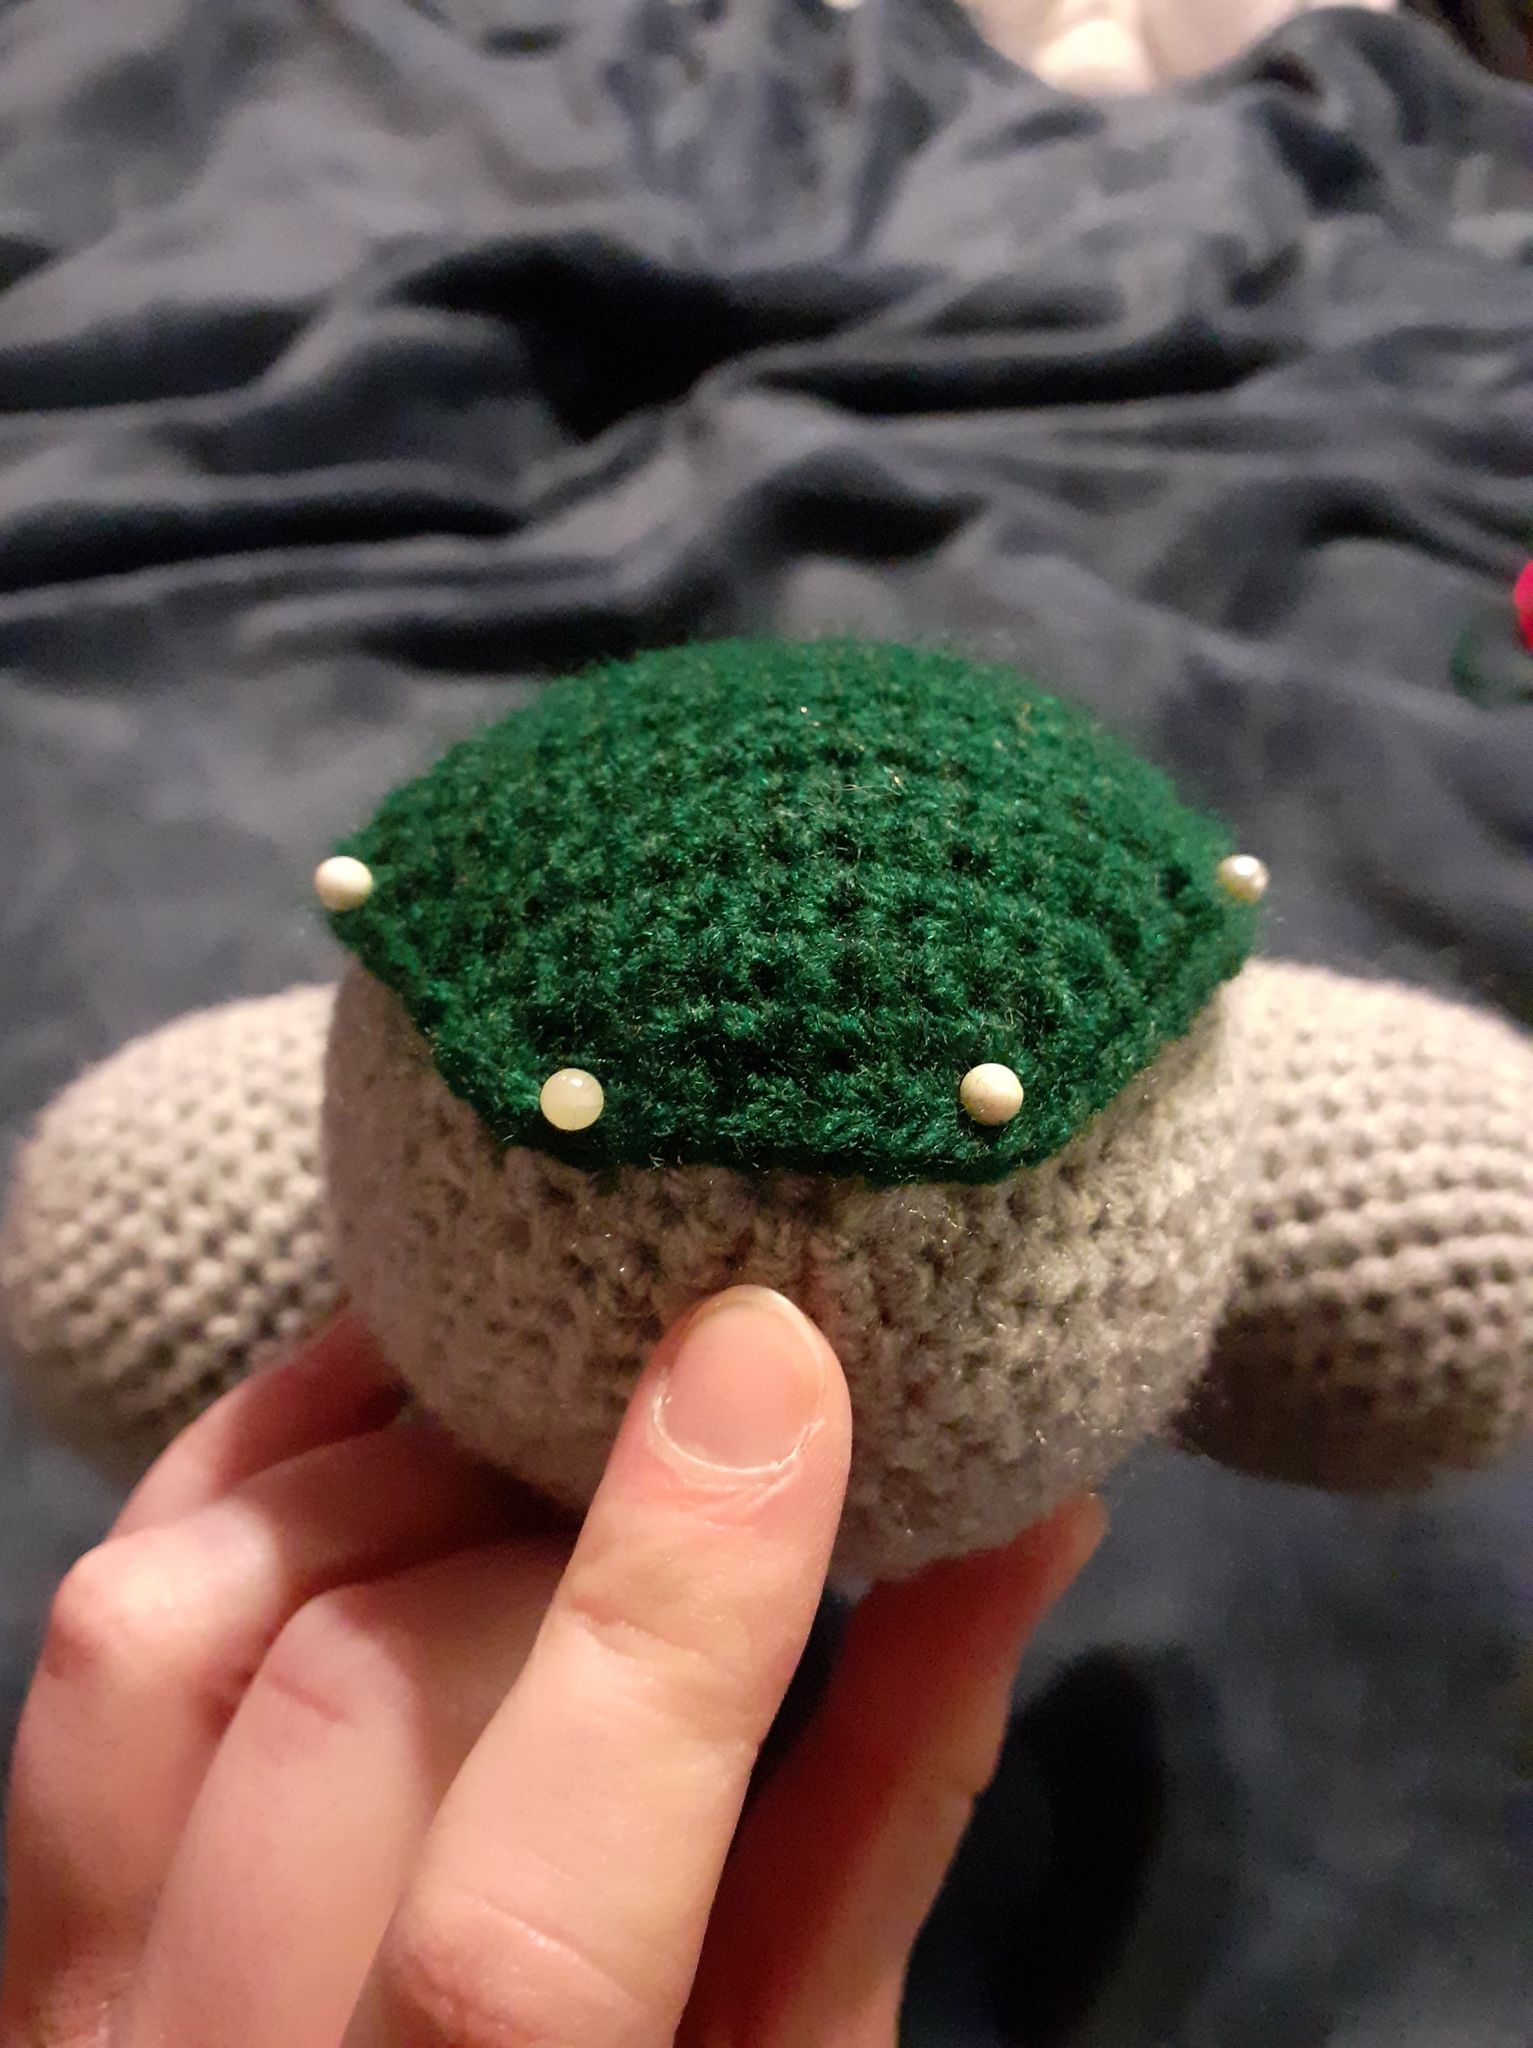
Back Plate - Dark Green
This piece is worked in the flat. Don’t forget to CHAIN ONE TURN at the end of each row, including foundation row.
Chain 7, inc in the 2nd loop from the hook, 4 sc, inc (8)
1 inc, 6 sc, inc (10)
2 inc, 8 sc, inc (12)
3 Sc across (12)
4 inc, 10 sc, inc (14)
5 Sc across (14)
6 inc, 12 sc, inc (16)
7 – 50 Sc across (16)
I recommend leaving a stitch marker in every 5th row to keep count.
51 dec, 12 sc, dec (14)
52 dec, 10 sc, dec (12)
53 – 61 Sc across (12)
62 dec, 8 sc, dec (10)
63 – 66 Sc across (10)
67 dec, 6 sc, dec (8)
68 – 70 Sc across (8)
71 dec, 4 sc, dec (6)
72 – 76 Sc across (6)
77 dec, 2 sc, dec (4)
78 – 82 Sc across (4)
83 dec, dec (2)
84 dec (1)
Insert a stitch marker, SC around the entire outside of this piece to create a neat border (OPTIONAL, I did this for my Great Girros.)
Finish off, leave a very long tail for sewing.

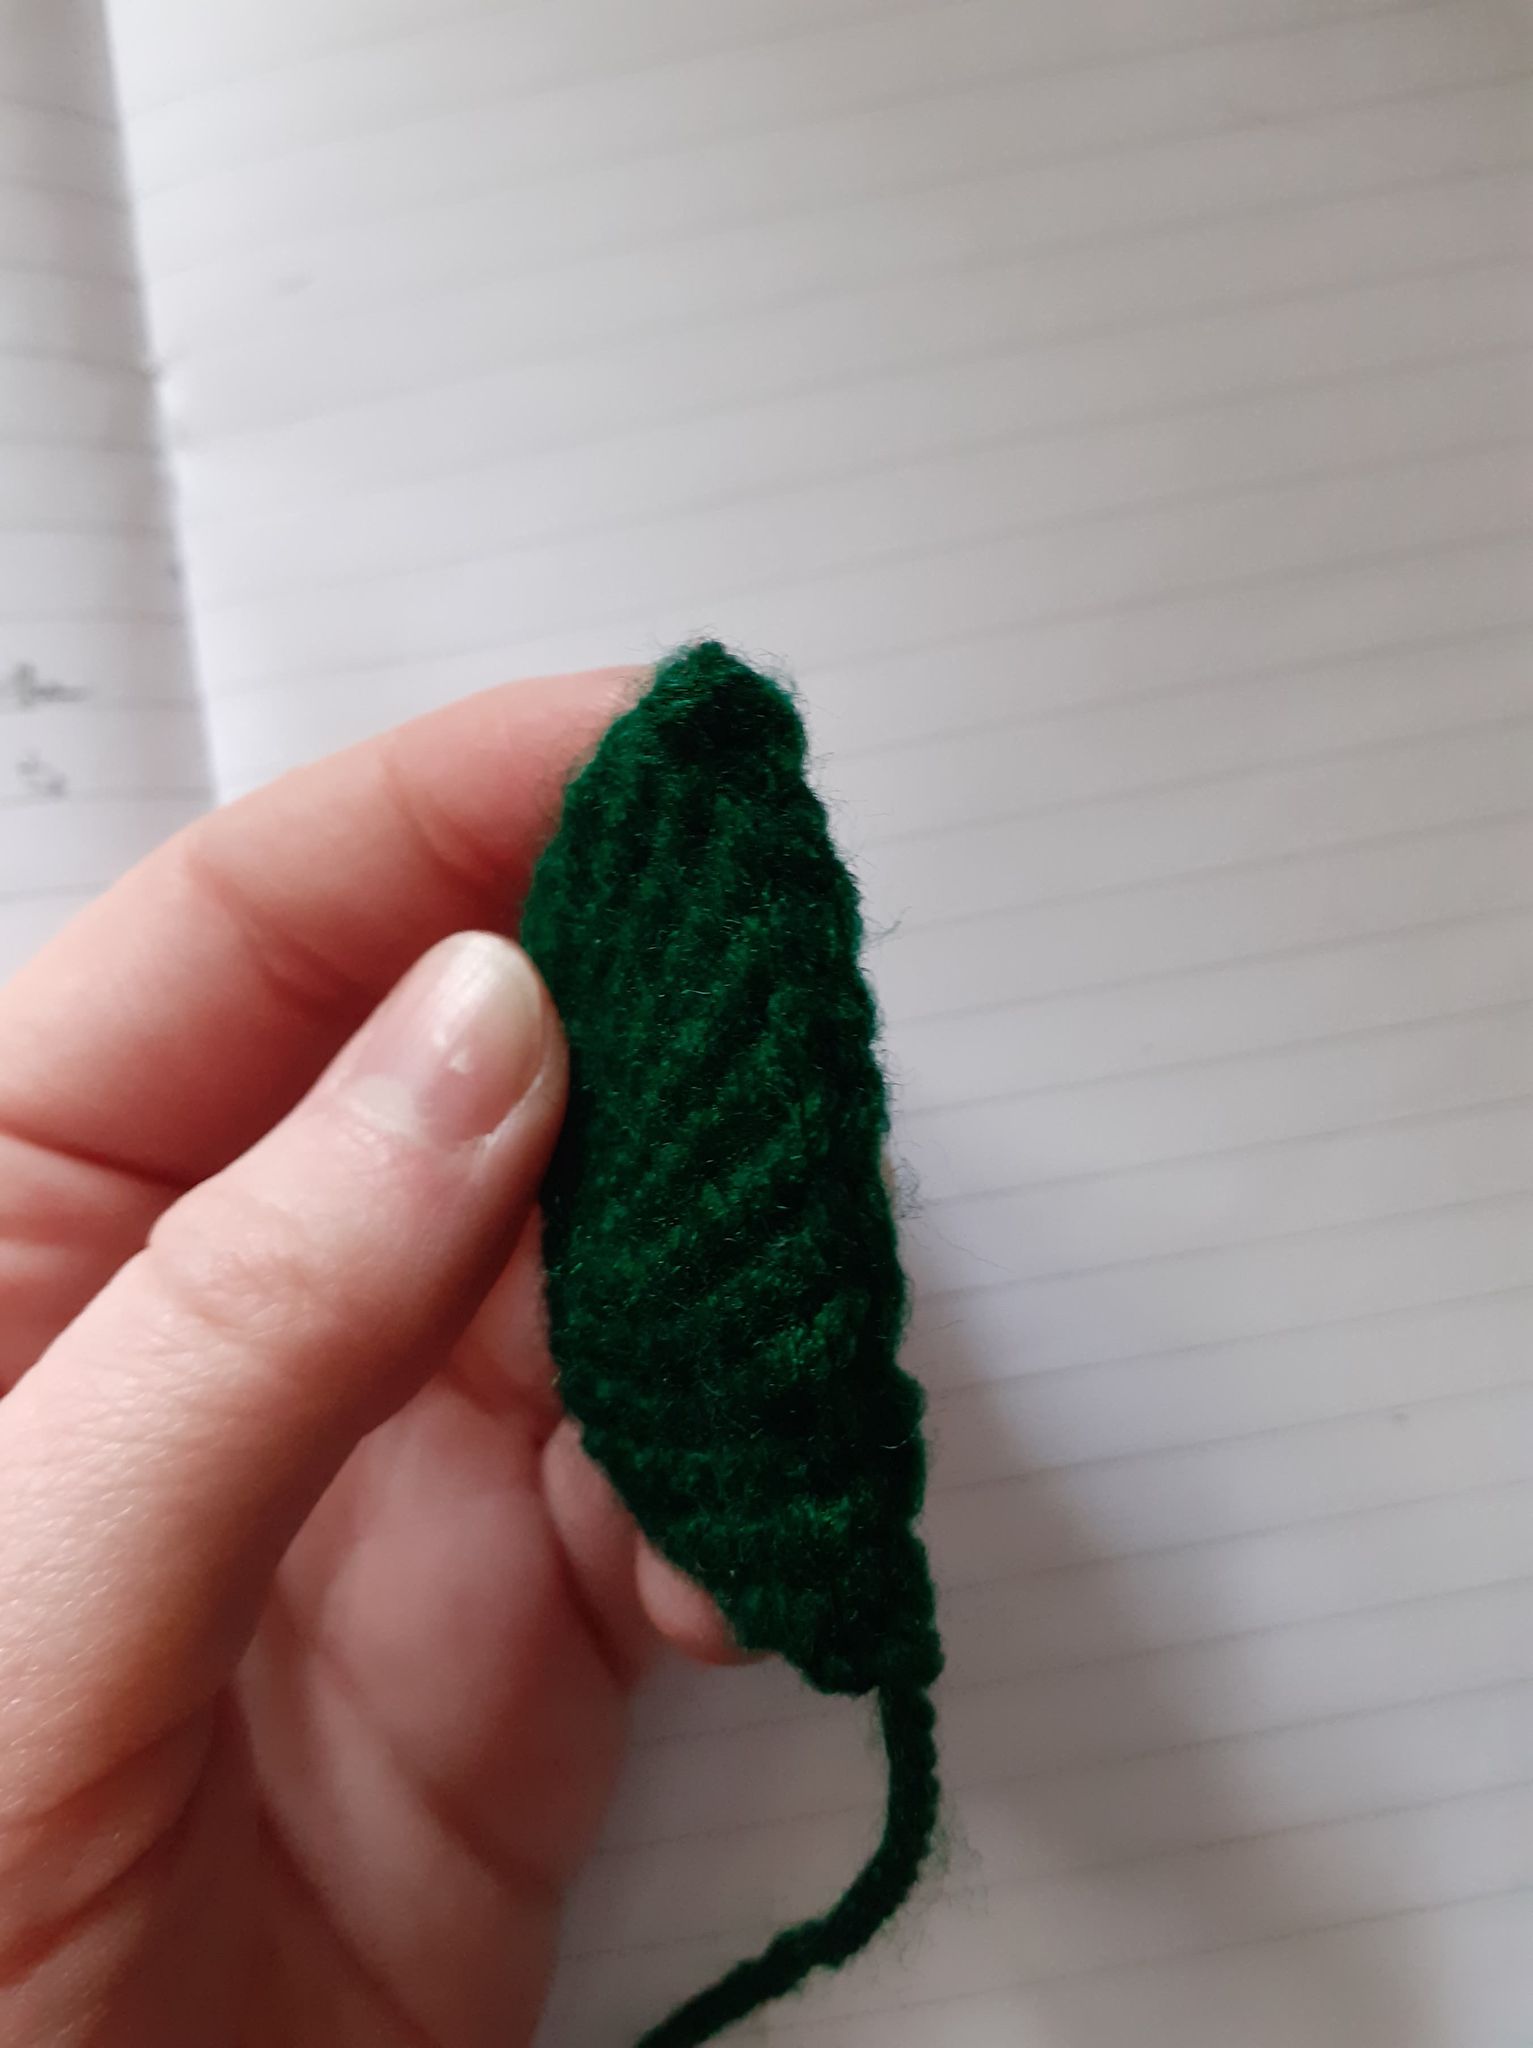
Hood (x2) - Dark Green
Magic
Ring 8 (8)
1 Inc around (16)
2 *sc, inc* (24)
3
– 8 Sc around (24)
- Finish off, leave a long tail for sewing.
Pinch this piece flat, take up the tail and Running Stitch these pieces
closed. Keep long tail for sewing them onto the body.
Chain
15, sc in the 2nd loop from the hook, 12 sc, inc in last st.
Working
on the other side of the chain – 13 sc, inc in last st. Slip Stitch to join.
- Finish off, leave a long tail for sewing.
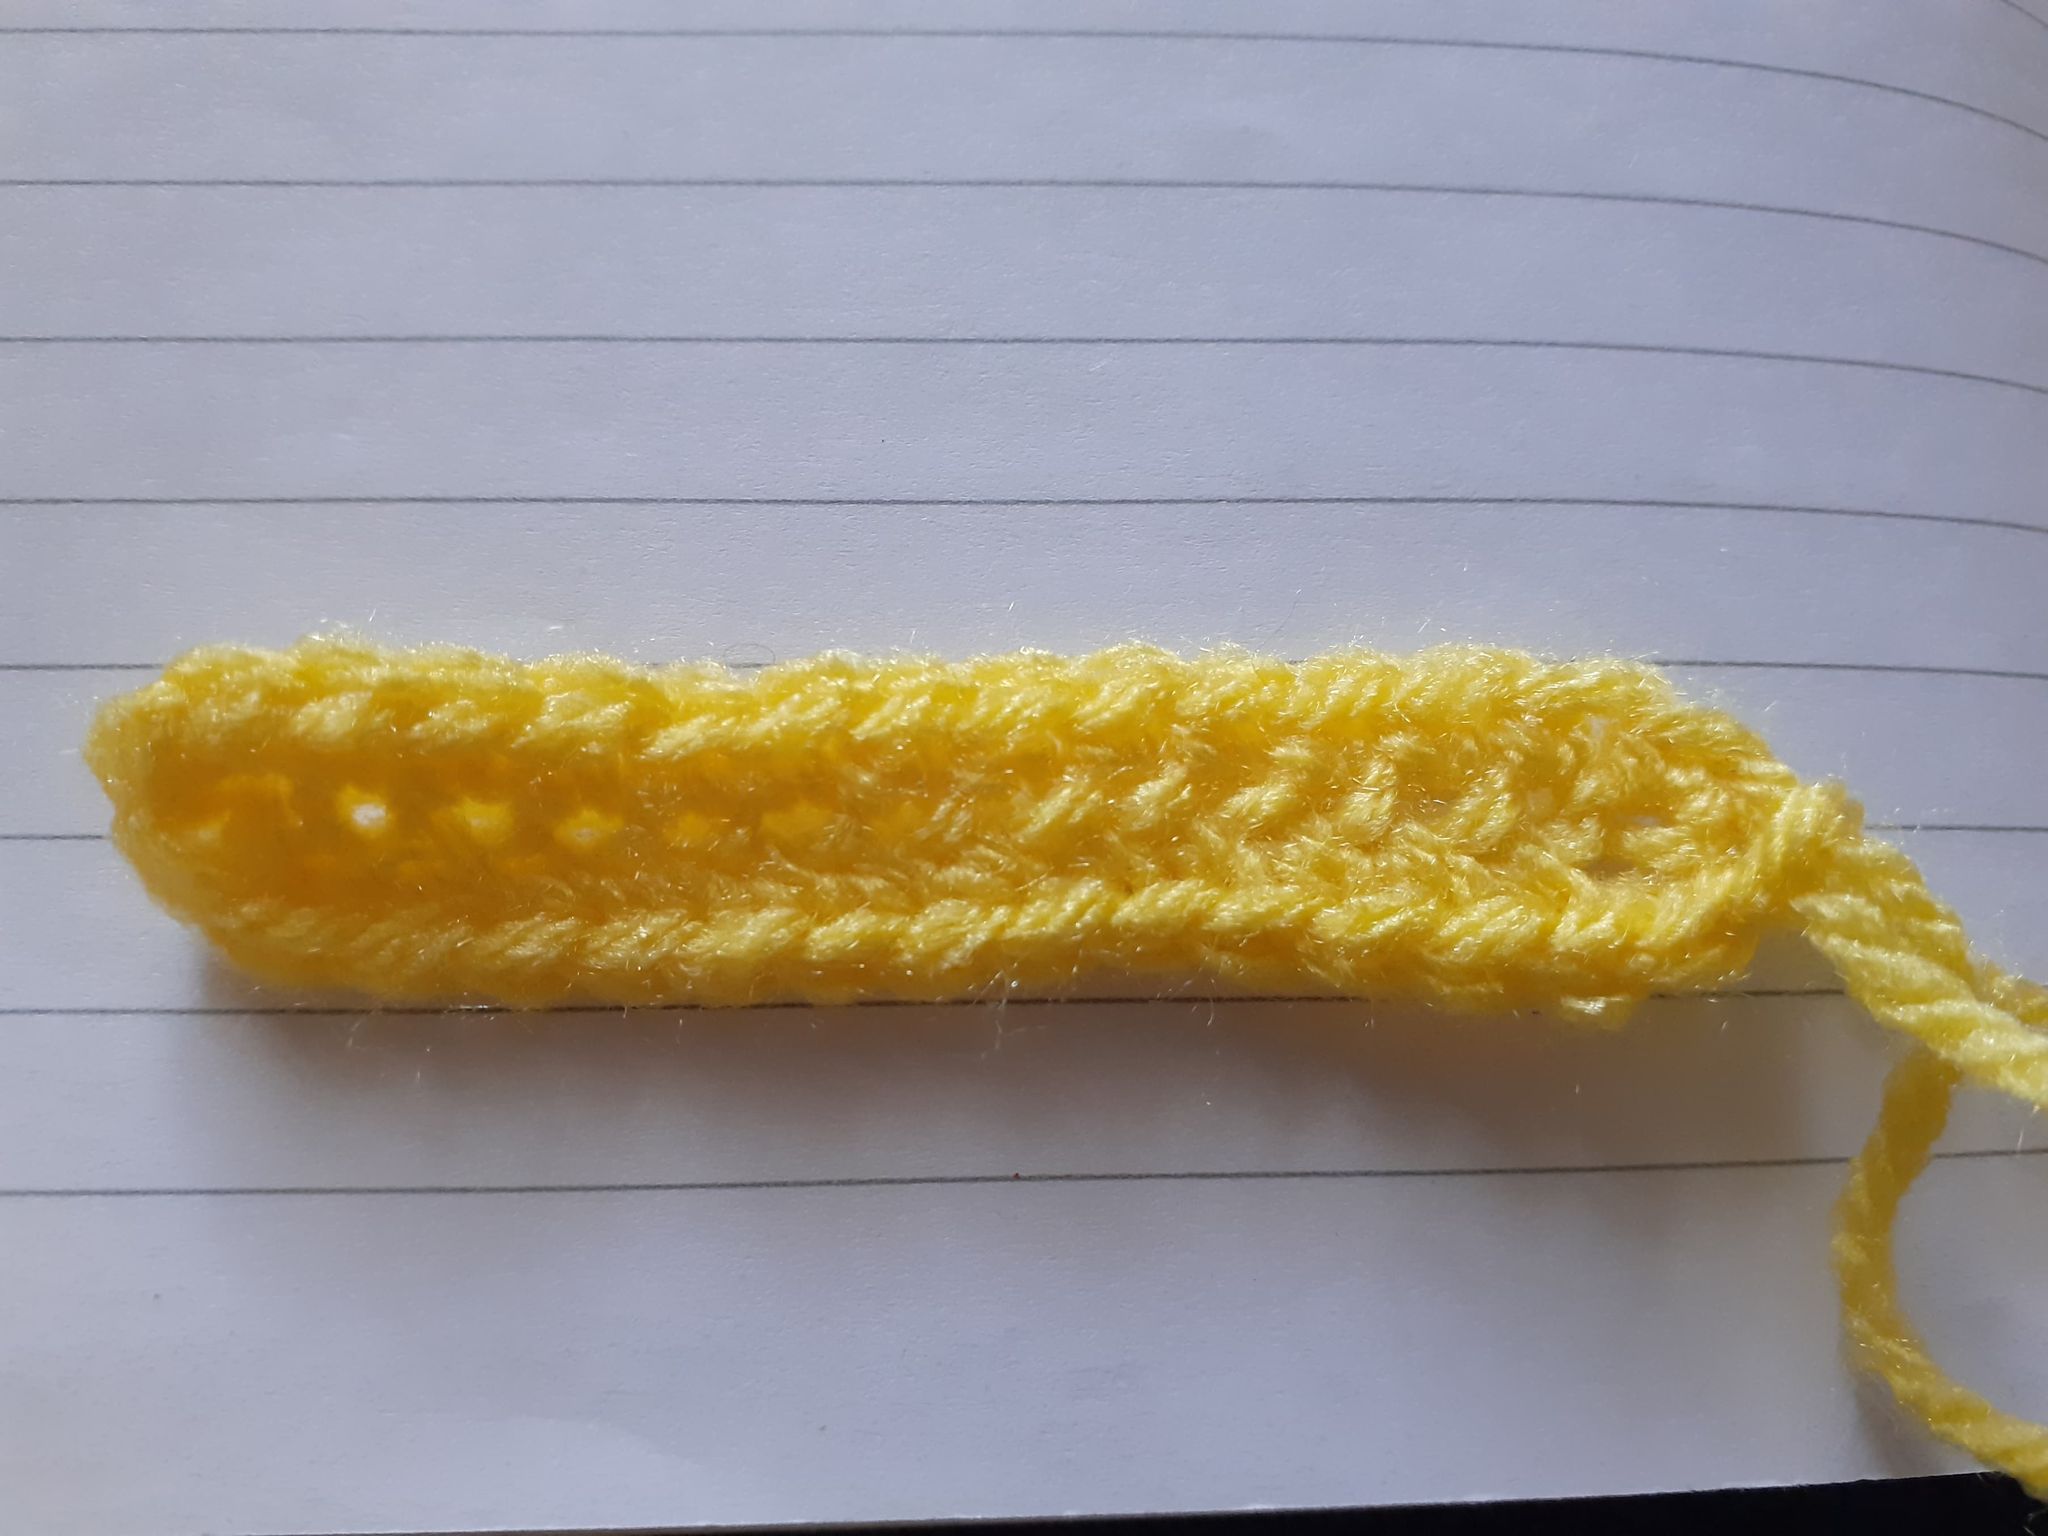
Fangs (x2) - Yellow
Magic
Ring 6 (6)
1 *sc, inc* (9)
2
– 3 Sc around (9)
4 *2 sc, inc* (12)
5 Sc around (12)
- Finish off, turn inside out and stuff
very lightly. Leave a tail for sewing.
OPTIONAL:
You can make these out of felt and glue, needle felt or embroidery.
Eyes (x2) - Red
Magic
Ring 8 (8)
1 Inc around (16)
- Finish off,
leave a long tail for sewing.
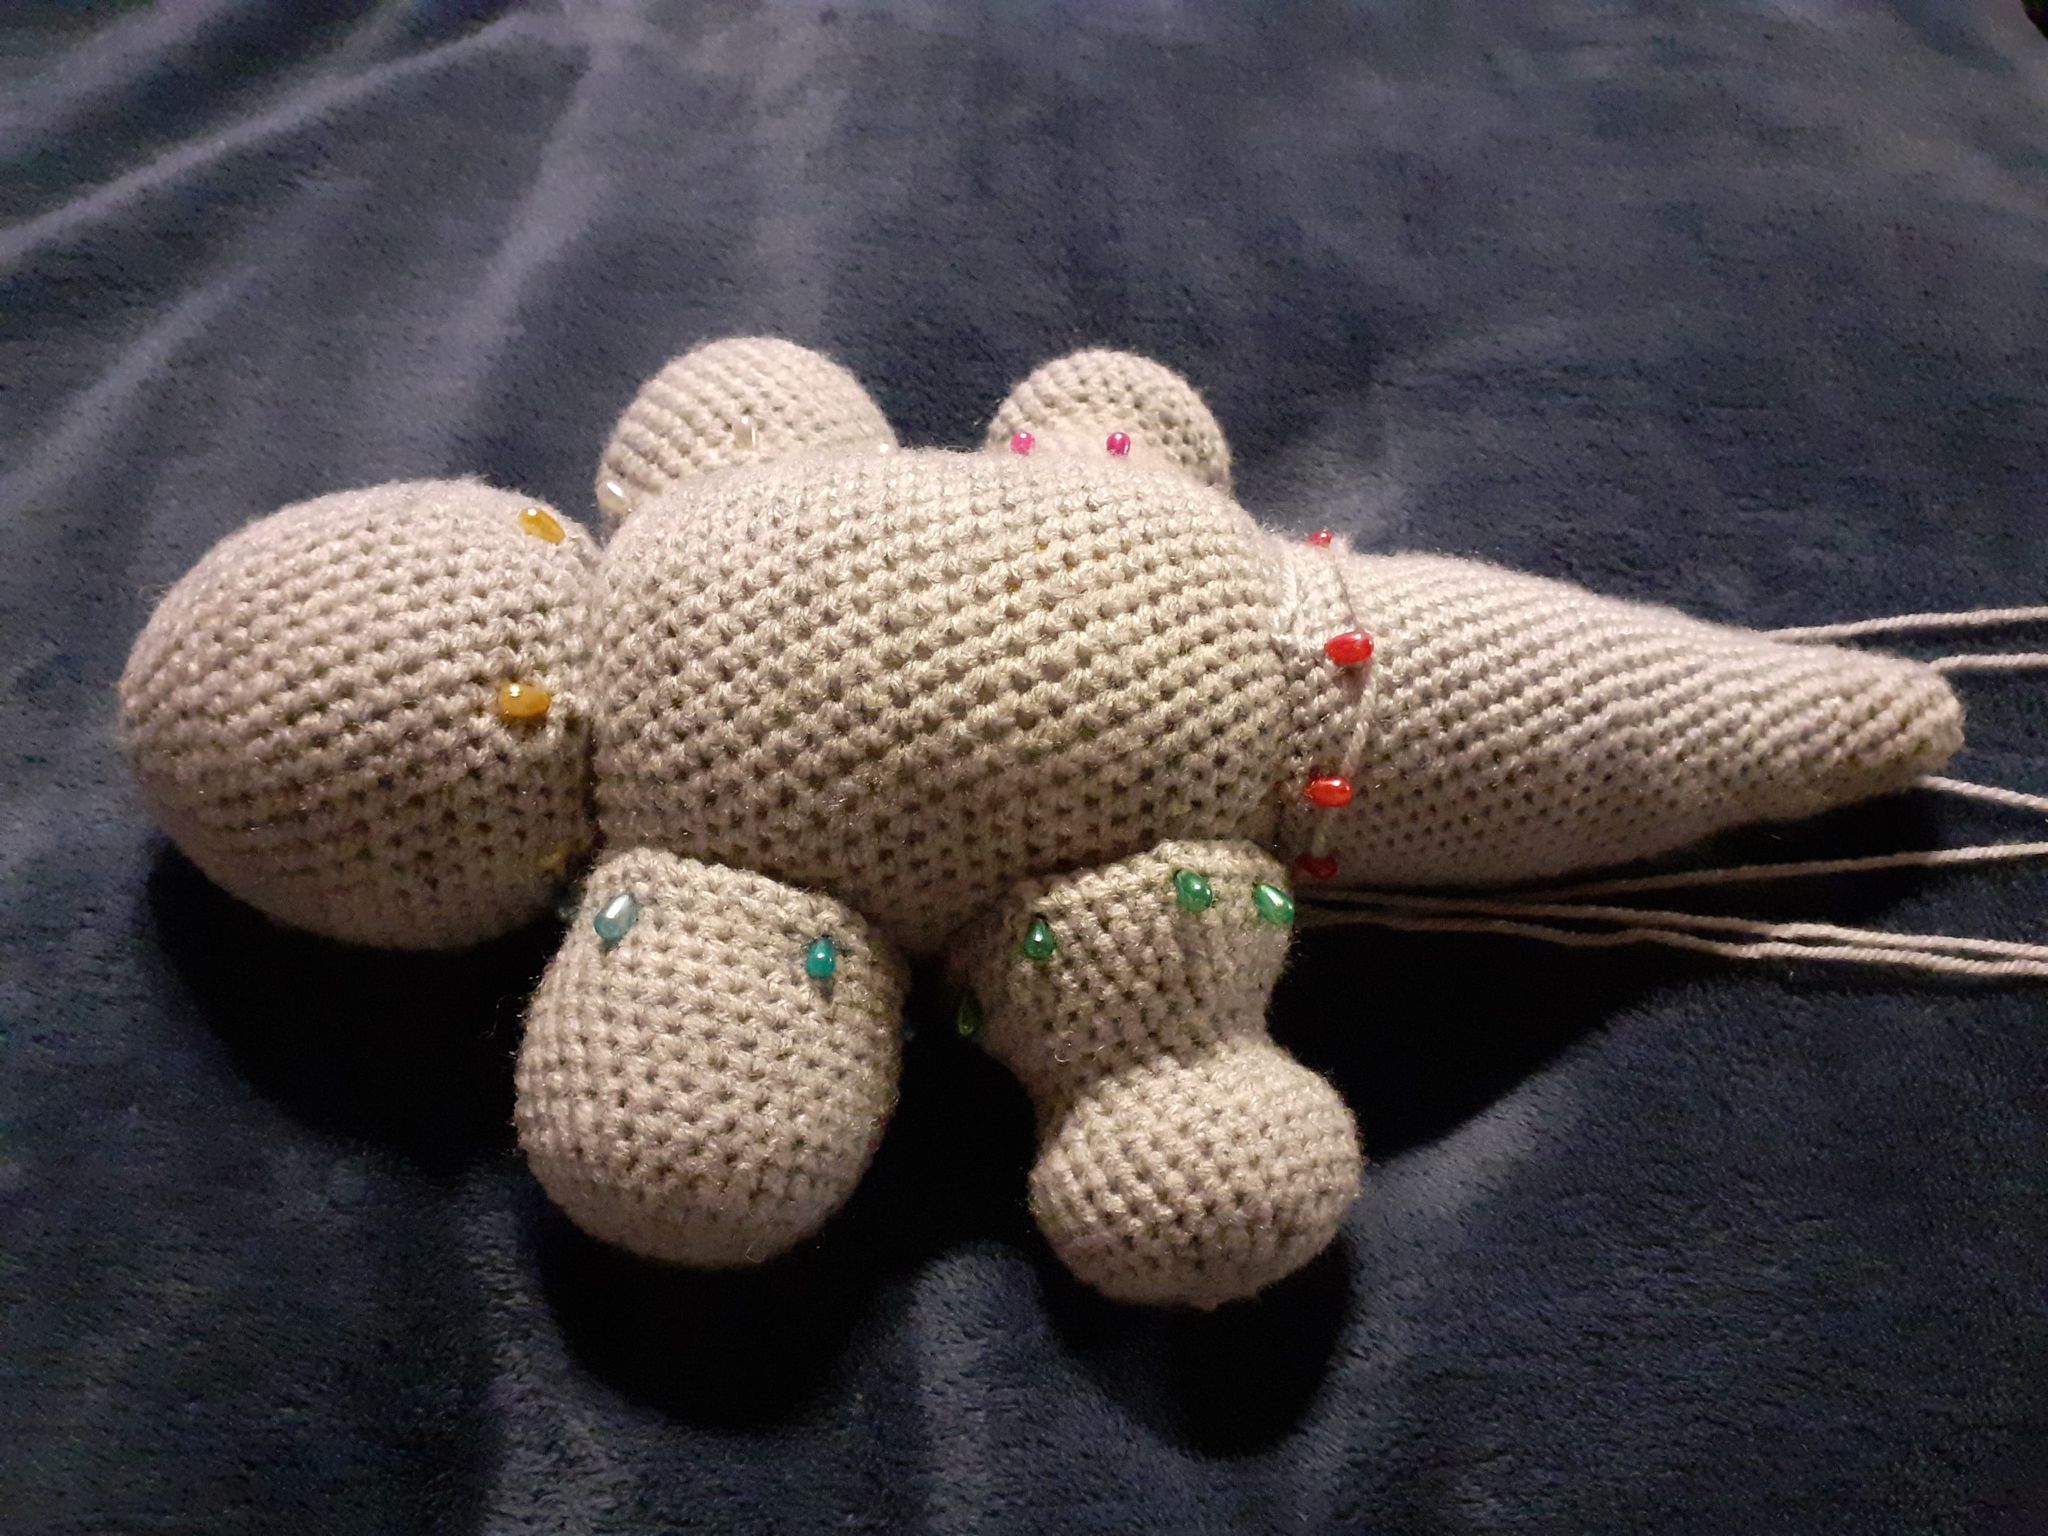
Assembly
Start
with the body assembly. Take up the tail and pin it to the starting end of the
body and pin the legs in place making sure the Great Girros can lie flat, then pin
the head to the finishing end of the body. When you’re happy with the
placements of these pieces, sew them on neatly.
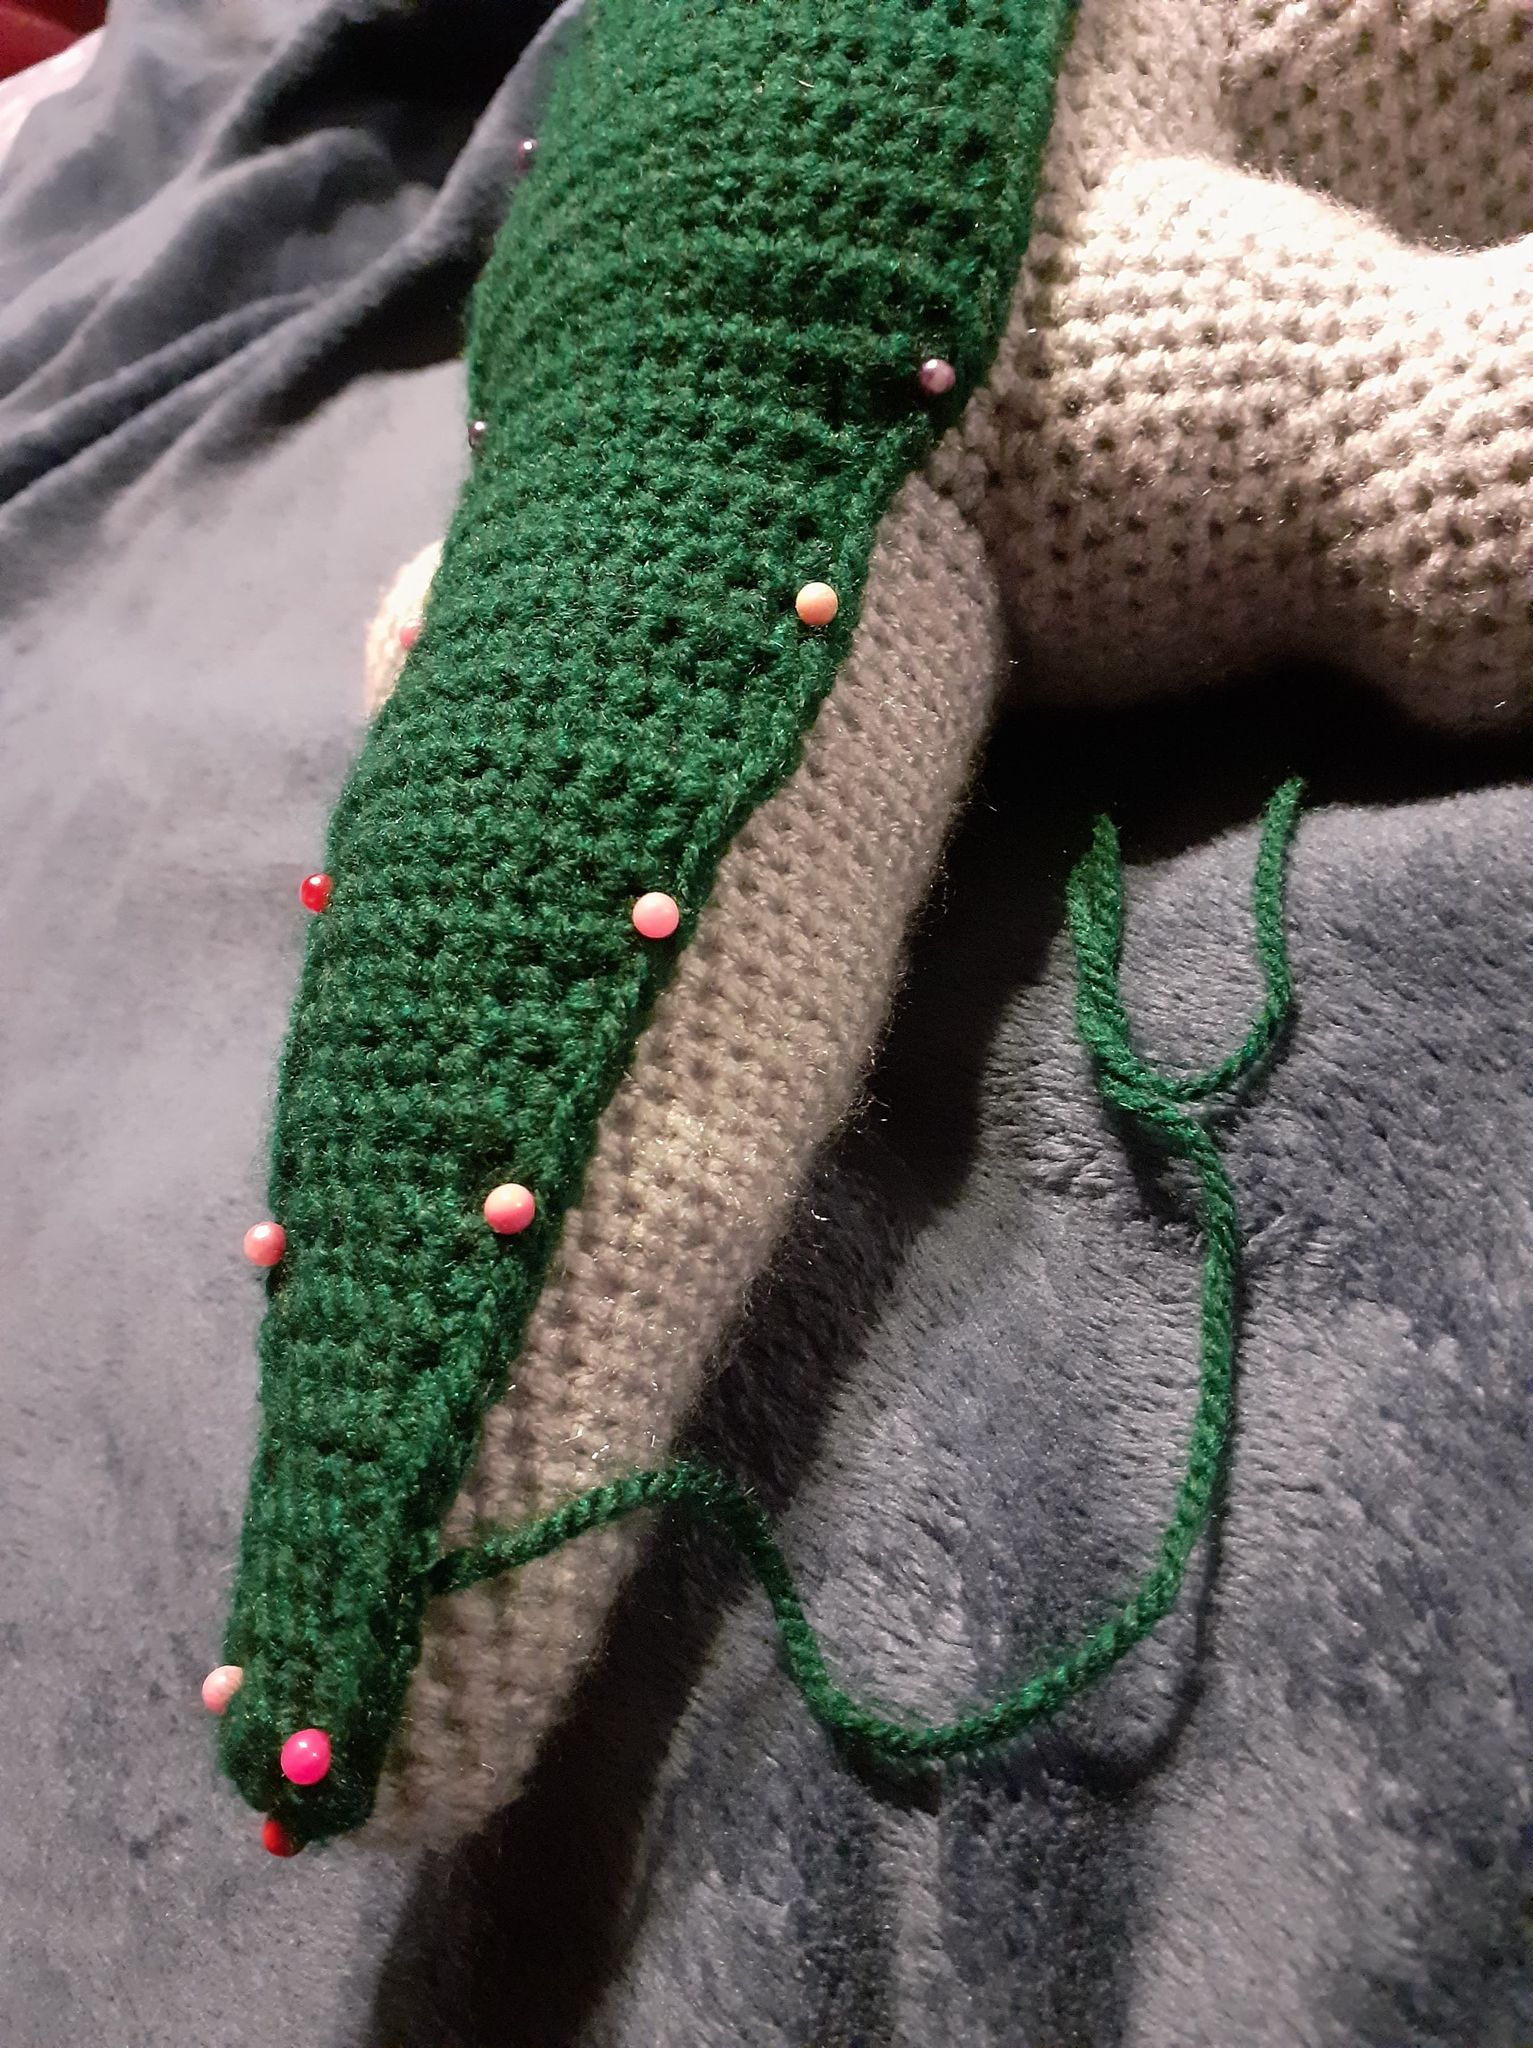
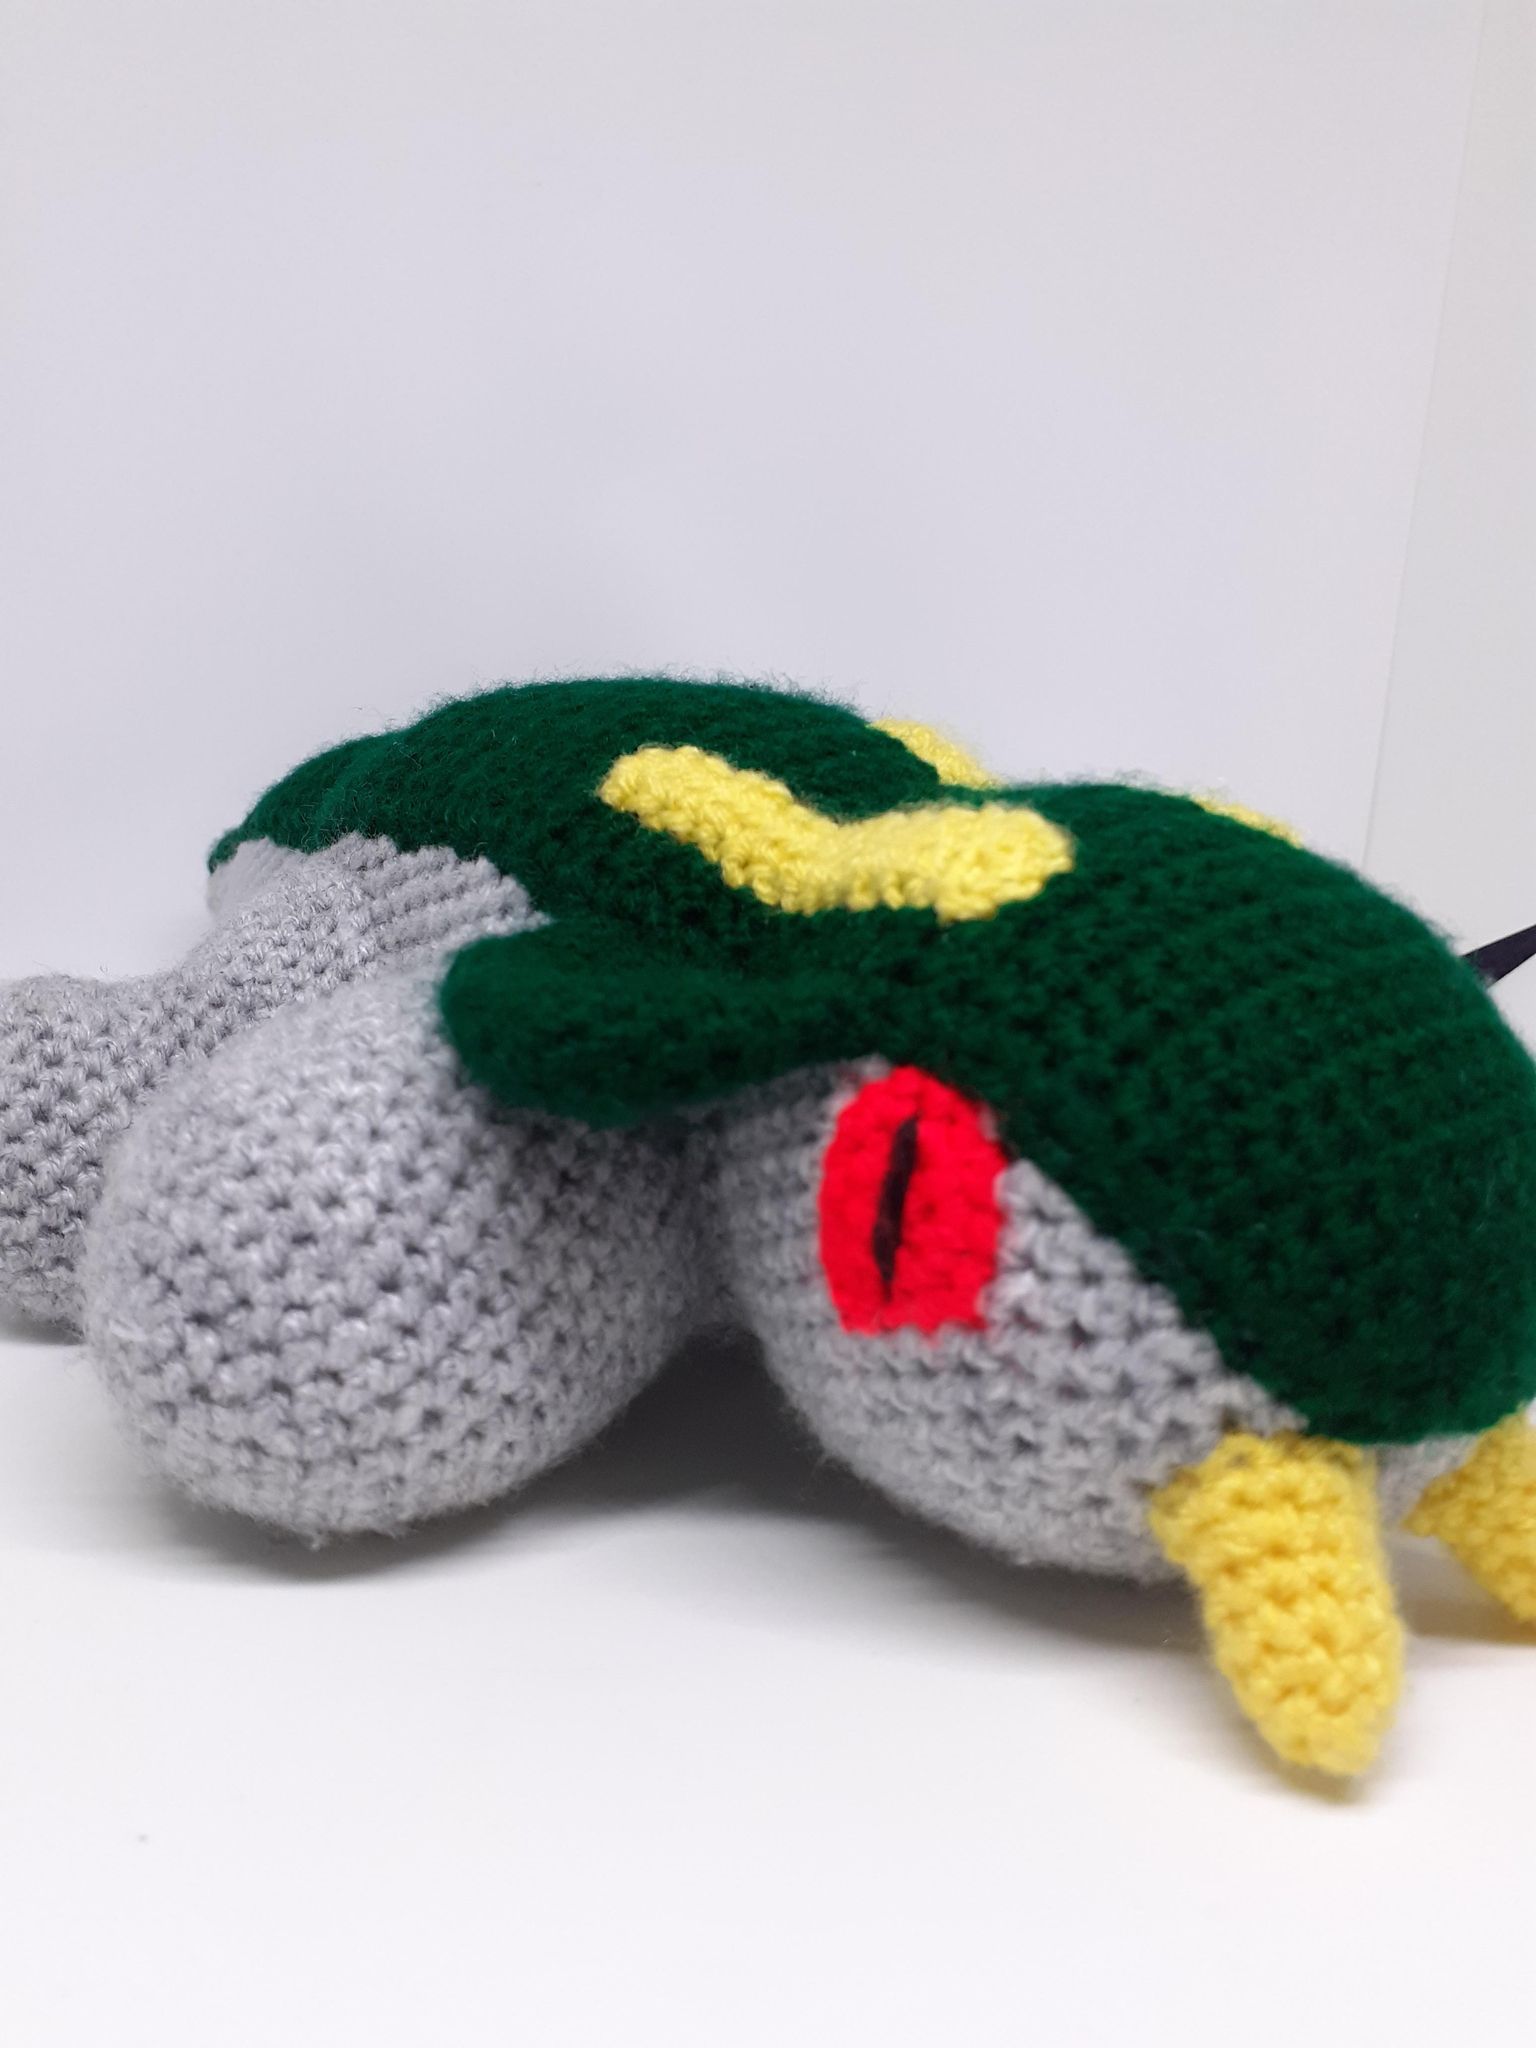
Line
up the starting end of the back plate to cover half of the MR of the head, and carefully
lay and pin the plate across the back to the very tip of the tail. Don’t be shy
about tucking it in at the neck!

When
you’re happy with the placement, take your time sewing this on to make sure it remains
neat.
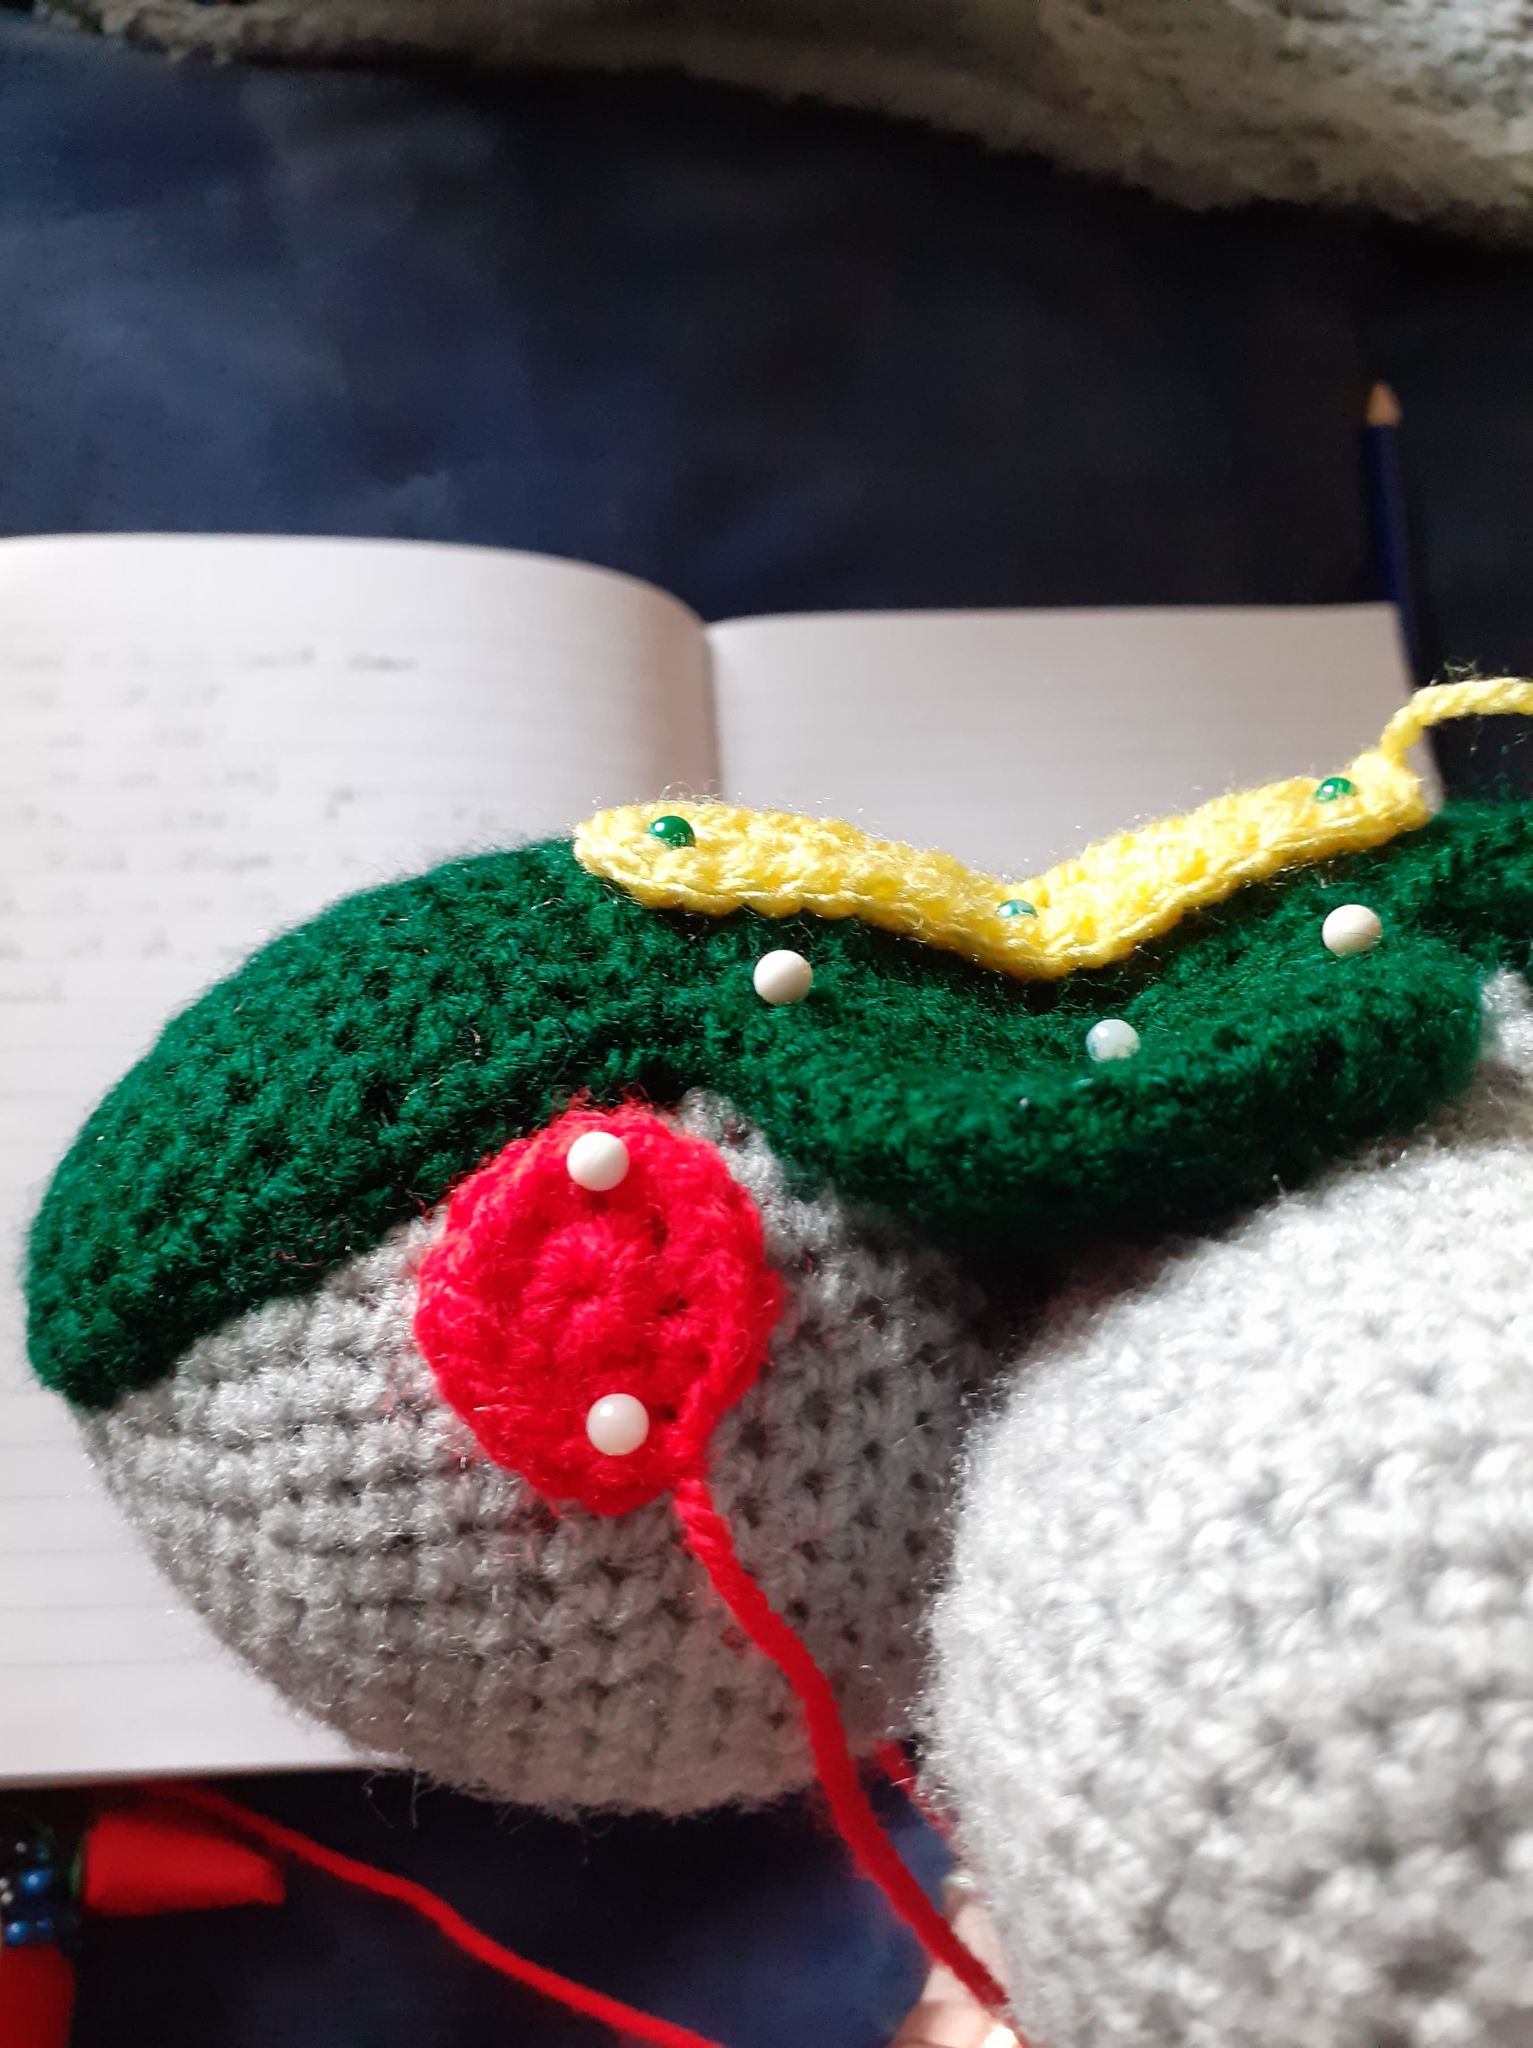
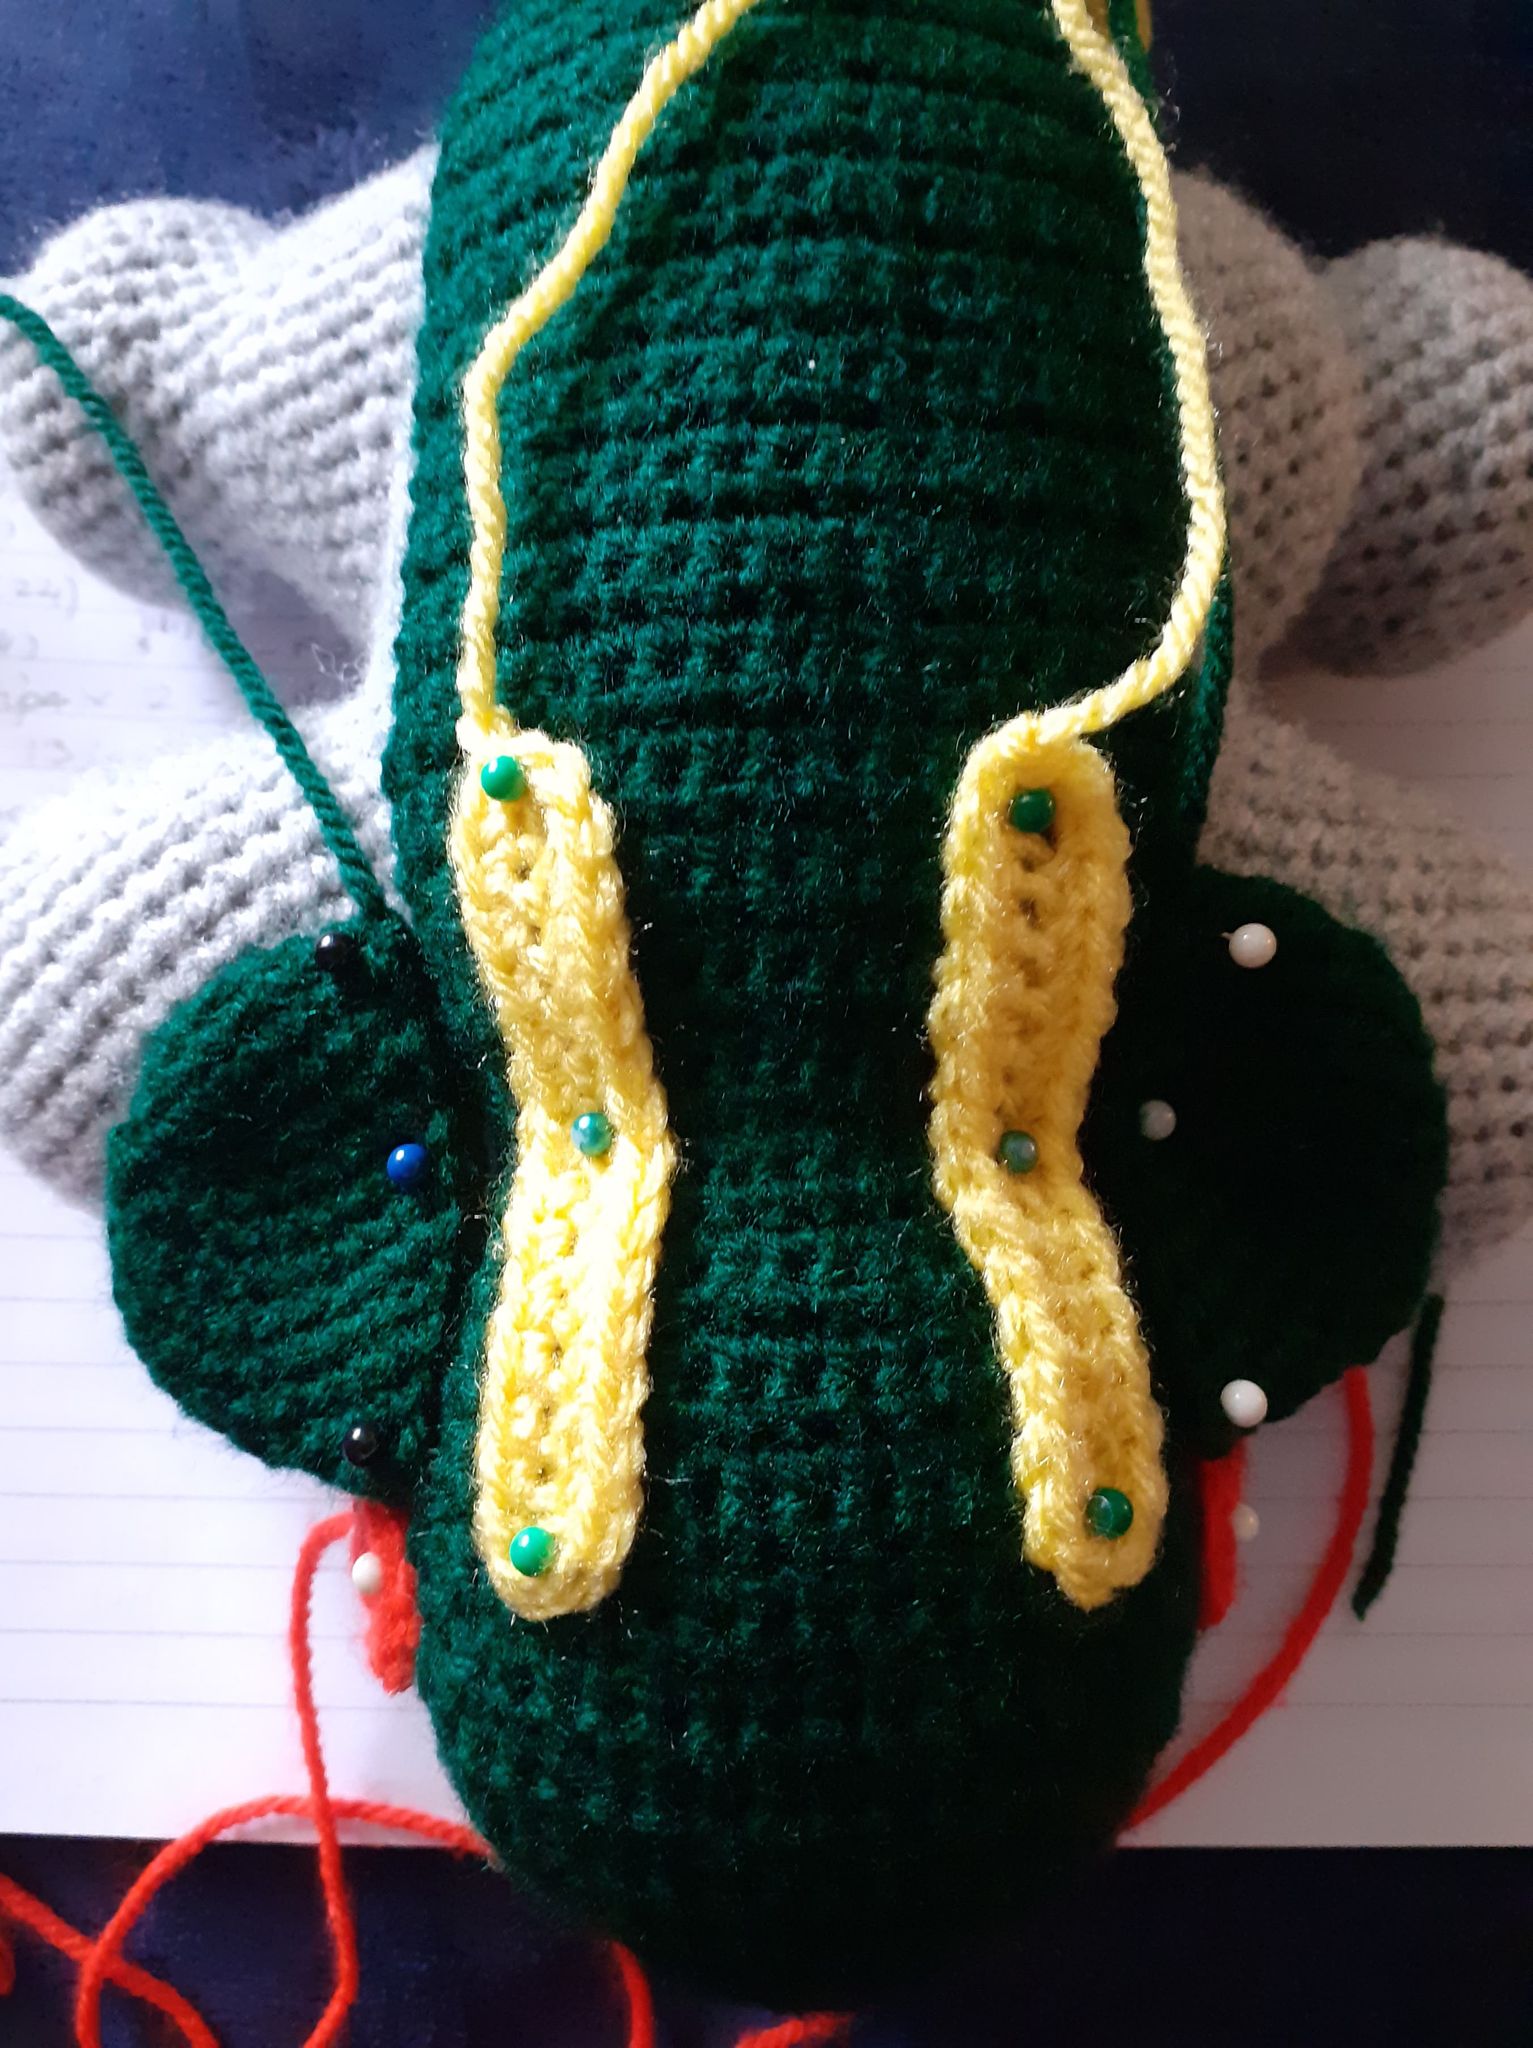
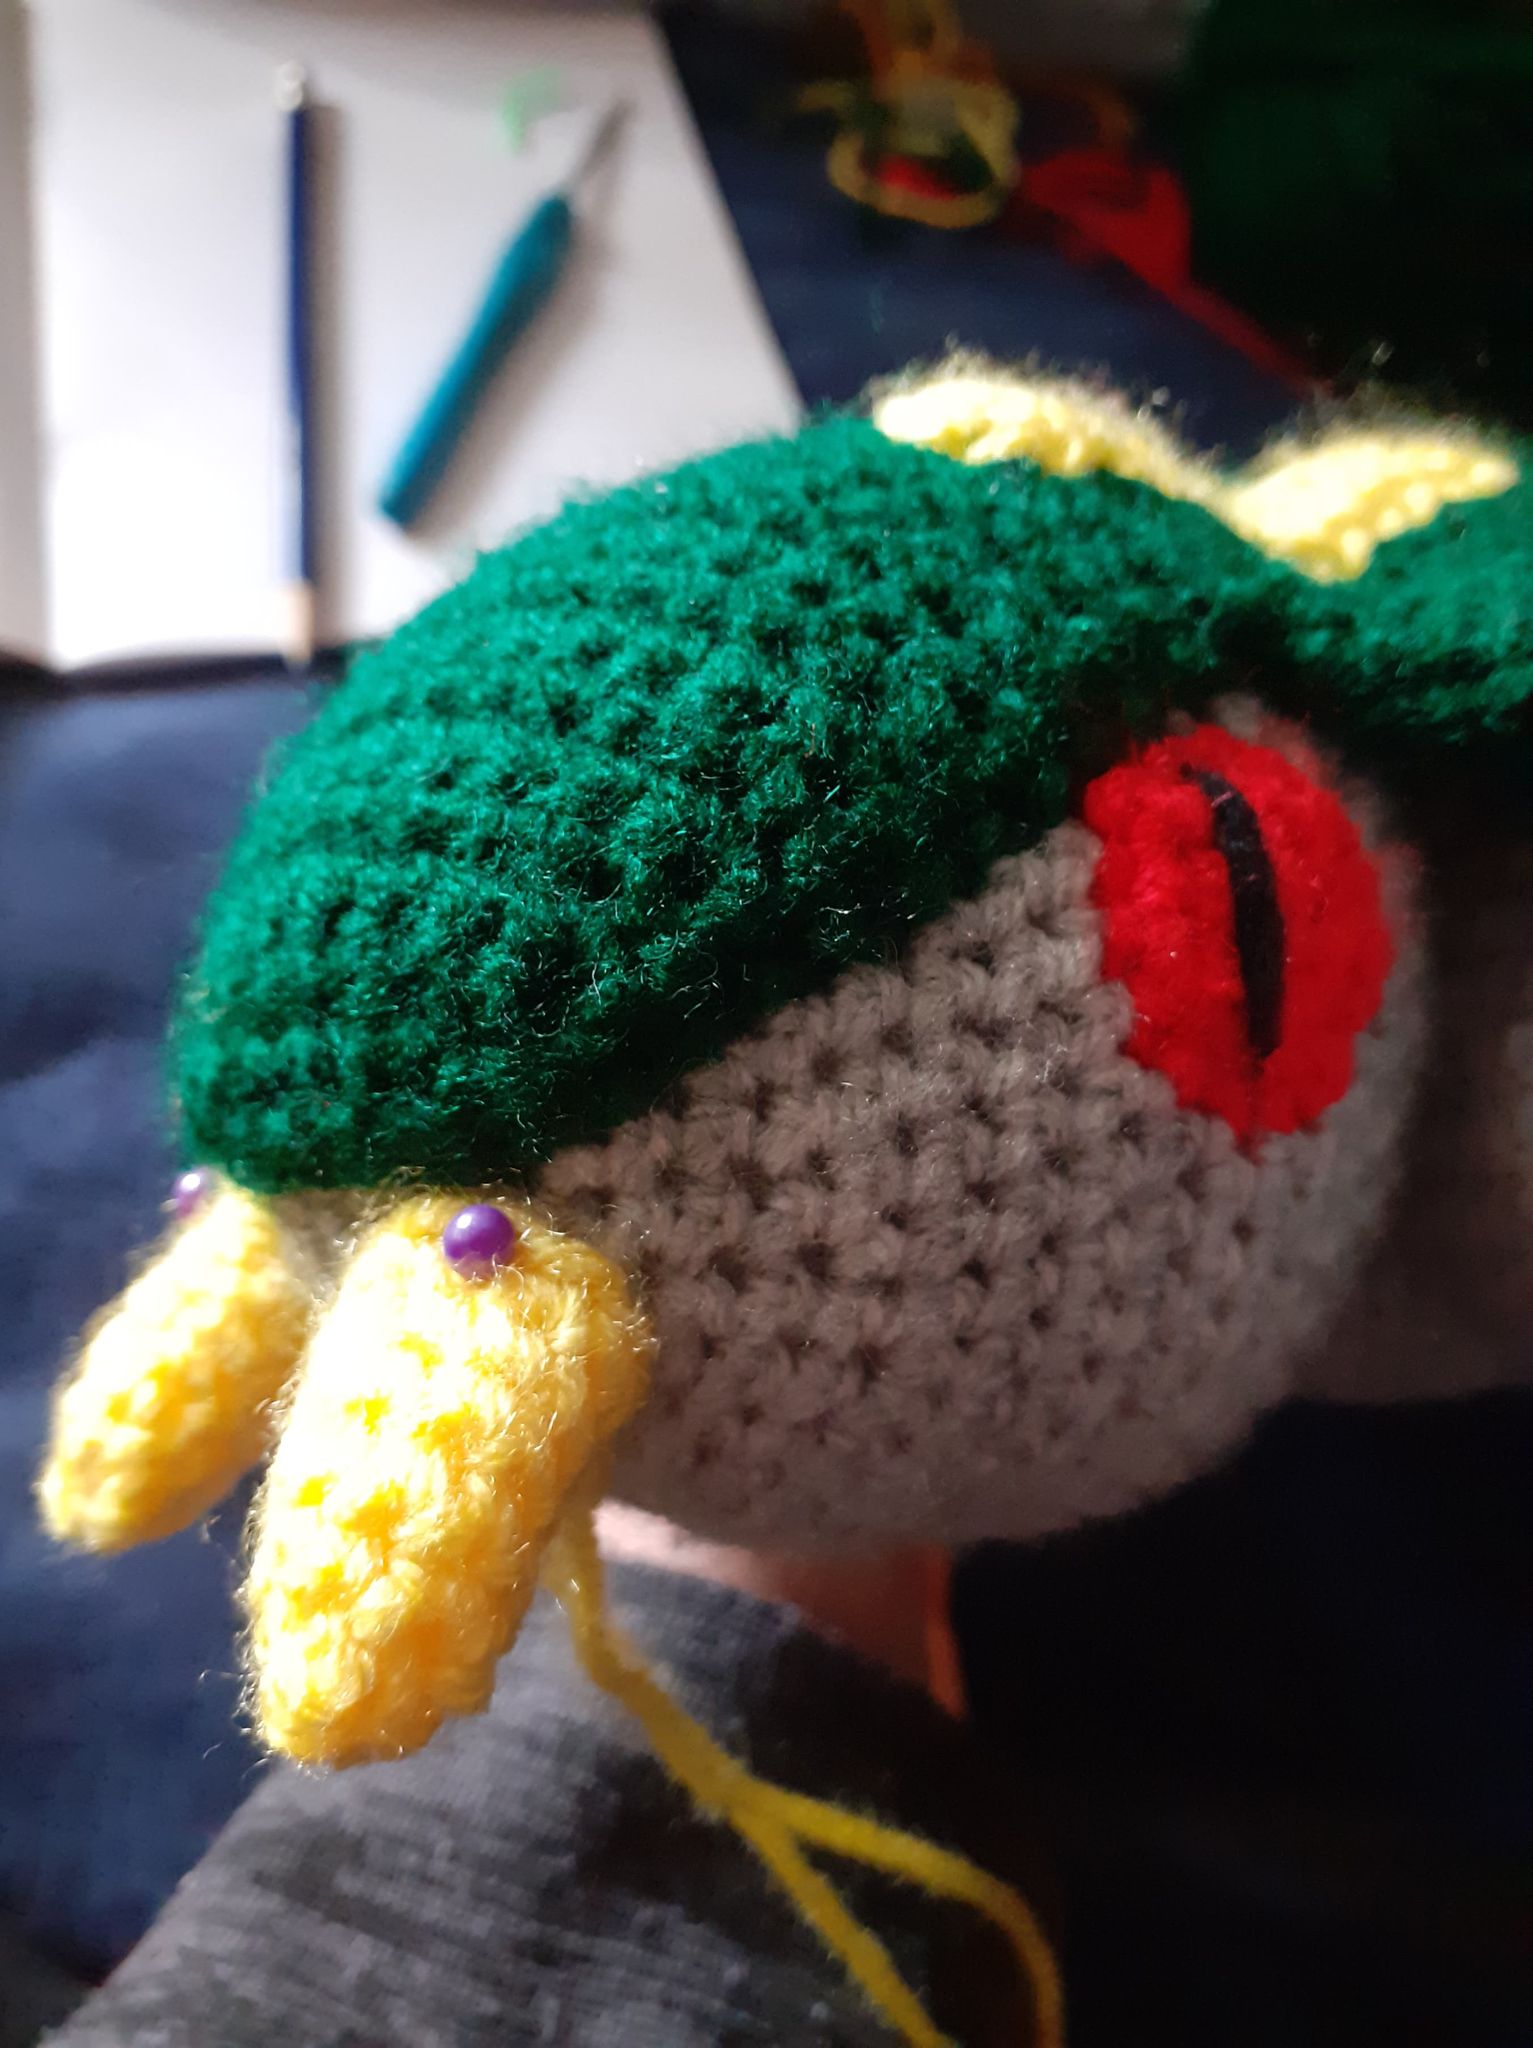
Next,
take up the hood pieces, eyes and back stripes and some pins and play around
with placements. Pin the eyes on first to see where they fit best nestled up to
the back plate, then pin the stripes across the back of the head / neck and
make sure they’re in line. Pin the hood in place spanning over the neck area.
I
found using a whip stitch worked the best for the hood.
Sew
everything neatly in place.
Take
up some black yarn and embroider a slit pupil into the eyes of your Great
Girros.
Almost there!
Finally take up the fangs and pin them to the front of the head to make it seem like the fangs are sticking out of its mouth, and when you’re happy with the placements of them sew them neatly on.
Then
that’s it!
You’re
done!
Enjoy
your new adorable Great Girros!
STEP BY STEP TUTORIAL
Coming soon!
If you have any questions about this pattern, feel free to contact me.
This pattern is property of BlueFoxPaws. Please do not claim or resell this pattern as your own. You can sell the finished product as long as credit is given -BlueFoxPaws-.
Leave a Reply