
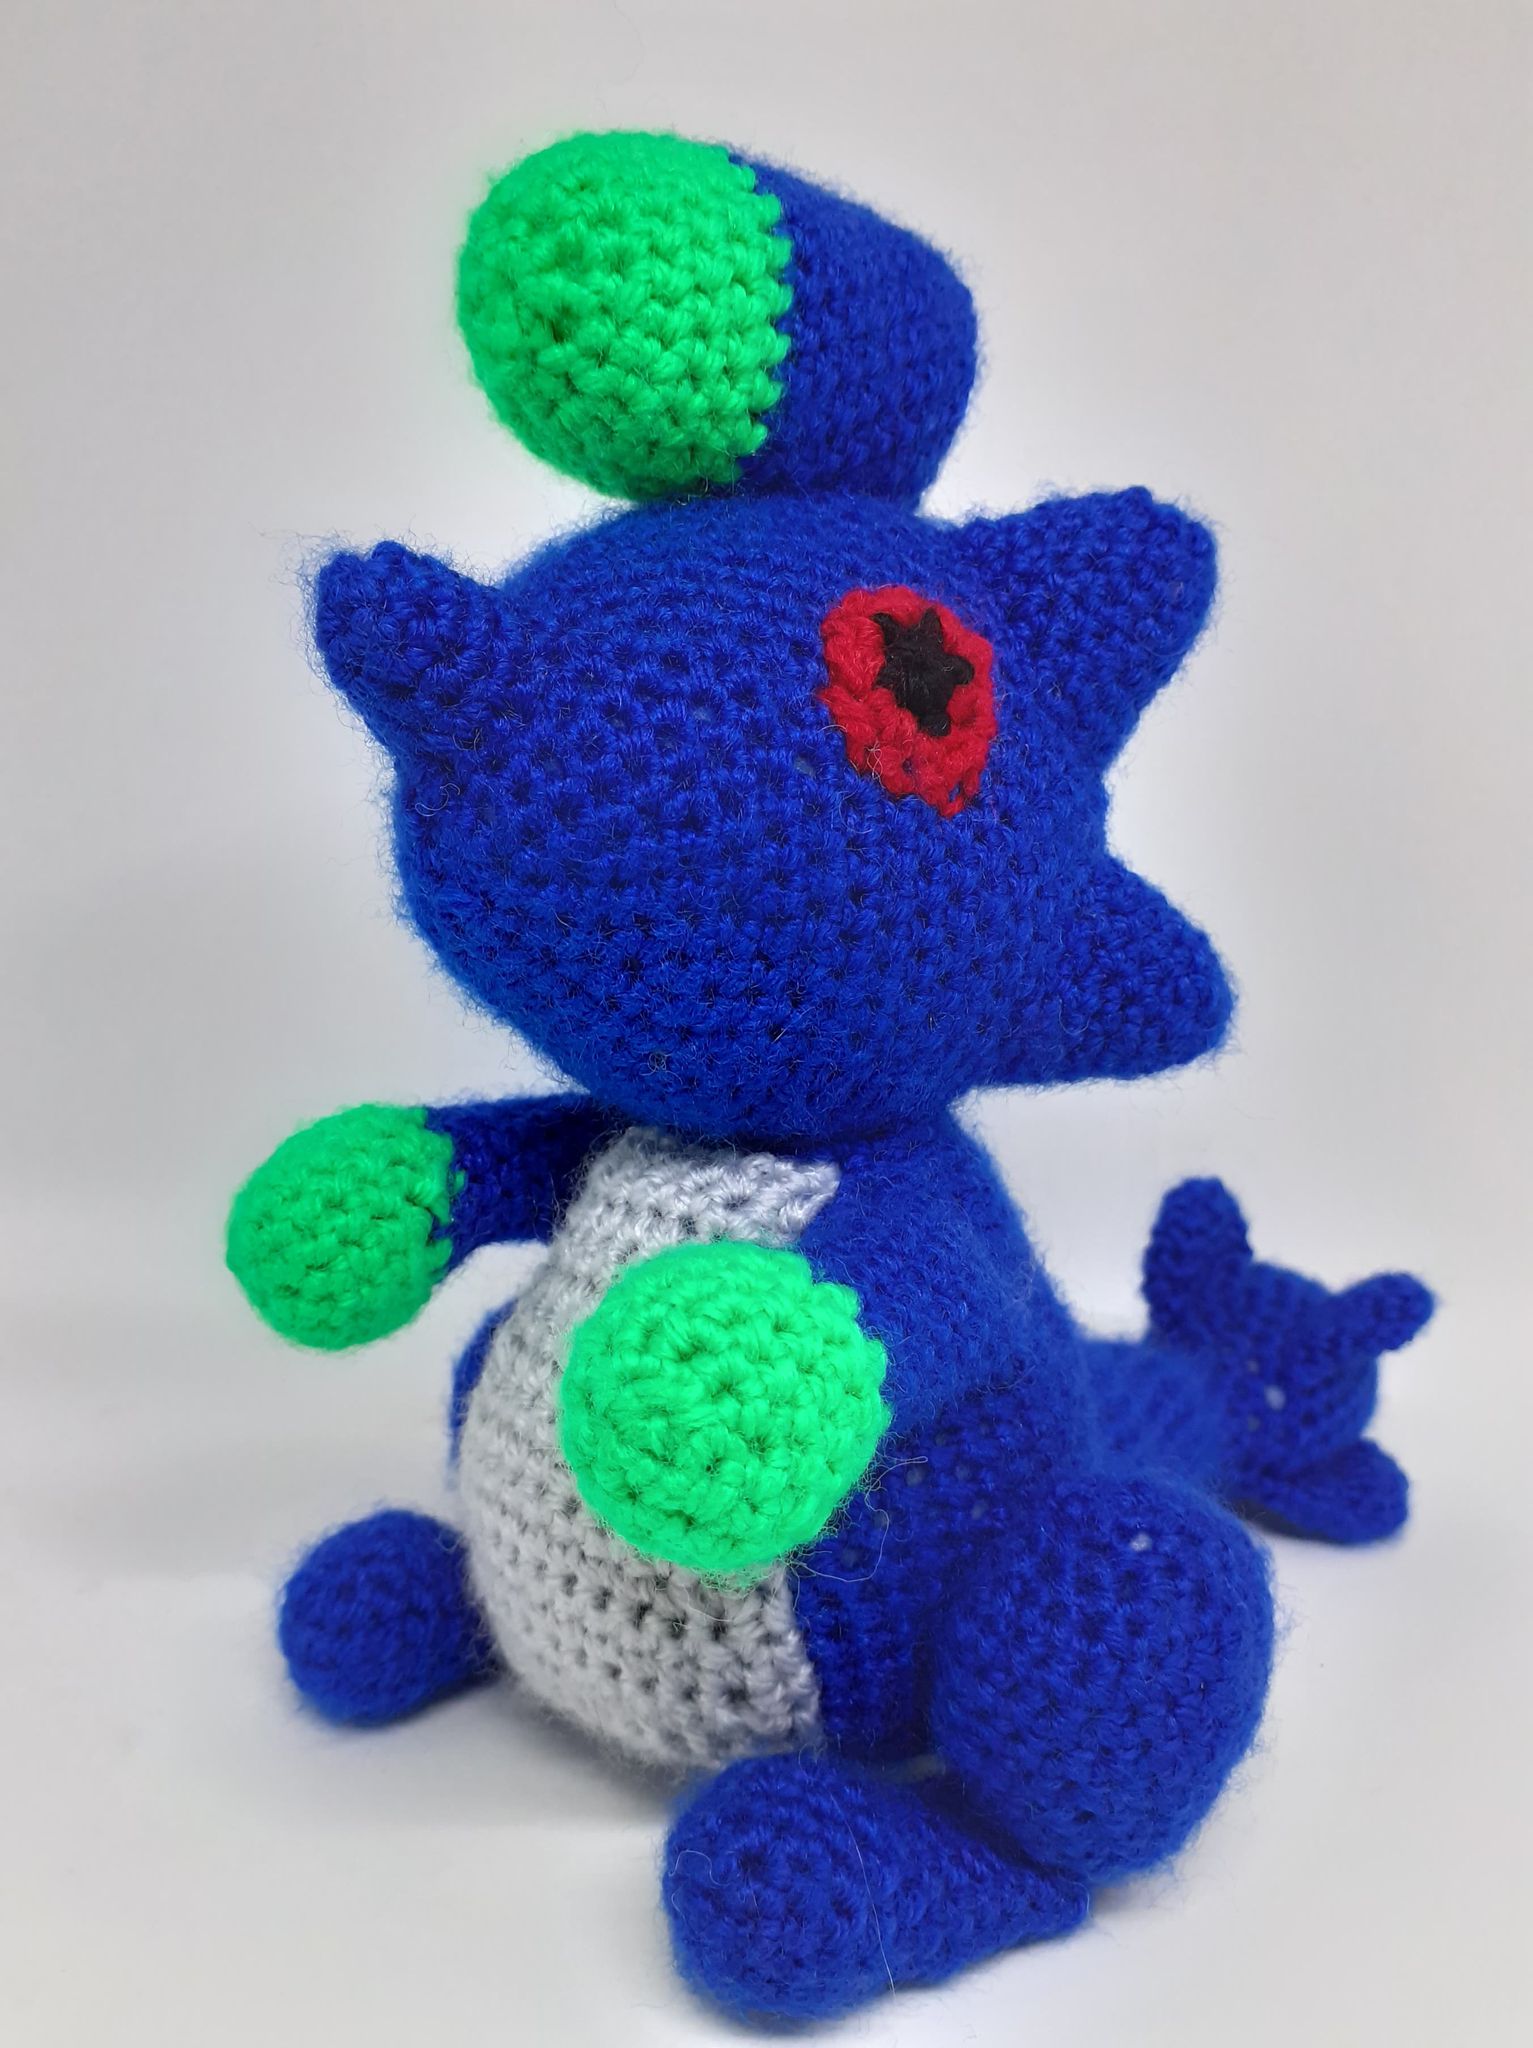
BRACHYDIOS FROM MONSTER HUNTER CROCHET PATTERN
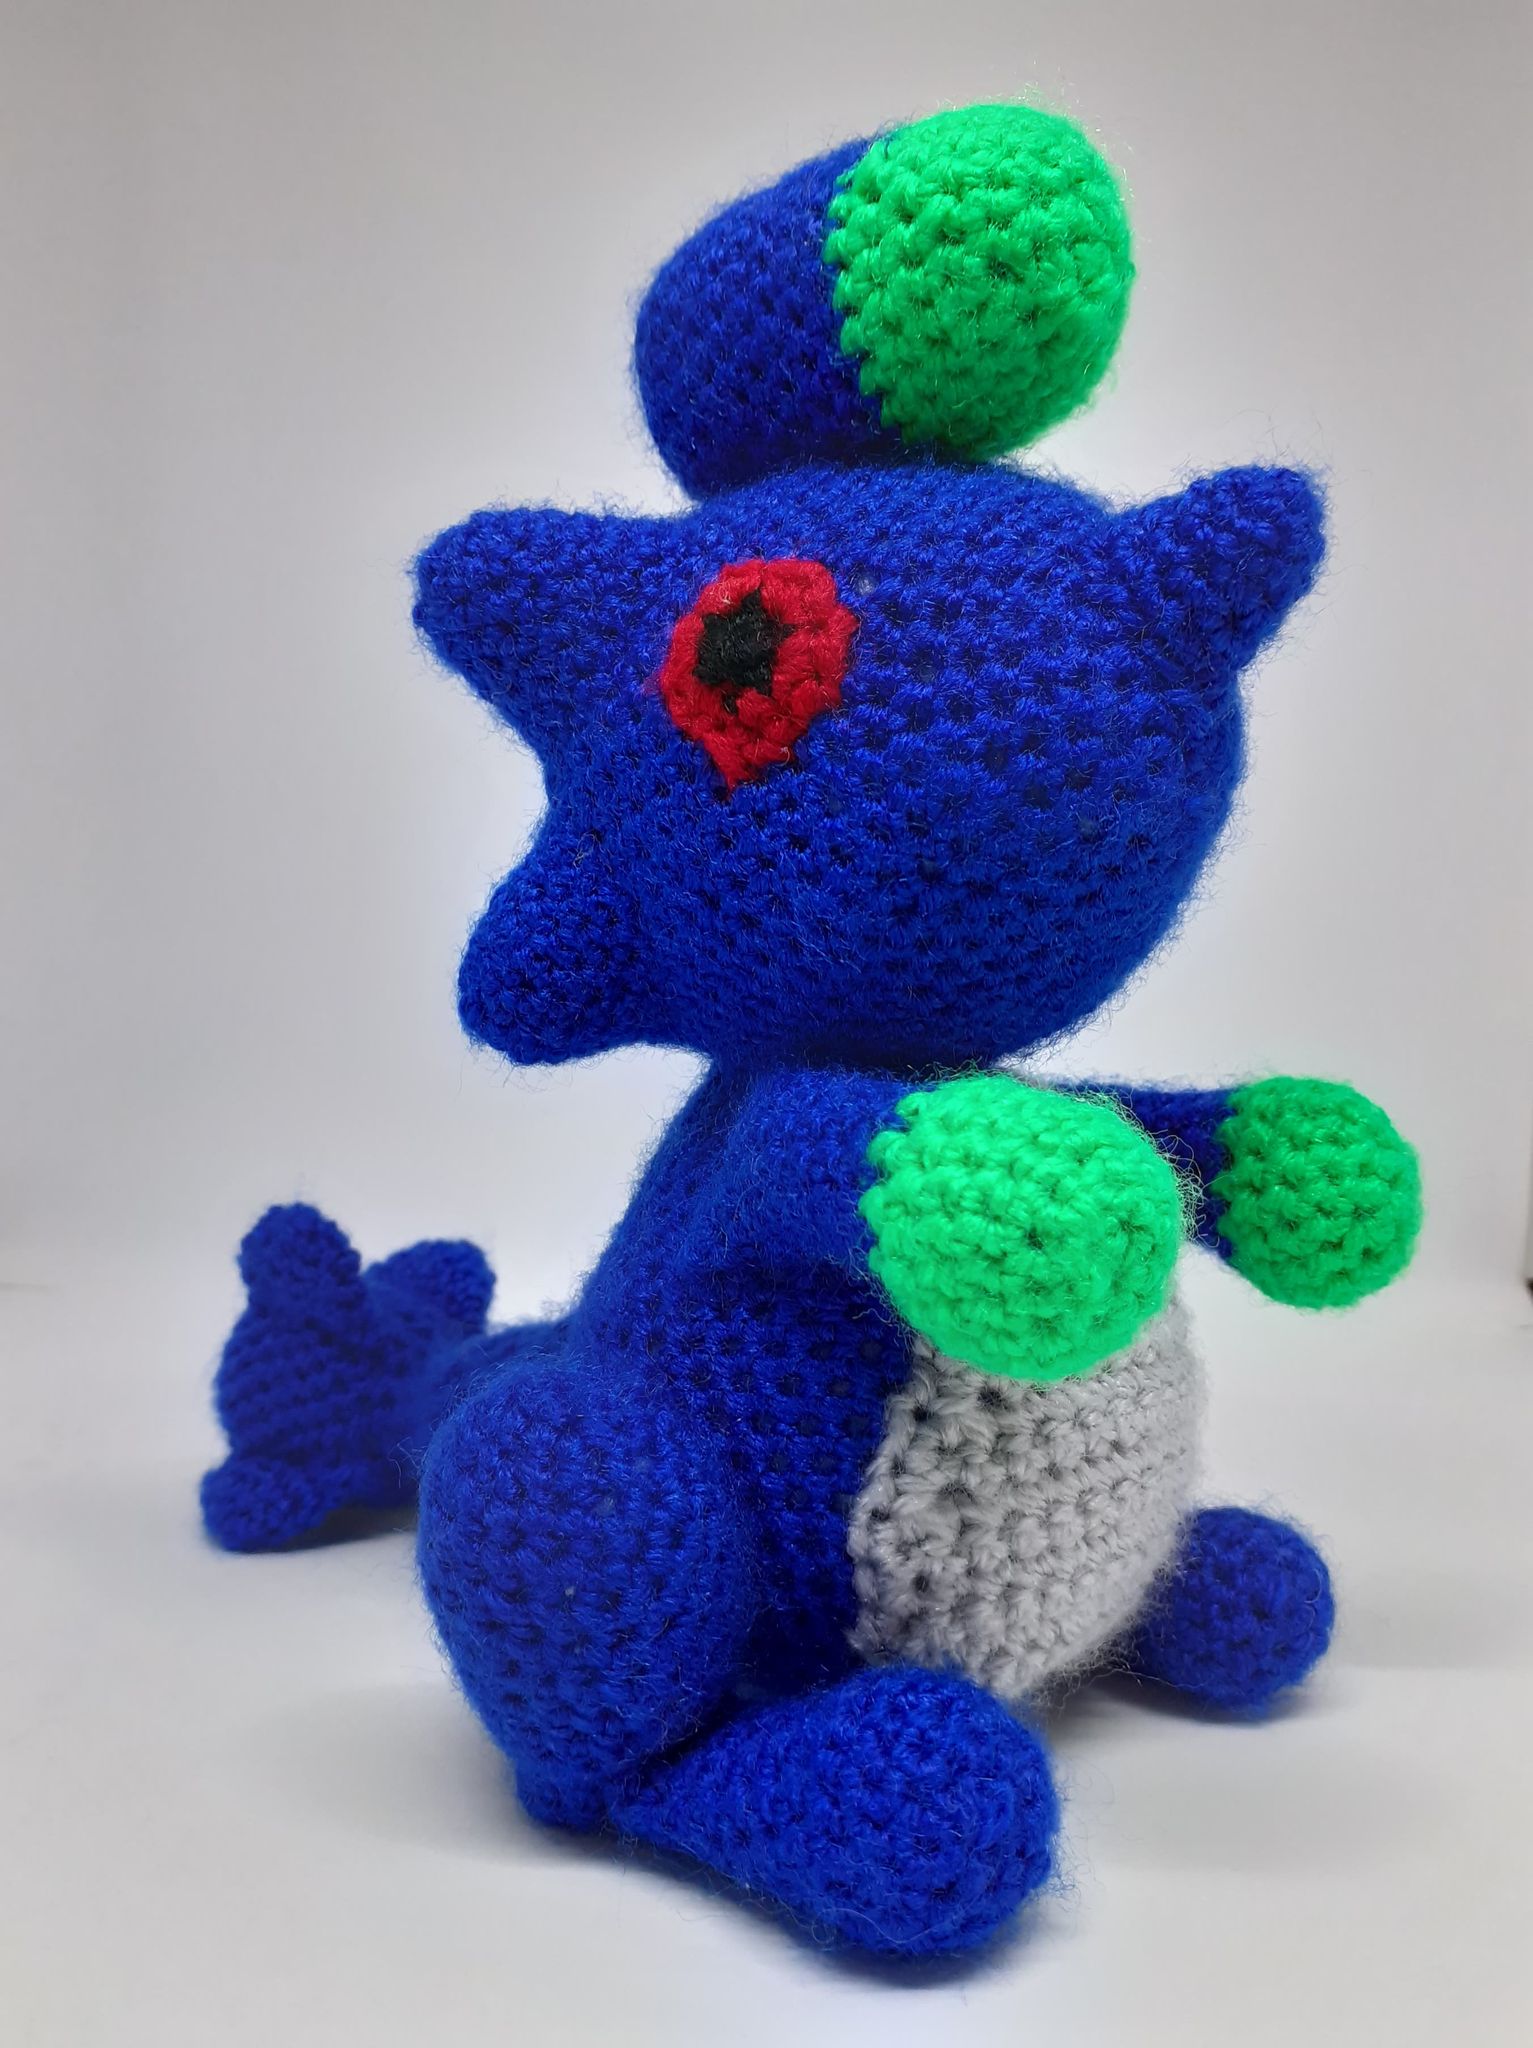
Monster Hunter, one of my favourite games of all time, aren't the monsters just so cute, huntable and crochetable?!
Thought so.
When I first encountered a Brachydios as a Dual Swords user I didn't know what I was getting myself into - safe to say the Raging Brachydios is my biggest nemesis purely because I can't get close to wave my swords at his feet.
ANYWAY. Let's crochet one! This crochet version is very friendly and won't explode or leave explosive slime everywhere at least, so there's that as a huge bonus.
I've got a printable PDF version of this pattern available in my Etsy Store
Materials
4mm crochet hook
4mm yarn in dark blue, neon green, light grey, black and red.
Toy stuffing
Tapestry / Embroidery needle
Abbreviations
SC – Single Crochet
INC – Increase
DEC – Decrease
** - Repeat around
Pattern
Head - Dark Blue
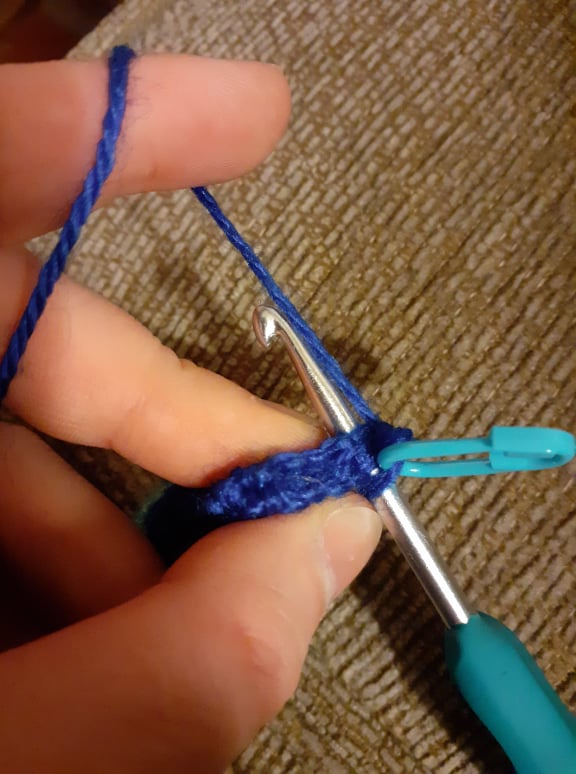
Magic Ring 8 (8)
1 Inc around (16)
2 Sc around (16)
3 *sc, inc* (24)
4 Sc around (24)
5 *2 sc, inc* (32)
6 Sc around (32)
7 *3 sc, inc* (40)
8 Sc around (40)
9 *4 sc, inc* (48)
10 – 19 Sc around (48)
20 *4 sc, dec* (40)
21 *3 sc, dec* (32)
22 *2 sc, dec* (24)
23 *sc, dec* (16) - Stuff
24 Dec around (8)
- Finish off with Ultimate Finish / tie end closed.
Body - Dark Blue
Magic Ring 8 (8)
1 Inc around (16)
2 *sc, inc* (24)
3 *2 sc, inc* (32)
4 *3 sc, inc* (40)
5 *4 sc, inc* (48)
6 – 10 sc around (48)
11 *4 sc, dec* (40)
12 – 15 Sc around (40)
16 *3 sc, dec* (32)
17 – 20 Sc around (32)
21 *2 sc, dec* (24)
22 – 24 Sc around (24)
- Finish off, leave a long tail for sewing – this tail will be used to attach the head.
Hind Legs (x2) - Dark Blue
Start with a long tail, this will be used to sew the legs to the body.
Magic Ring 6 (6)
1 Inc around (12)
2 *sc, inc* (18)
3 *2 sc, inc* (24)
4 – 6 Sc around (24)
7 *2 sc, dec* (18)
8 – 9 Sc around (18)
10 *sc, dec* (12)
11 – 12 Sc around (12) – Stuff lightly.
13 Dec around (6)
- Finish off, tie end neatly closed. Squash flat.
Feet (x2) - Dark Blue
Magic Ring 6 (6)
1 Inc around (12)
2 *sc, inc* (18)
3 Sc around (18)
4 *sc, dec* (12)
5 – 10 Sc around (12) – Stuff lightly
11 Dec around (6)
- Finish off, leave a long tail for sewing
Tail - Dark Blue
Magic Ring 6 (6)
1 Inc around (12)
2 *sc, inc* (18)
3 *2 sc, inc* (24)
4 – 9 Sc around (24)
10 *2 sc, dec* (18)
11 *sc, dec* (12)
12 – 15 Sc around (12)
16 *sc, inc* (18)
17 – 21 Sc around (18)
22 *2 sc, inc* (24)
23 – 28 Sc around (24)
- Finish off, stuff and leave a long tail for sewing
Top Horn - Neon Green
Magic Ring 8 (8)
1 Inc around (16)
2 *sc, inc* (24)
3 – 5 Sc around (24)
- Change to Dark Blue -
6 – 14 Sc around (24)
15 *sc, dec* (16) – Stuff
16 Dec around (8)
- Finish off and tie end closed, leave a long tail for sewing. This tail will be used to sew the horn to the head.
Nose Horn - Dark Blue
Magic Ring 6 (6)
1 *sc, inc* (9)
2 Sc around (9)
3 *2 sc, inc* (12)
4 *3 sc, inc* (15)
- Finish off, turn inside out and stuff lightly. Leave a long tail for sewing
Horns (x4) - Dark Blue
Magic Ring 8 (8)
1 *sc, inc* (12)
2 Sc around (12)
3 *2 sc, inc* (16)
4 Sc around (16)
5 *3 sc, inc* (20)
6 Sc around (20)
- Finish off, turn inside out and stuff lightly. Leave a long tail for sewing
Arms (x2) - Neon Green
Magic Ring 6 (6)
1 Inc around (12)
2 *sc, inc* (18)
3 – 4 Sc around (18)
5 *sc, dec* (12)
- Change to Dark Blue -
6 – 13 Sc around (12)
Stuff. Pinch the end together and SC the arms closed (see photo). This will make it a lot easier to sew onto the body. Finish off, leave a long tail for sewing
Tail
Spikes (x4) - Dark Blue
Magic Ring 8 (8)
1 *sc,
inc* (12)
2 *2 sc,
inc* (16)
3 Sc around (16)
- Finish off, turn inside out and leave a long tail for sewing. Pinch flat.
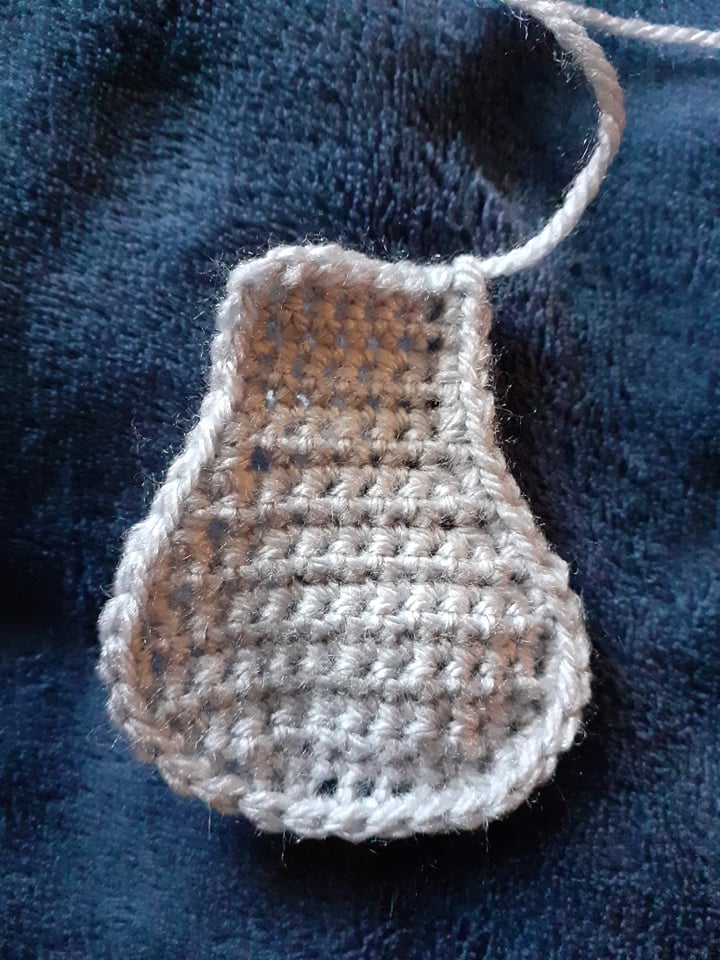
Belly - Light Grey
This piece is worked in the flat. Don’t forget to CHAIN ONE, TURN at the end of each row.
Chain 9, sc in 2nd loop from the hook and sc back to the starting ch (8)
1 inc, 6 sc, inc (10)
2 inc, 8 sc, inc (12)
3 – 5 Sc across (12)
6 dec, 8 sc, dec (10)
7 Sc across (10)
8 dec, 6 sc, dec (8)
9 Sc across (8)
10 dec, 4 sc, dec (6)
11 – 16 Sc across (6)
Carefully SC all the way around the edge of this piece. This will give it a neat border and make it easier to sew on too.
Finish off, leave a very long tail for sewing.
OPTIONAL: You can make the eyes out of felt and glue or needle felting.
Eyes (x2) - Black
Magic Ring 6 (6)
- Change to Red -
1 Inc around (12)
- Finish off, leave a long tail for sewing
Assembly
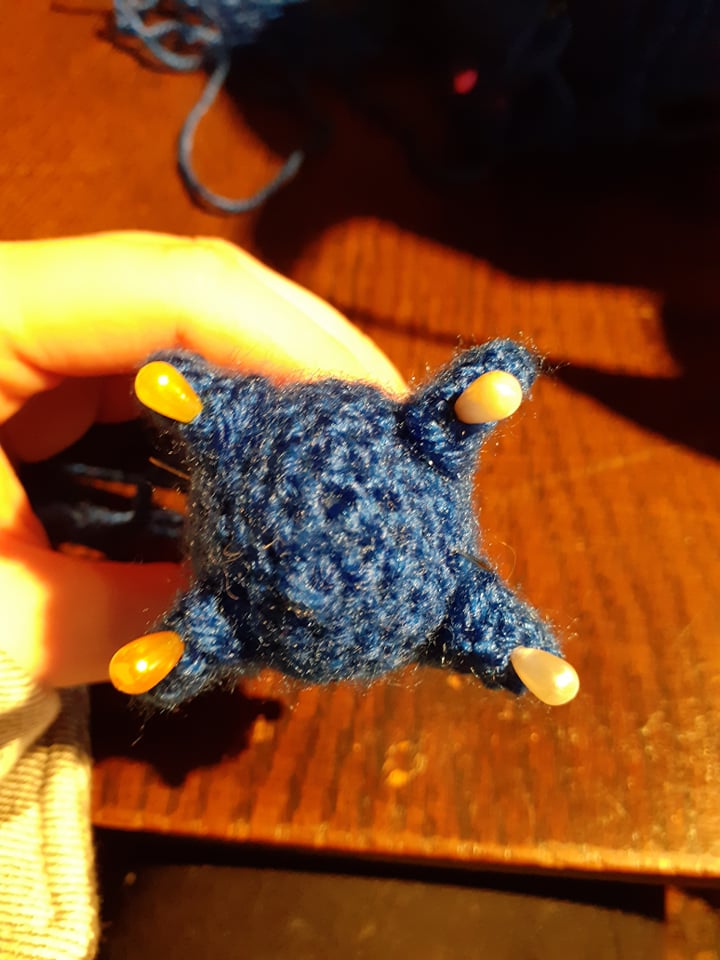
Start off with the small assembly of pieces. Gather up the tail spikes and the tail and pin the spikes onto the end ball of the tail in a “X” format. When you’re happy with the placements, sew them neatly in place. I found using a Whip Stitch the easiest stitch.
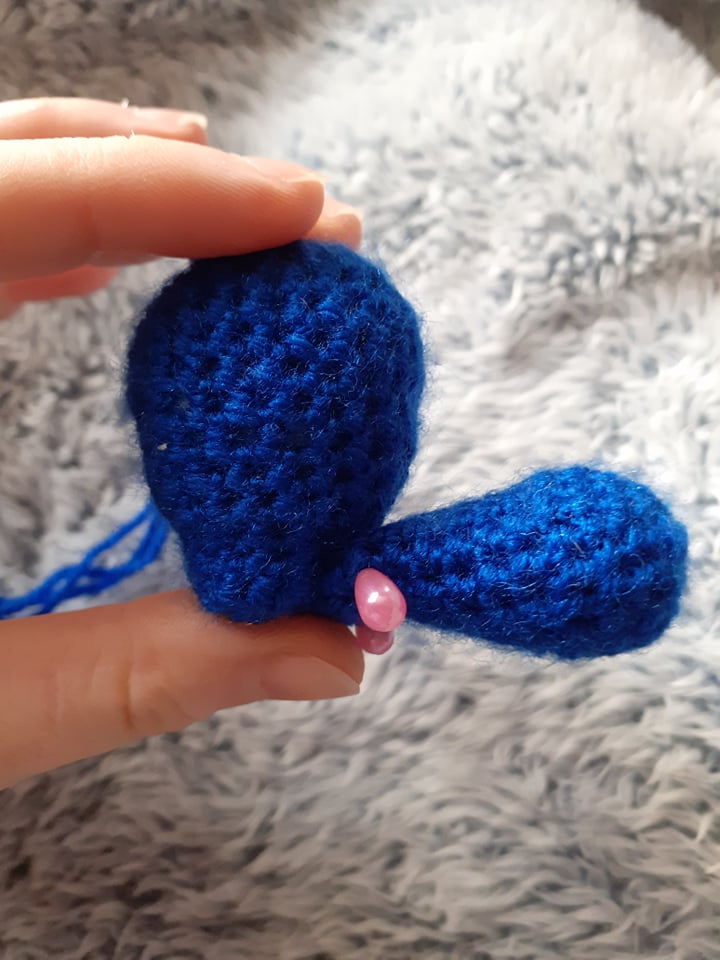
Next, take up the feet and legs. Pin the feet to the side of the hind legs and sew them neatly in place. I found using a Ladder stitch was the best method.
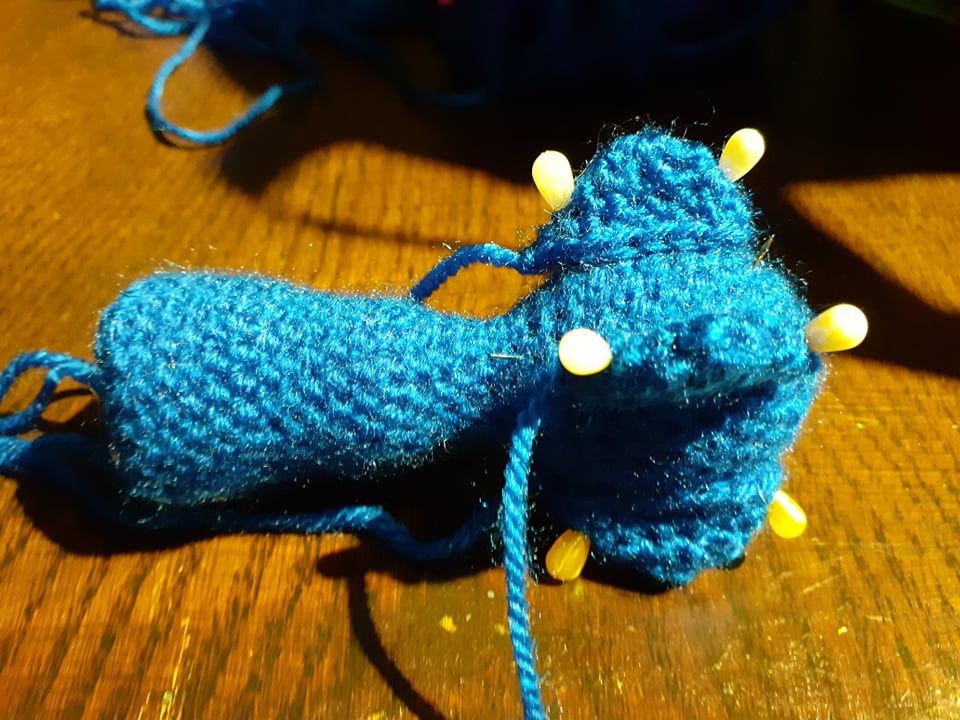
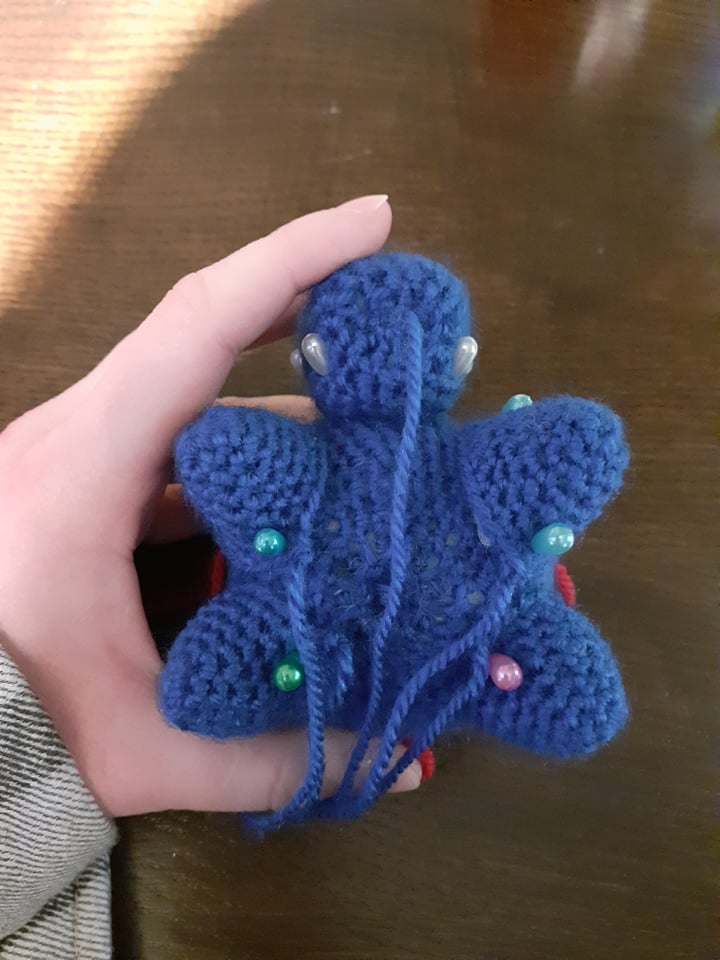
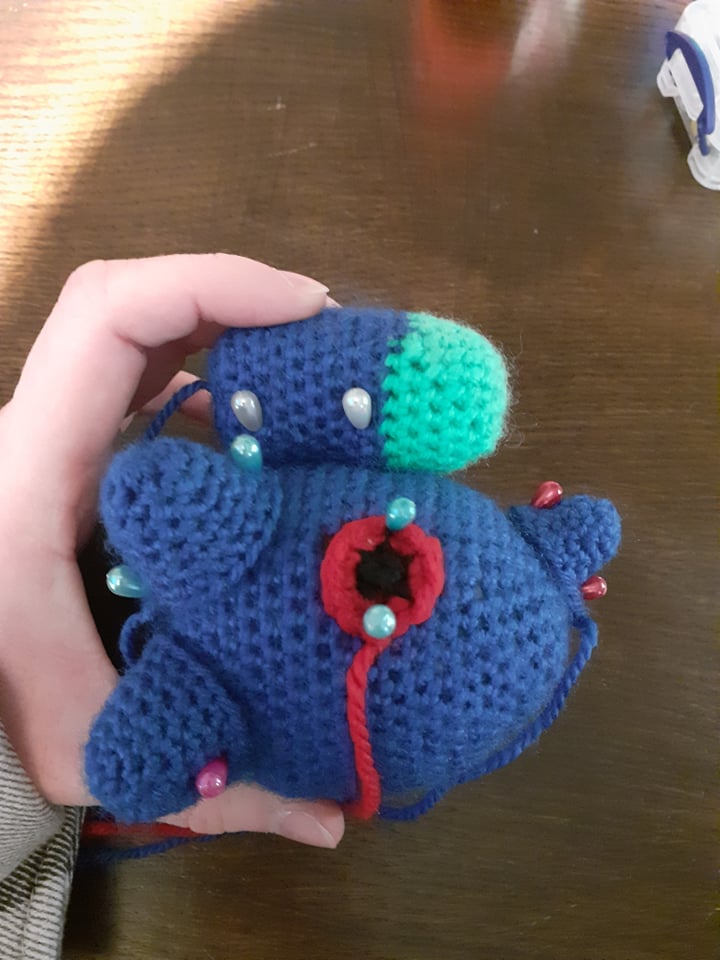
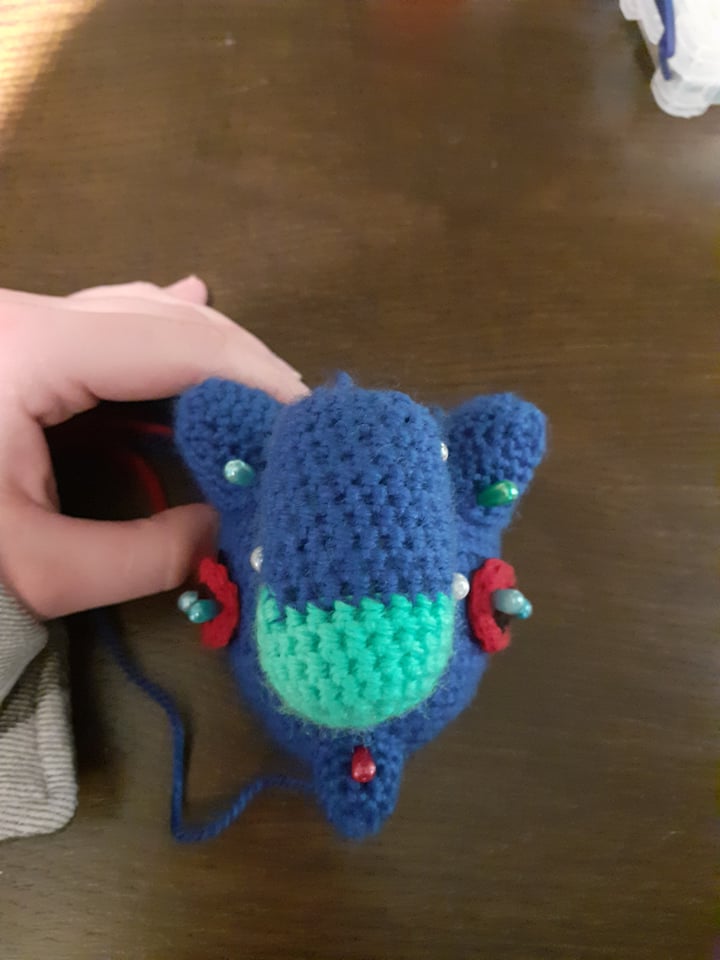
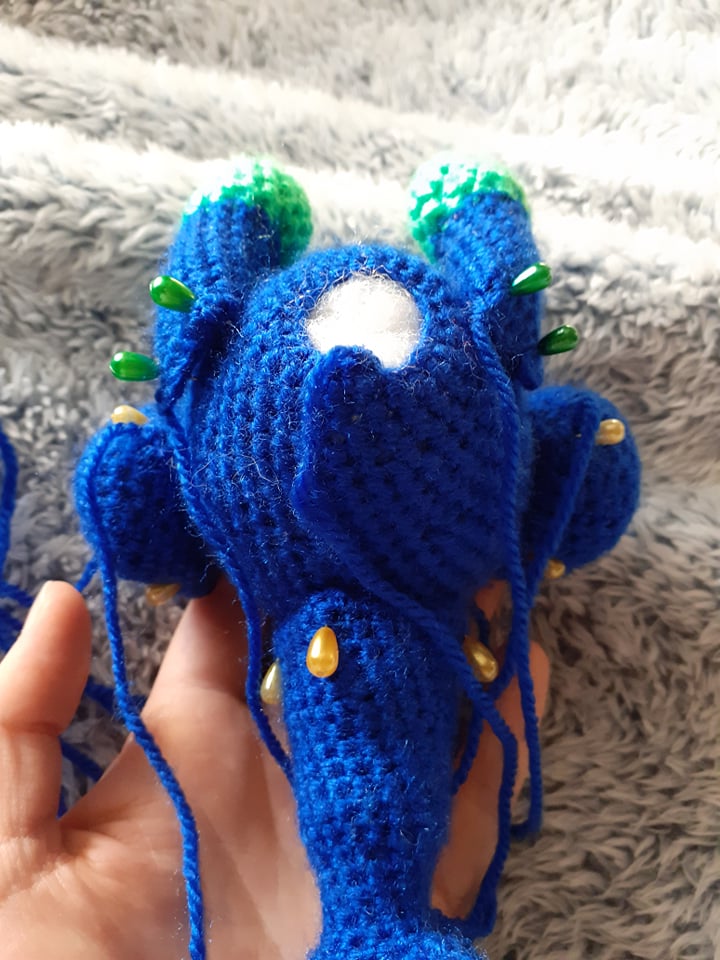
Take up the head, head horn, nose horn, eyes and horns and get your pin cushion at the ready.
Pin the head horn to the top of the head, the horns on the back of the head (as if to create corners) and the nose horn to the tip of the nose. Pin the eyes to the sides of the head and make sure they’re in line with each other. See photos for reference.
When you’re happy with all the placements, sew them all on neatly. With the head horn, only sew on half way so it’s not completely flush to the head. (I only sewed up to the colour change.)
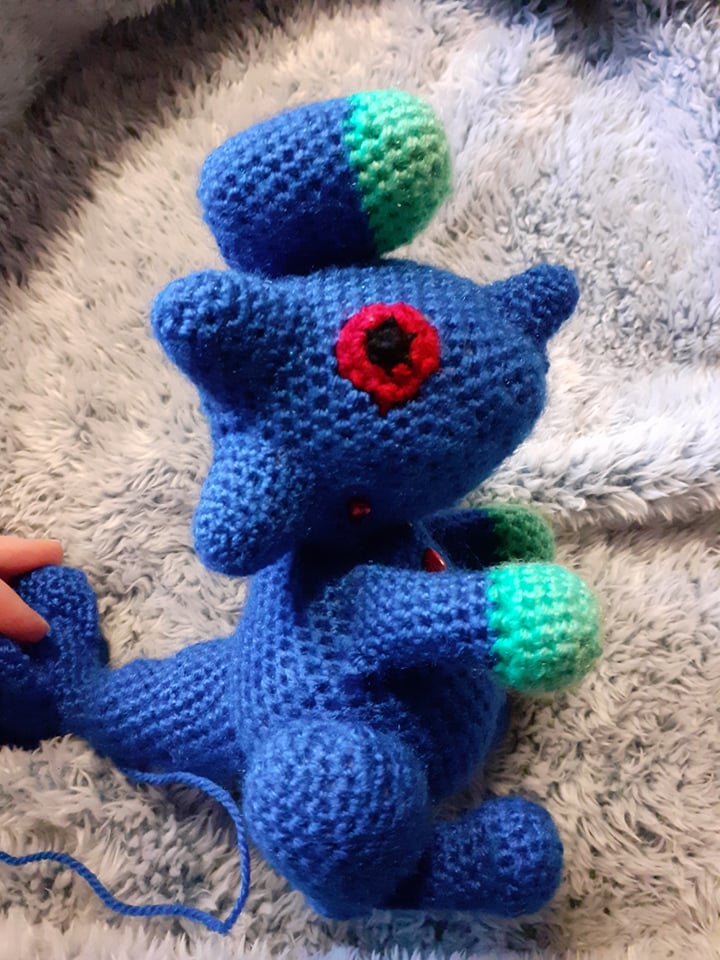
Now all the small pieces are assembled, time to get the Brachydios together!
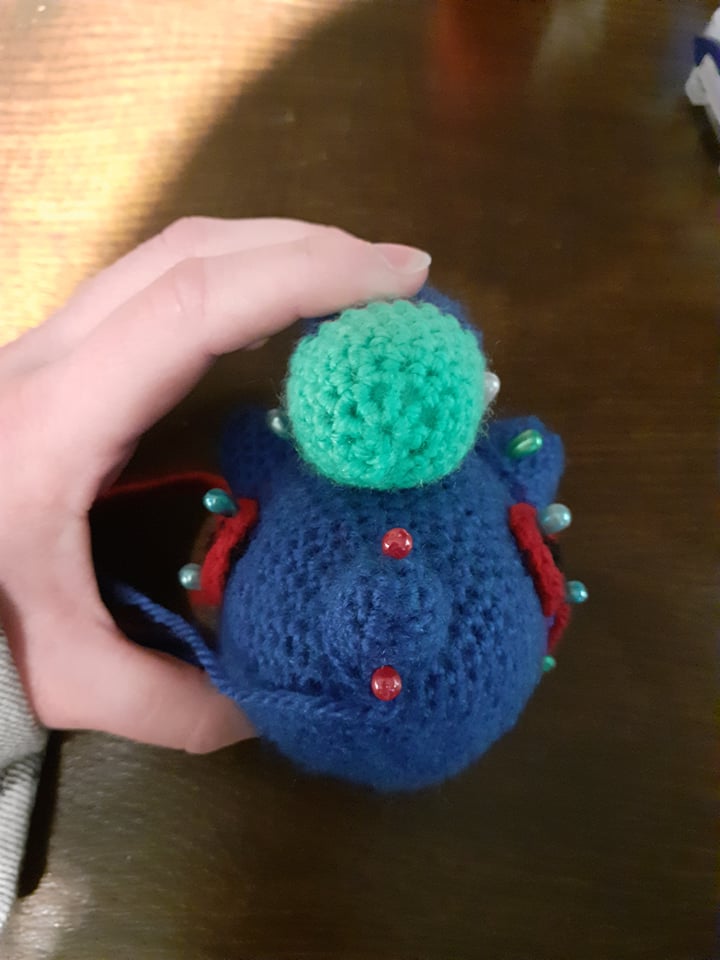
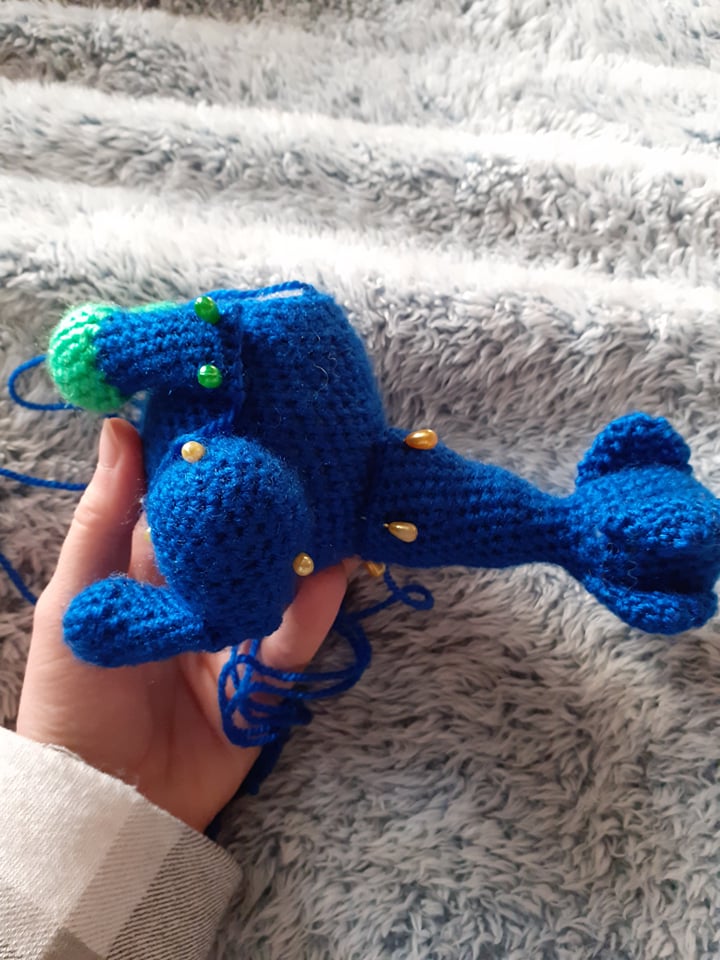
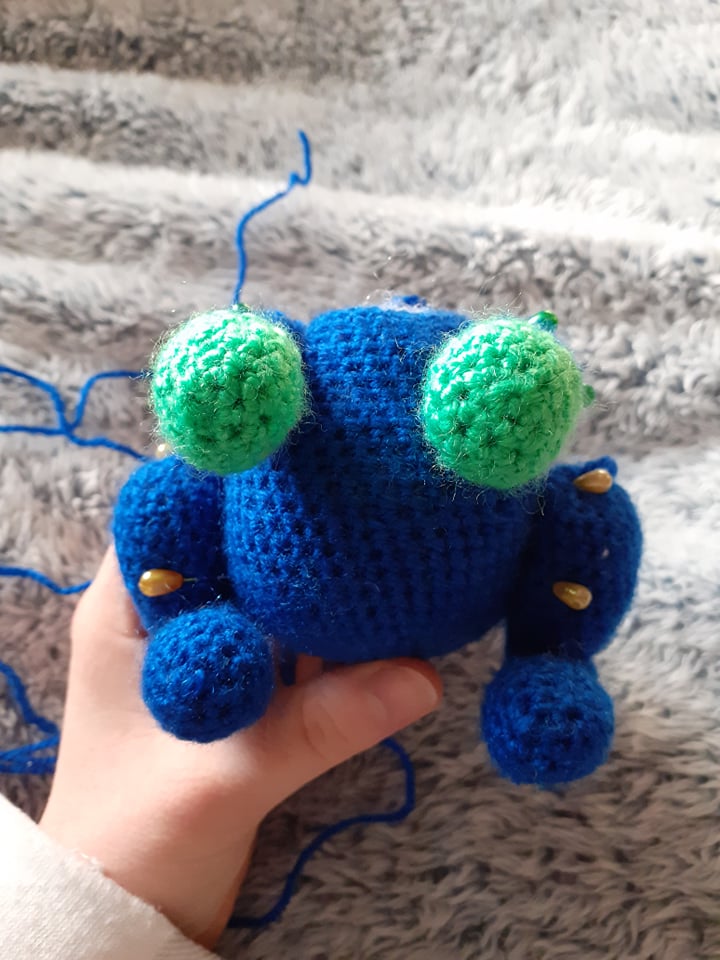
Pin the tail to the back of the body and the completed legs to the sides so that the Brachydios can sit flat. Pin the arms just above the legs and make sure they’re in line with each other. When you’re happy with these placements, sew them neatly on.
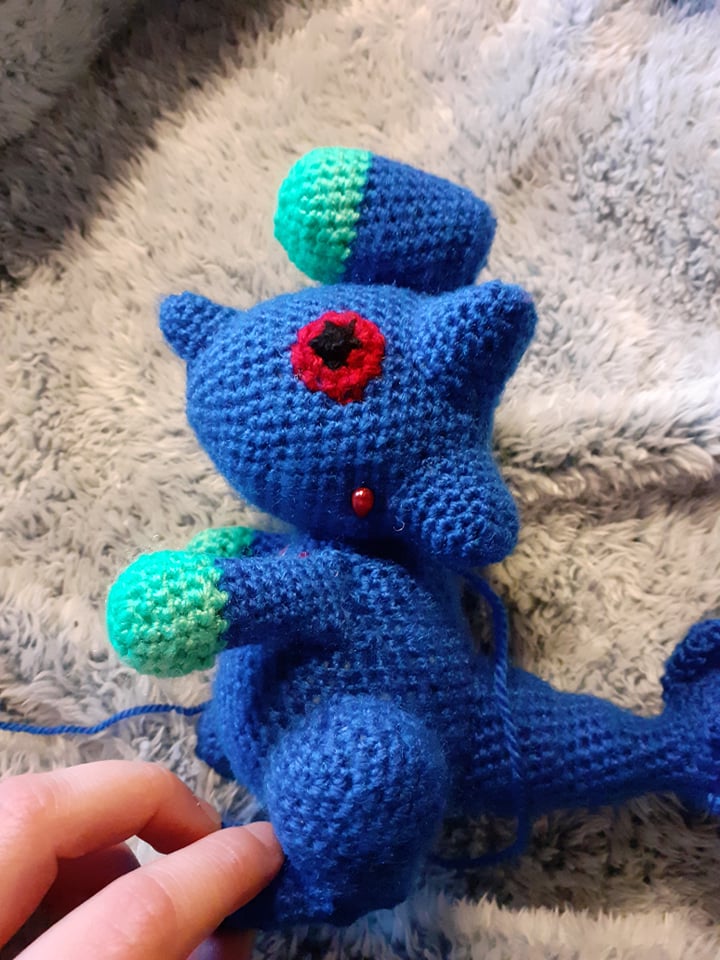
Next, pin the head on to the body using plenty of pins. I found using a Ladder Stitch was the best stitch for this part.
Almost done!
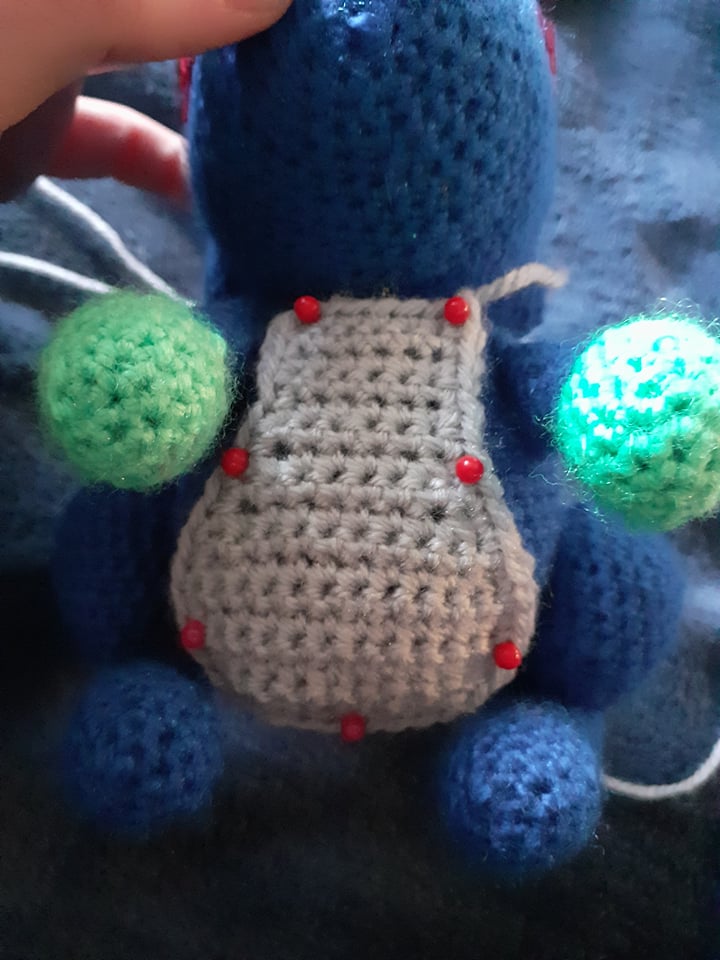
Finally take up the belly and pin it to the body. Make sure the thinnest part of the belly tucks up to the head as much as possible.
When you’re happy with the placement, sew it neatly on.
That’s it!
You’re done!
Enjoy your new adorable Brachydios!
Just make sure he doesn't leave explosive slime everywhere...
STEP BY STEP TUTORIAL
Coming soon!
If you have any questions about this pattern, feel free to contact me.
This pattern is property of BlueFoxPaws. Please do not claim or resell this pattern as your own. You can sell the finished product as long as credit is given -BlueFoxPaws-.
Leave a Reply