
CUDDLEFISH FROM SUBNAUTICA CROCHET PATTERN
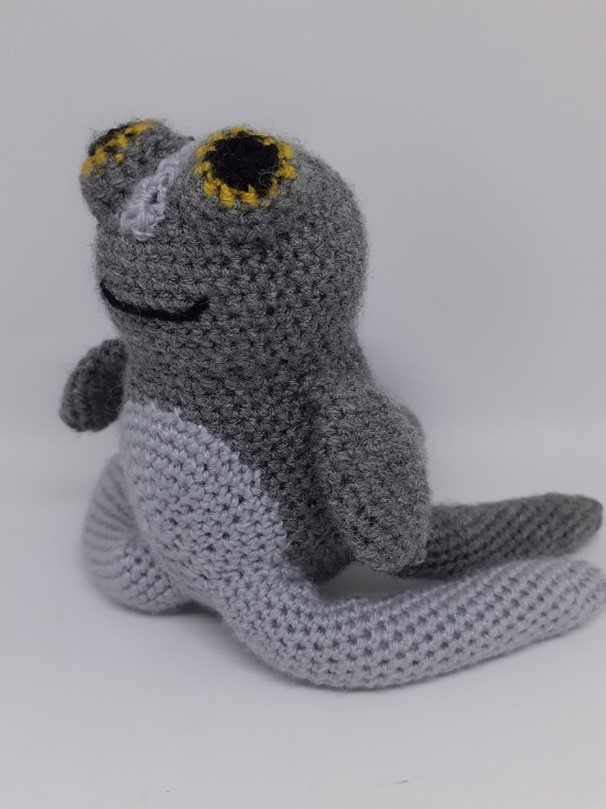
The Cuddlefish.
Subnautica - what a FANTASTIC game, am I right?!
Although it's such a great game, it's also a very lonely one, that is until you find the much sought after Cuddlefish egg, then hatch one of those bad boys to get one of the cutest companions ever.
When I got my first Cuddlefish I instantly fell in love and decided that I needed one in real life so of course I grabbed my hook and yarn. I can't keep this pattern to myself, I must share the Cuddlfish love!
Go make a brew, grab your supplies and let's get down to making one of these adorable creatures.
Printable PDF version available in my Etsy Store
Materials
4mm crochet hook
4mm yarn in grey, light grey, black and yellow
Toy stuffing
Tapestry / Embroidery needle
Abbreviations
SC – Single Crochet
INC – Increase
DEC – Decrease
(optional) HDC – Half Double Crochet
** - Repeat around
Pattern
Head and Body - Grey
Stuff lightly as you go.
Magic Ring 8 (8)
1 Inc around (16)
2 *sc, inc* (24)
3 *2 sc, inc* (32)
4 *3 sc, inc* (40)
5 *4 sc, inc* (48)
6 – 12 Sc around (48)
13 *4 sc, dec* (40)
14 *2 sc, dec* (30)
15 Sc around (30)
16 *2 sc, inc* (40)
17 Sc around (40)
18 *4 sc, inc* (48)
19 – 35 Sc around (48)
36 *4 sc, dec* (40)
37 *3 sc, dec* (32)
38 *2 sc, dec* (24)
39 *sc, dec* (16)
40 Dec around (8)
- Finish off, finish stuffing and really shape this piece. Make sure the neck area is refined (R13 – R15). Tie end closed.
Tentacles (x3 in Grey, x2 in Light Grey)
Stuff these lightly as you go. Craft wire is completely optional.
Magic Ring 6 (6)
1 *sc, inc* (9)
2 Sc around (9)
3 *2 sc, inc* (12)
4 Sc around (12)
5 *3 sc, inc* (15)
6 – 30 Sc around (15)
- Finish off, leave a long tail for sewing
Fins (x2) - Grey
Magic Ring 8 (8)
1 *sc, inc* (12)
2 Sc around (12)
3 *2 sc, inc* (16)
4 Sc around (16)
5 *3 sc, inc* (20)
6 – 8 Sc around (20)
9 *3 sc, dec* (16)
10 – 11 Sc around (16)
12 *2 sc, dec* (12)
- Finish off, don’t stuff and pinch them flat. Leave a long tail for sewing
Belly - Light Grey
Magic Ring 8 (8)
1 Inc around (16)
2 *sc, inc* (24)
3 *2 sc, inc* (32)
4 *3 sc, inc* (40)
5 *4 sc, inc* (48)
6 *5 sc, inc* (56)
- Finish off, leave a long tail for sewing
OPTIONAL FOR EYES – If you’re not comfortable with colour changing your yarn, you can make the eyes purely out of grey yarn, then make the pupils and iris out of felt and glue or needle felting if you wish.
Eyes (x2) - Black
Magic Ring 6 (6)
1 *sc, inc* (9)
- Change to Yellow -
2 *2 sc, inc* (12)
- Change to Grey -
3 *3 sc, inc* (15)
4 *4 sc, inc* (18)
5 Sc around (18)
- Finish off, stuff lightly and leave a long tail for sewing.
OPTIONAL FOR STRIPE – You can embroider this, make it out of felt and glue or surface crochet it if you wish.
Stripe - Light Grey
Chain 31, make 3 HDC in the 2nd loop from the hook then working back to the starting CH, sc 28. Slip Stitch into the last stitch of the starting ch.
Finish off and leave a long tail for sewing.
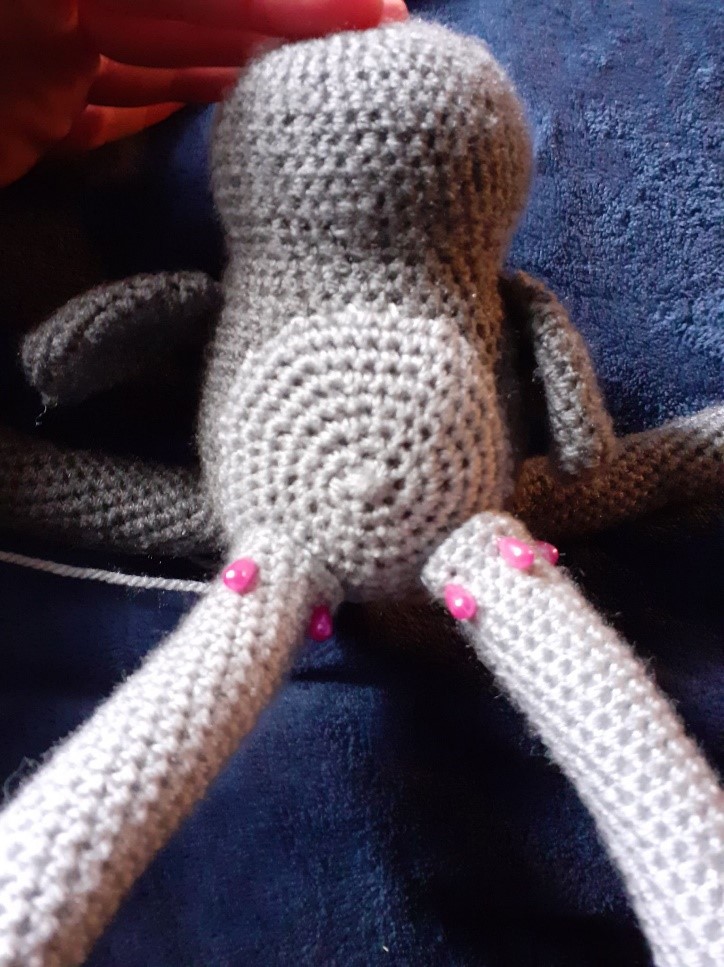
Assembly
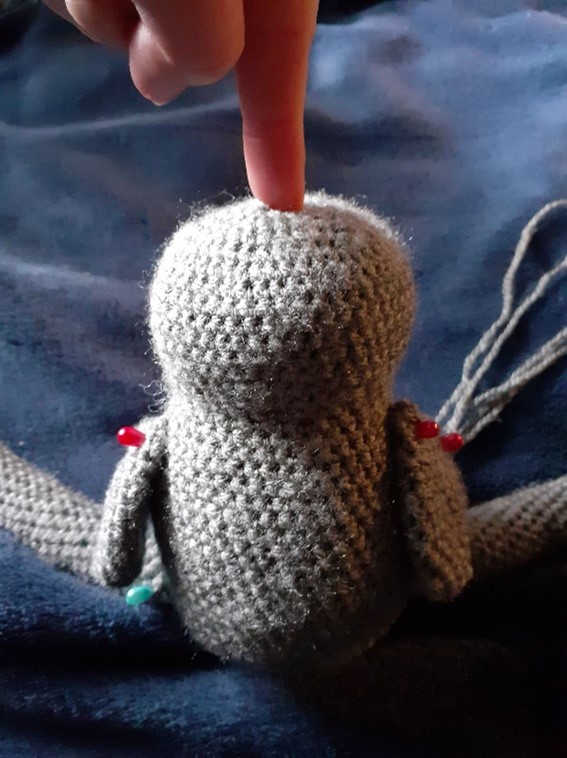
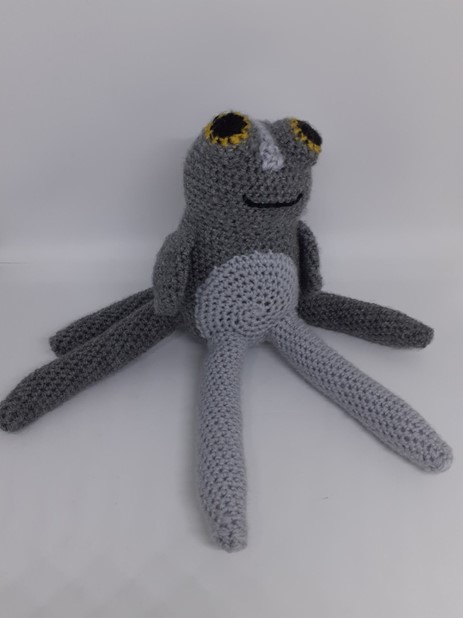
Start by pinning the fins to the sides of the
Cuddlefish, add a slightly slant if you wish to (see middle picture). Pin the 3
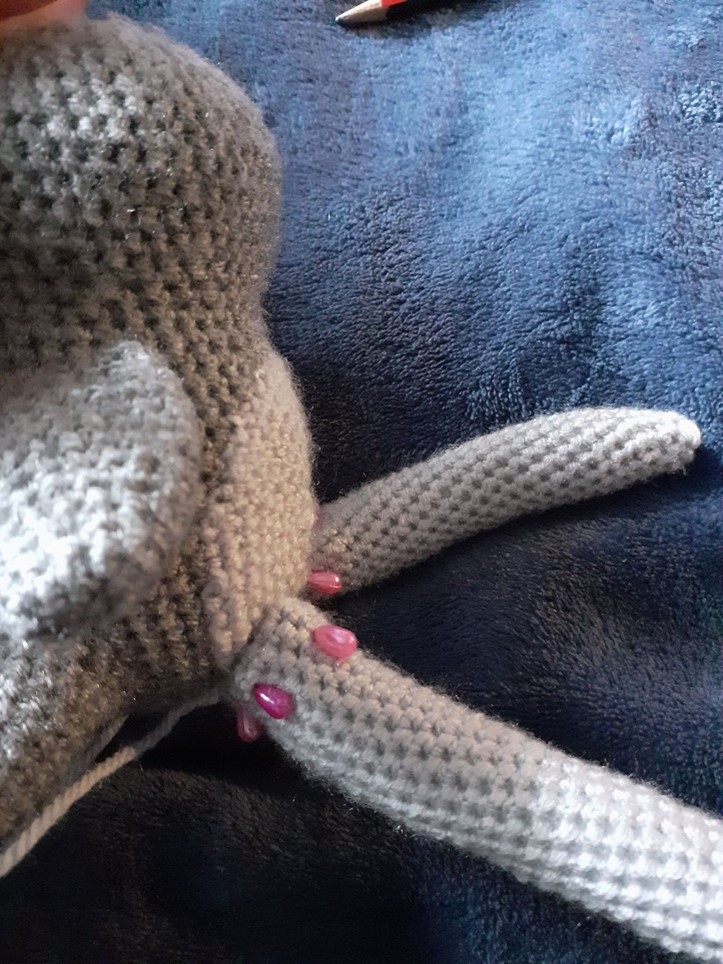
grey tentacles in place too, one in the middle of the bottom of the back and
the other two either side.

When you’re happy with the placements, sew the tentacles and fins on. I found using a whip stitch worked best for the fins.
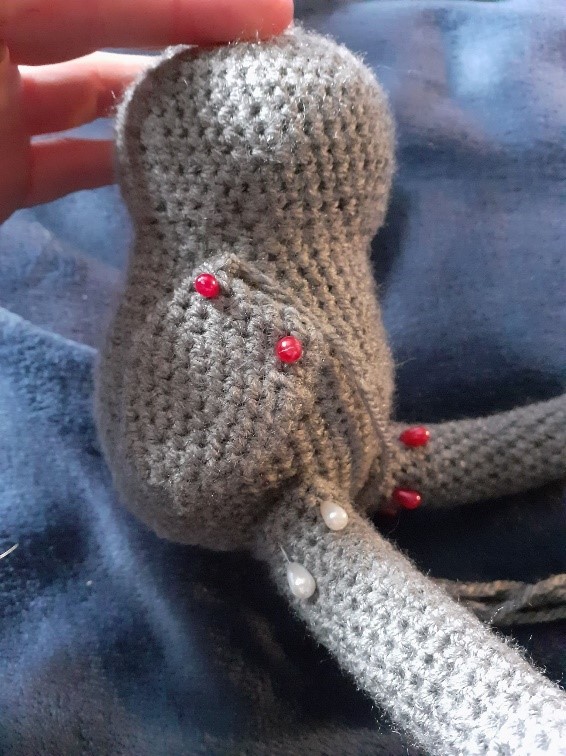
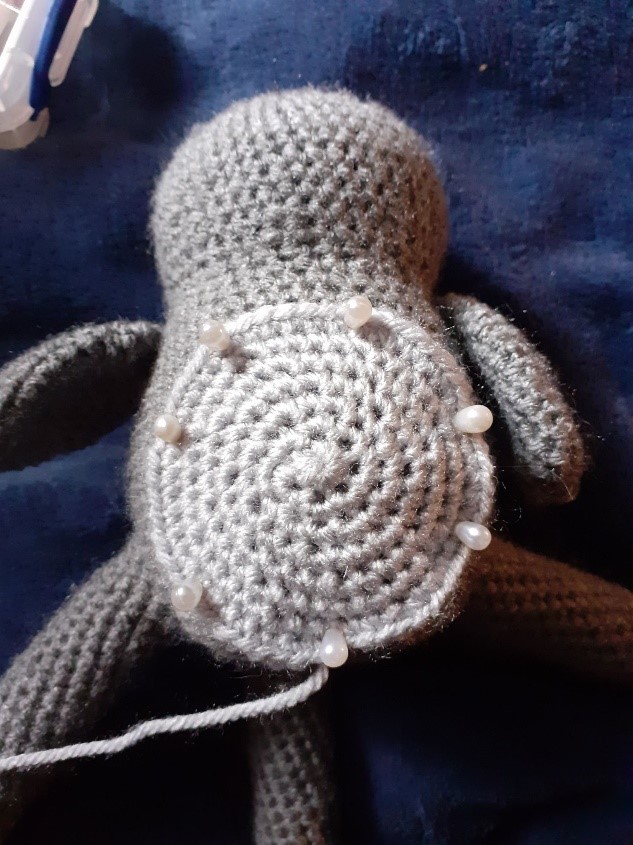
Next, take up the light grey belly and pin that onto the body.
Sew in place neatly when ready.
Take up the two light grey tentacles, and pin them to either side of the belly.
Neatly sew on when ready.
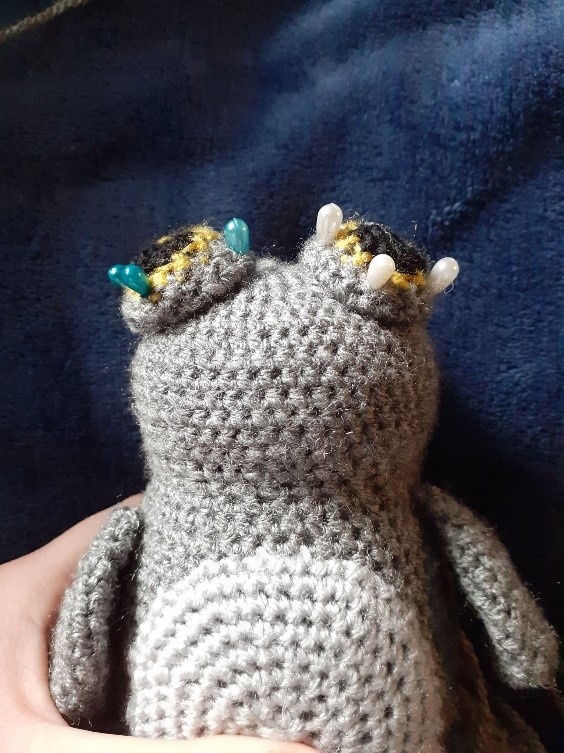
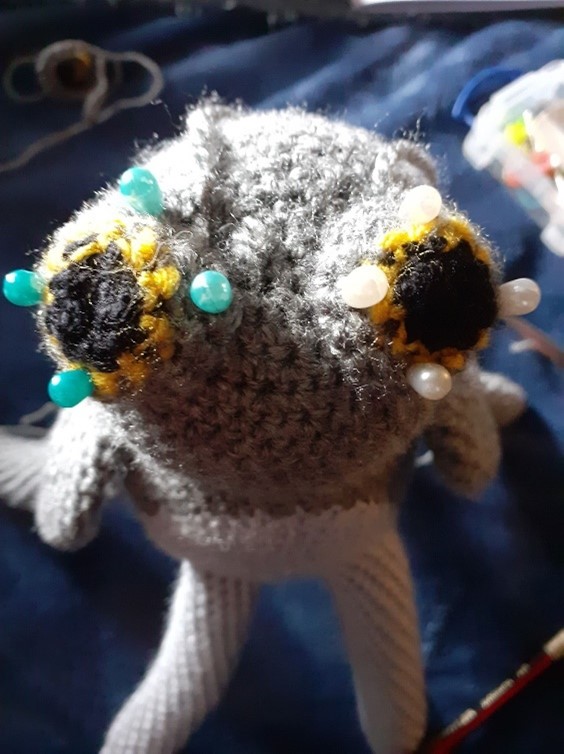
Moving on to the eyes – pin them to the top of the head and make sure they’re level with each other.
Sew them on when you’re happy with the placement.
Almost done!
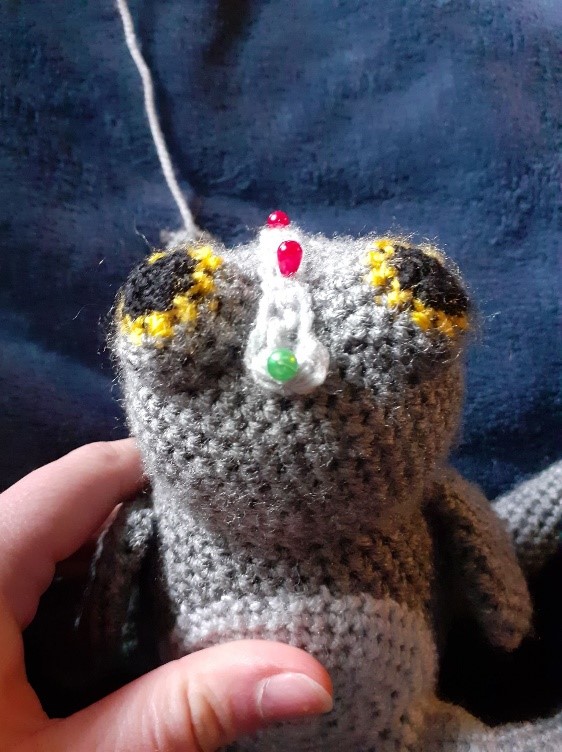
If you made the stripe by alternate methods, place
it between the eyes and down the back and work it in place.
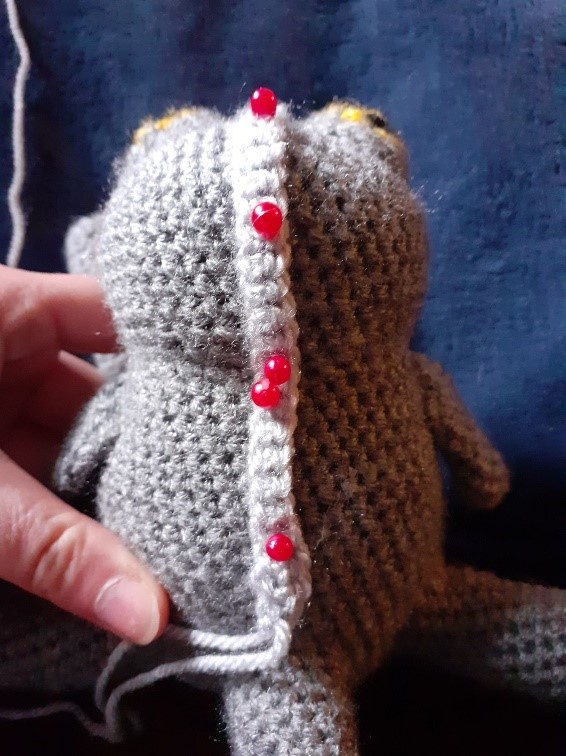
If you crocheted the stripe, pin it neatly in place
and sew it carefully on. Make sure to really refine the 3 HDC’s for a broader
point on the head.
When everything is sewn in place, take up some black
yarn and embroider a smile on the Cuddlefish’s face, then that’s it!
You’re done!
Enjoy your new
adorable cuddly companion!
STEP BY STEP TUTORIAL
Coming soon!
If you have any questions about this pattern, feel free to contact me.
This pattern is property of BlueFoxPaws. Please do not claim or resell this pattern as your own. You can sell the finished product as long as credit is given -BlueFoxPaws-.
Leave a Reply