
MEW CROCHET PATTERN
Mew, an absolutely classical fan favourite and a staple of recognition to the amazing world of Pokémon.
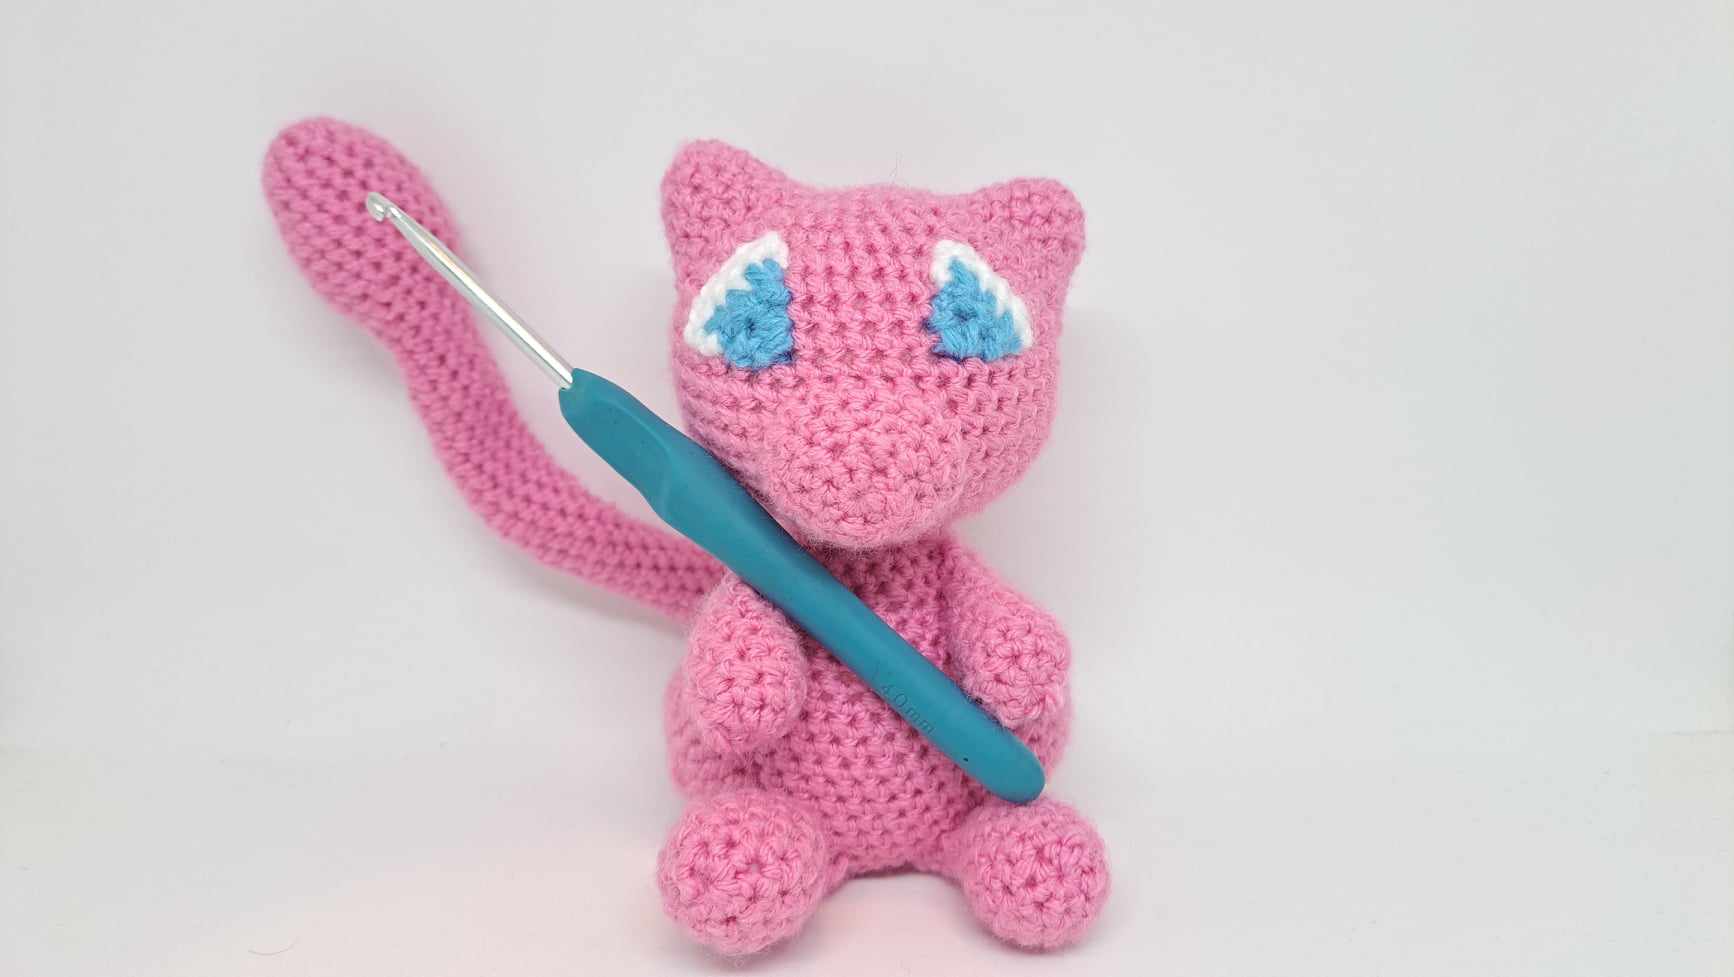
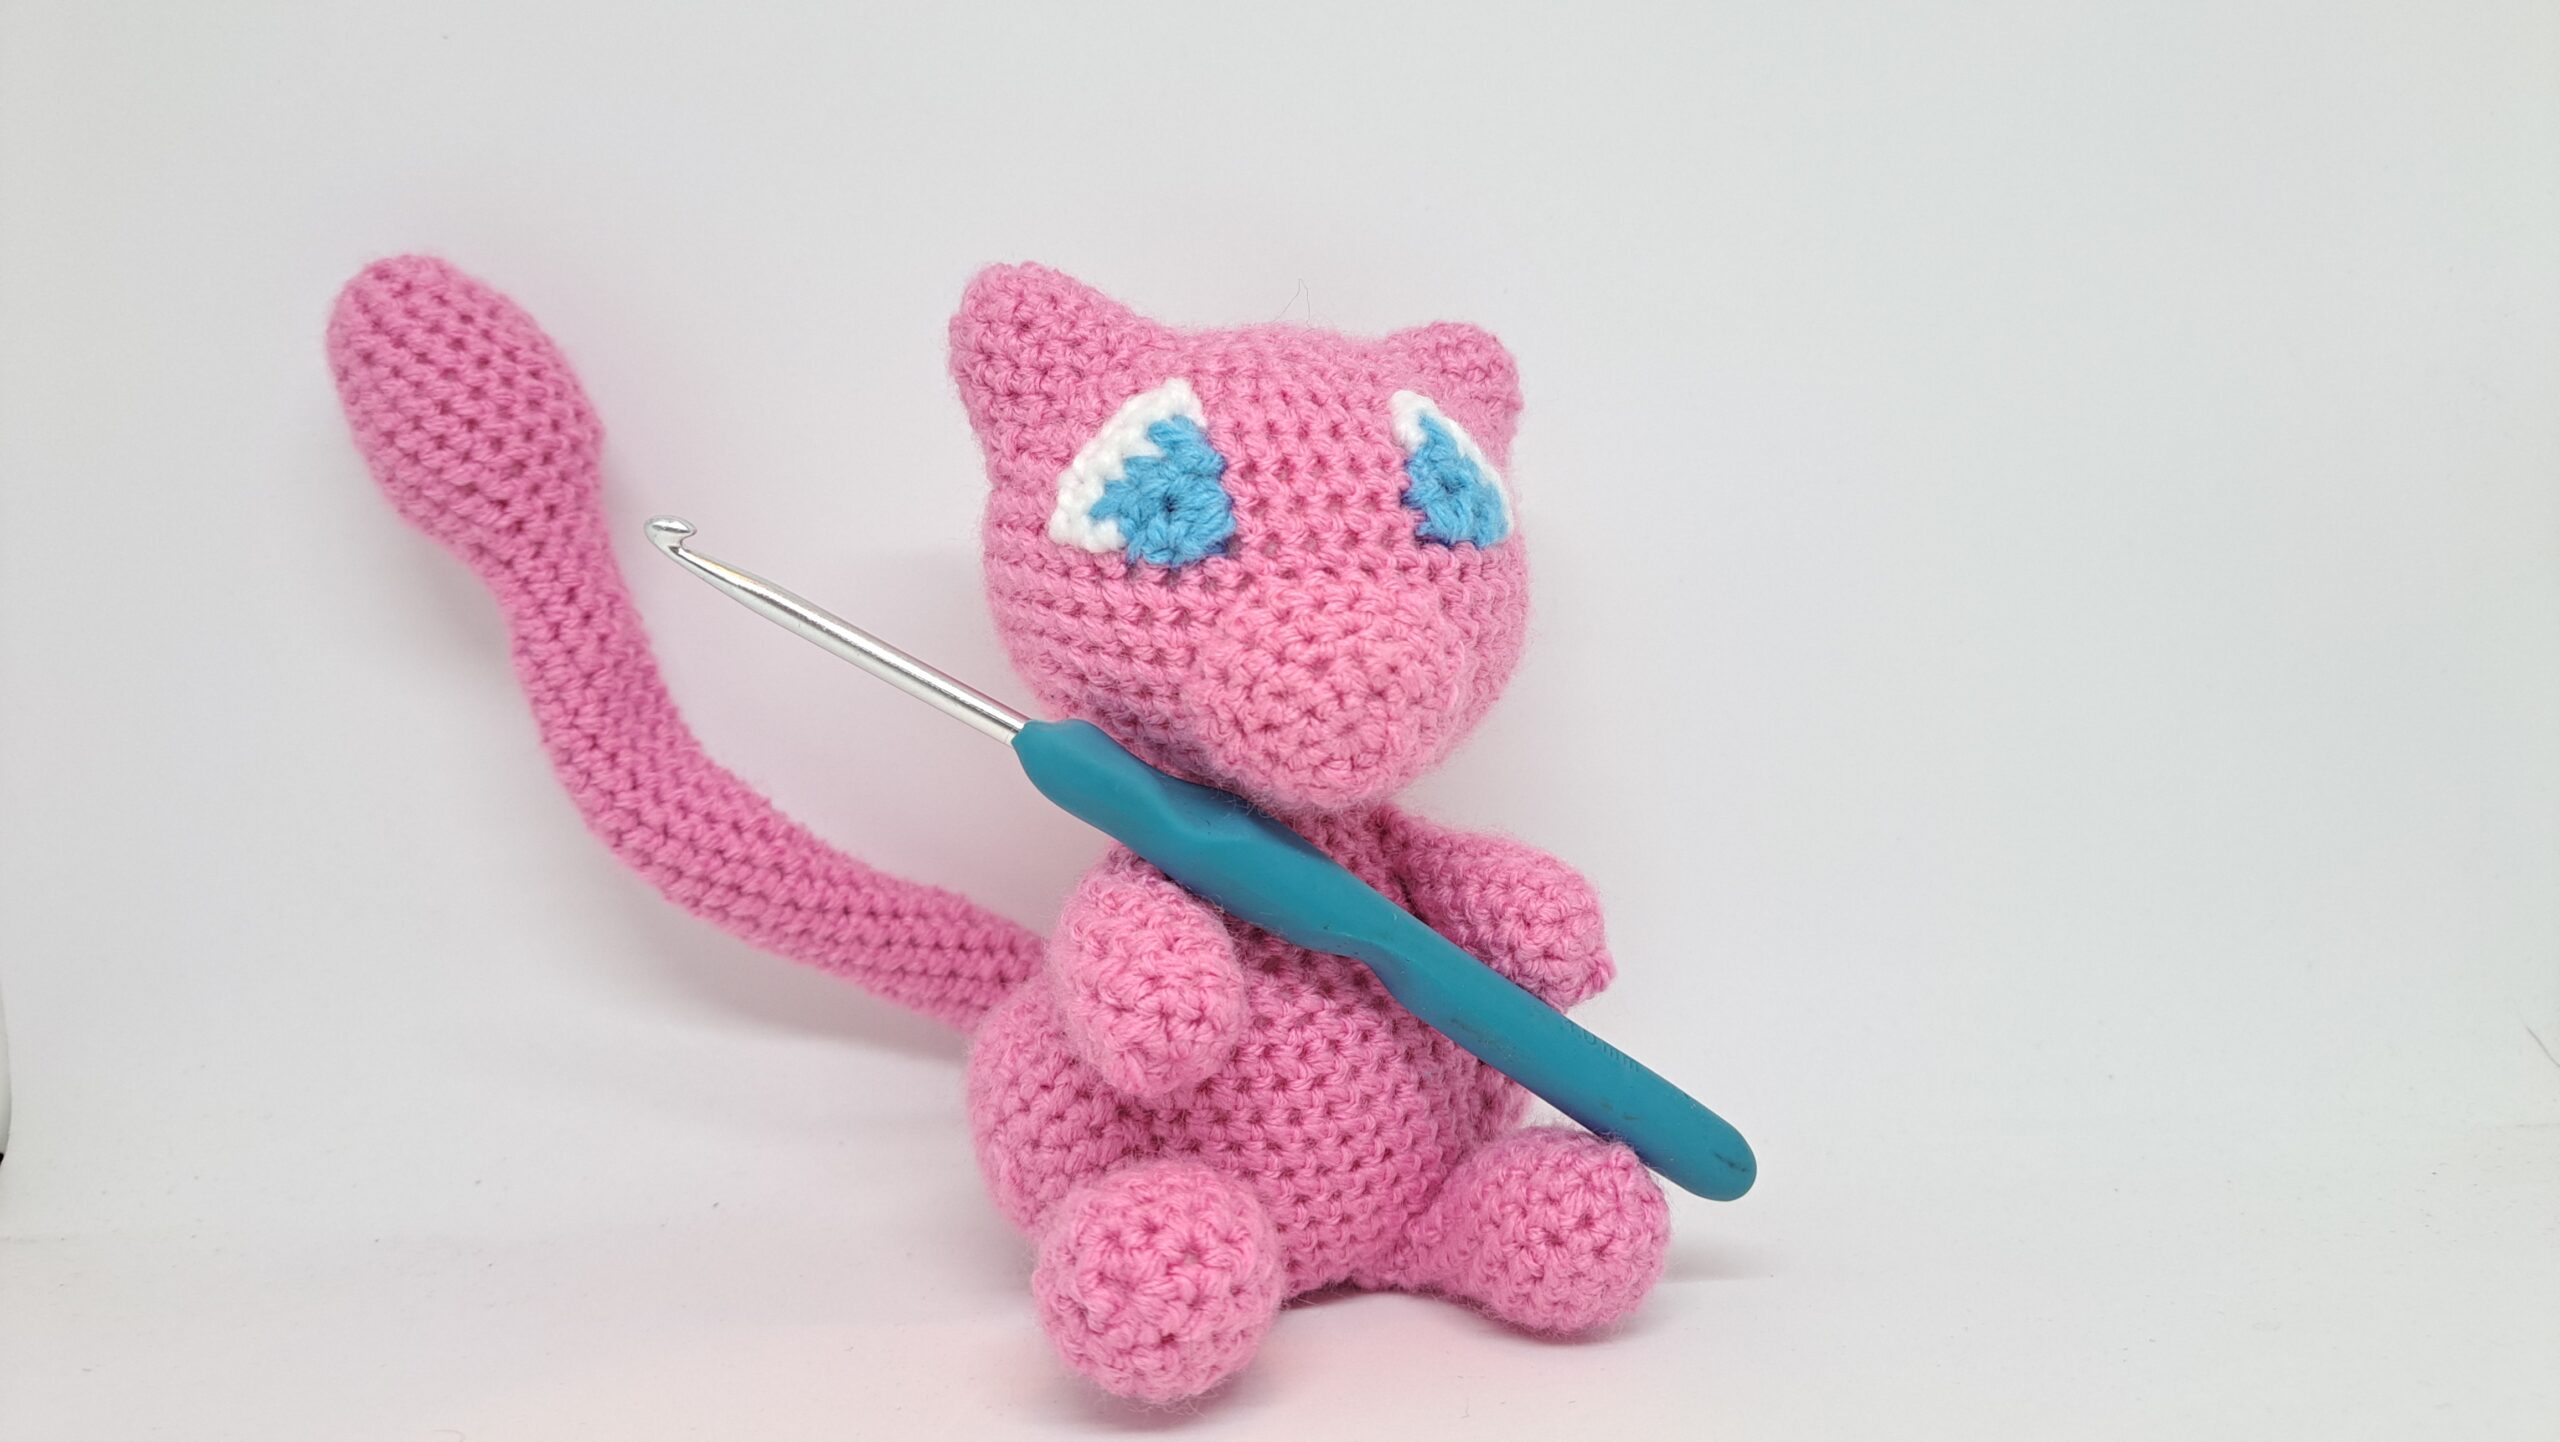
This Mew was an absolute pleasure to make and has since taken residence on my desk and insists on holding my hook!
Using only basic stitches, work with me through this pattern to create your own beloved mythical Mew.
This Mew was requested by one of my lovely YouTube followers, than you again for the suggestion!
If you wish to have a printable PDF version of this pattern, you can find it on my Etsy store
Materials:
4mm crochet hook
OPTIONAL 3mm crochet hook for the eyes
yarn in pink (optional white and blue for eyes)
Toy stuffing
Pipe cleaners x2 / craft wire (optional for tail)
Tapestry / Embroidery needle
Abbreviations:
SC – Single Crochet
INC – Increase
DEC – Decrease
** - Repeat around
Pattern
Head and body - Pink
Stuff this as you go.
Magic Ring 8 (8)
1 Inc around (16)
2 *sc, inc* (24)
3 *2 sc, inc* (32)
4 *3 sc, inc* (40)
5 *4 sc, inc* (48)
6 – 12 Sc around (48)
13 *4 sc, dec* (40)
14 *3 sc, dec* (32)
15 *2 sc, dec* (24)
16 *sc, dec* (16)
17 – 18 Sc around (16)
19 *sc, inc* (24)
20 – 21 Sc around (24)
22 *2 sc, inc* (32)
23 – 25 Sc around (32)
26 *3 sc, inc* (40)
27 – 34 Sc around (40)
35 *3 sc, dec* (32)
36 *2 sc, dec* (24)
37 *sc, dec* (16)
38 Dec around (8)
- Finish off, finish stuffing and end with an Ultimate Finish
Ears (x2) - Pink
Magic Ring 8 (8)
1 *sc, inc* (12)
2 Sc around (12)
3 *2 sc, inc* (16)
4 Sc around (16)
5 *3 sc, inc* (20)
- Finish off, turn inside out and stuff, leave a long tail for sewing
Nose - Pink
Magic Ring 8 (8)
1 *sc, inc* (12)
2 *2 sc, inc* (16)
3 *3 sc, inc* (20)
4 Sc around (20)
- Finish off with a long tail
Arms (x2) - Pink
Magic Ring 8 (8)
1 *sc, inc* (12)
2 – 7 Sc around (12)
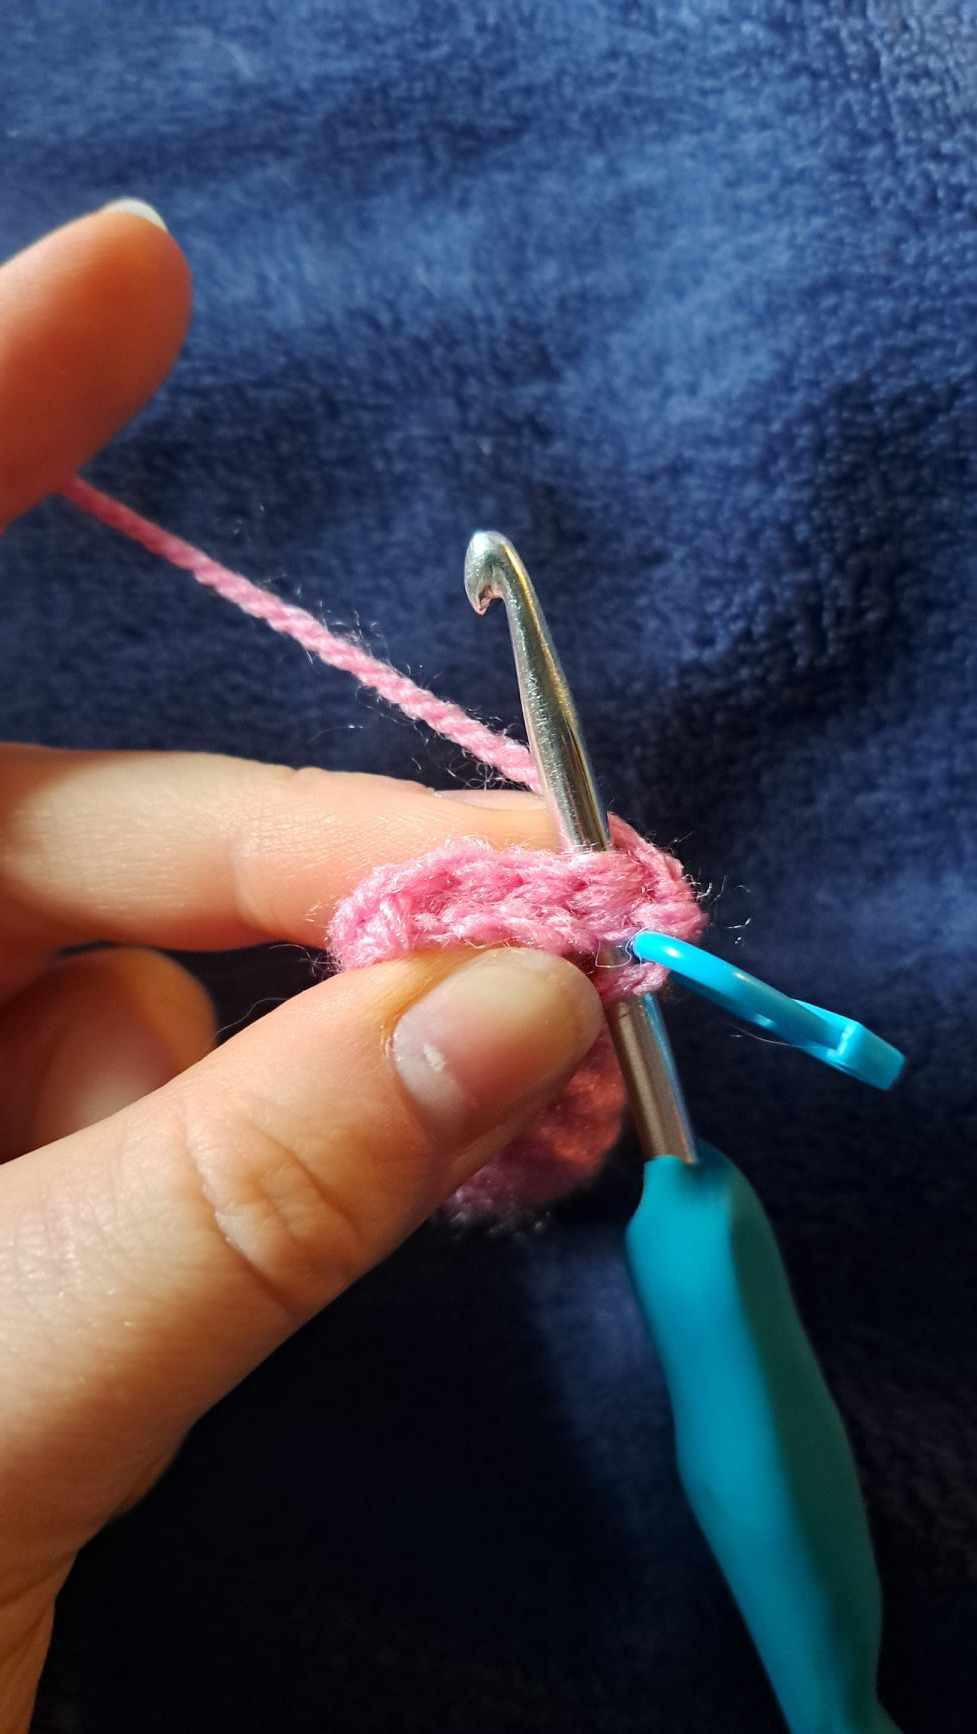
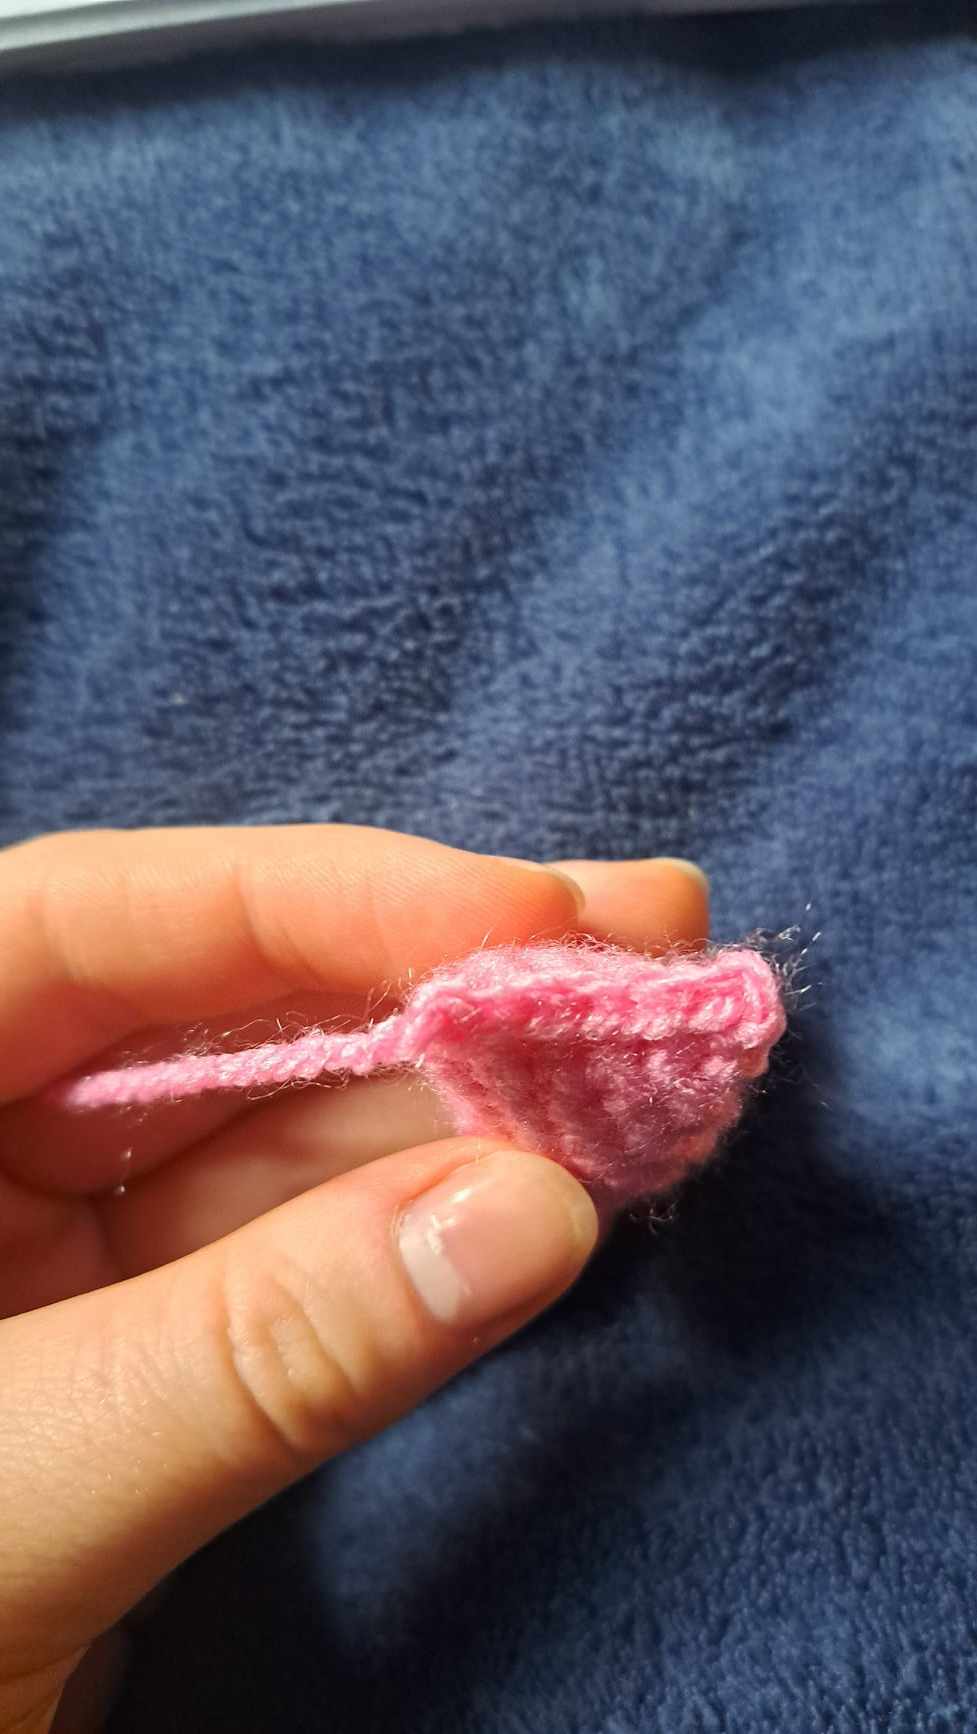
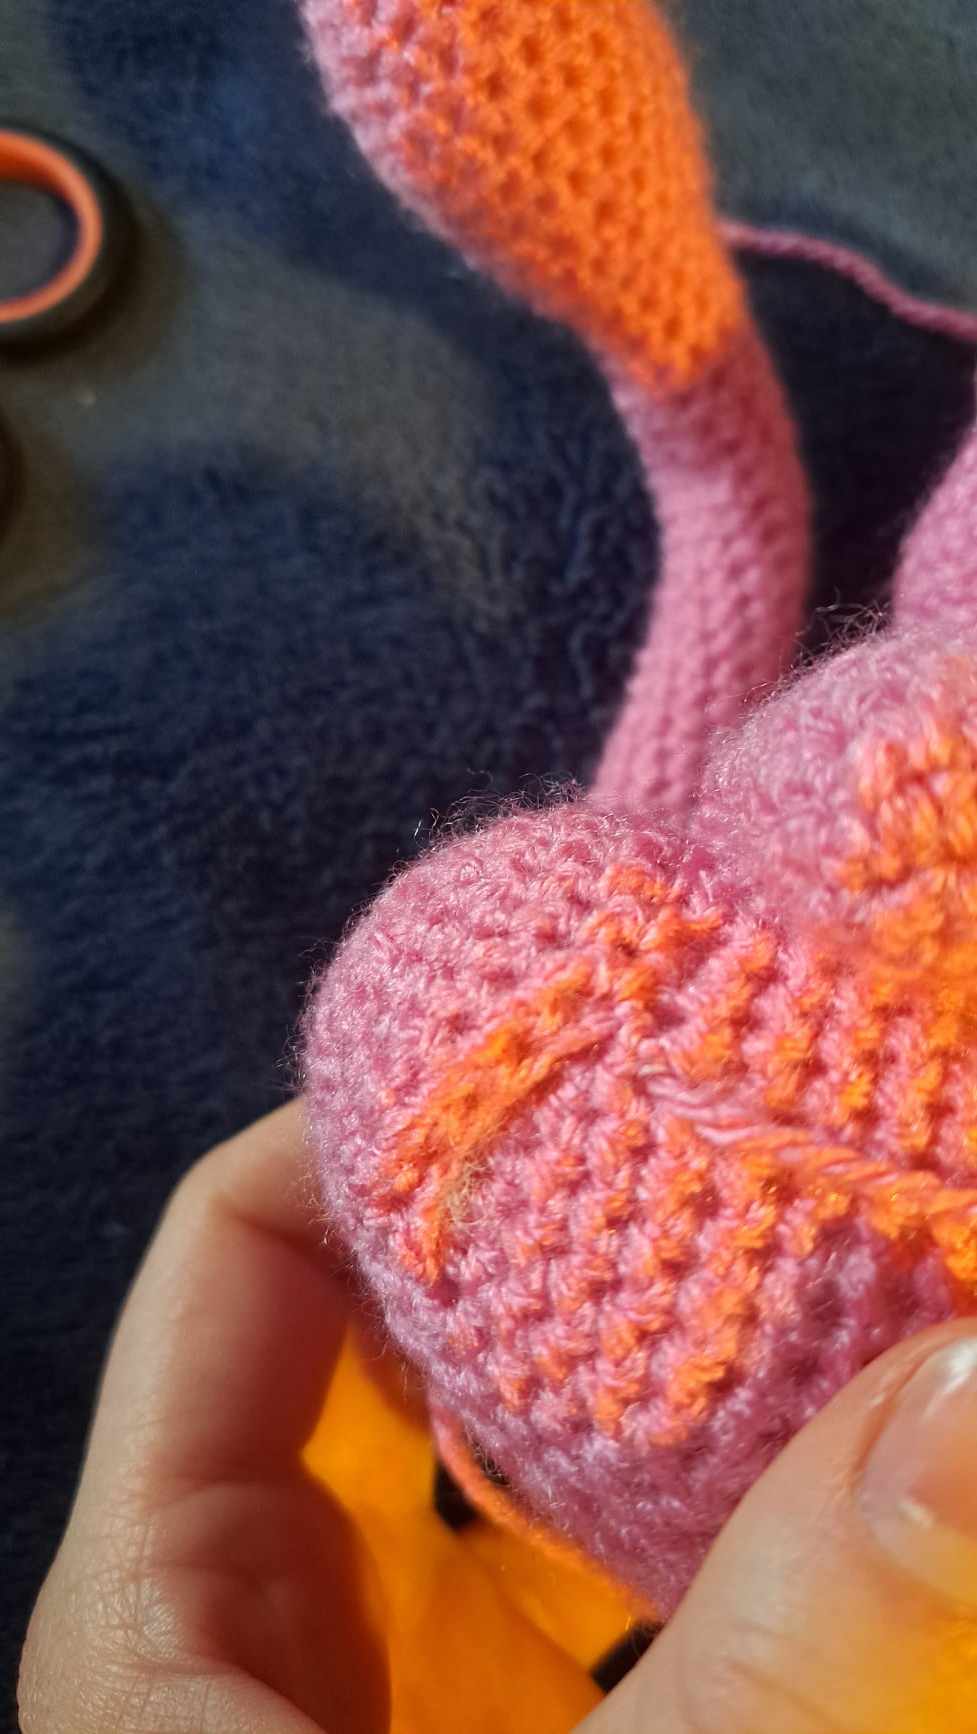
Stuff the top of the arm lightly, then pinch the end closed and SC across, this creates a nice flush line that will help in the assembly section.
Please
see the pictures for reference.
Legs (x2) - Pink
Magic Ring 8 (8)
1 Inc around (16)
2 *sc, inc* (24)
3 – 4 Sc around (24)
- Finish off, leave a long tail for sewing
Feet (x2) - Pink
Magic Ring 8 (8)
1 *sc, inc* (12)
2 *2 sc, inc* (16)
3 – 4 Sc around (16)
5 *2 sc, dec* (12)
6 – 11 Sc around (12)
Similar to the arms - stuff the tip of the feet lightly, then pinch the end closed and SC across, this creates a nice flush line that will help in the assembly section.
Tail - Pink
Magic Ring 8 (8)
1 *sc, inc* (12)
2 *2 sc, inc* (16)
3 Sc around (16)
4 *3 sc, inc* (20)
5 – 8 Sc around (20)
9 *3 sc, dec* (16)
10 Sc around (16)
11 *2 sc, dec* (12)
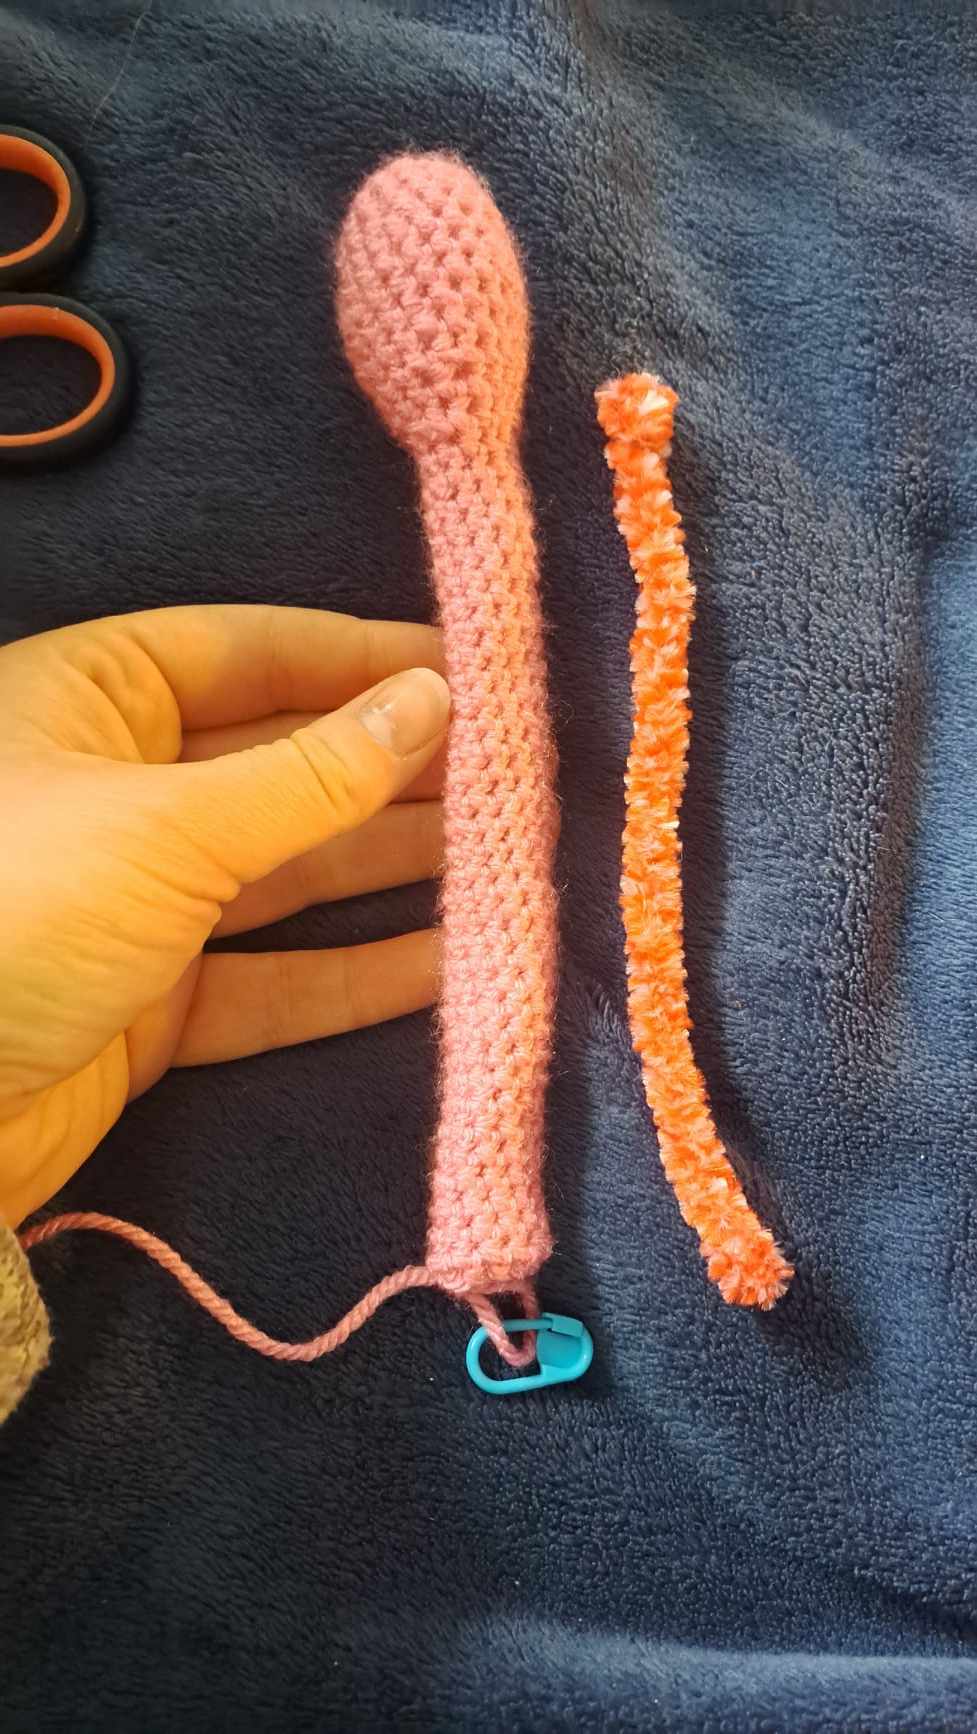
Stuff the tip of the tail now, if you’re not using craft wire for the tail, stuff the rest as you go lightly. I also recommend leaving a stitch marker in every 5th round or so to help keep track.
12 – 44 Sc around (12)
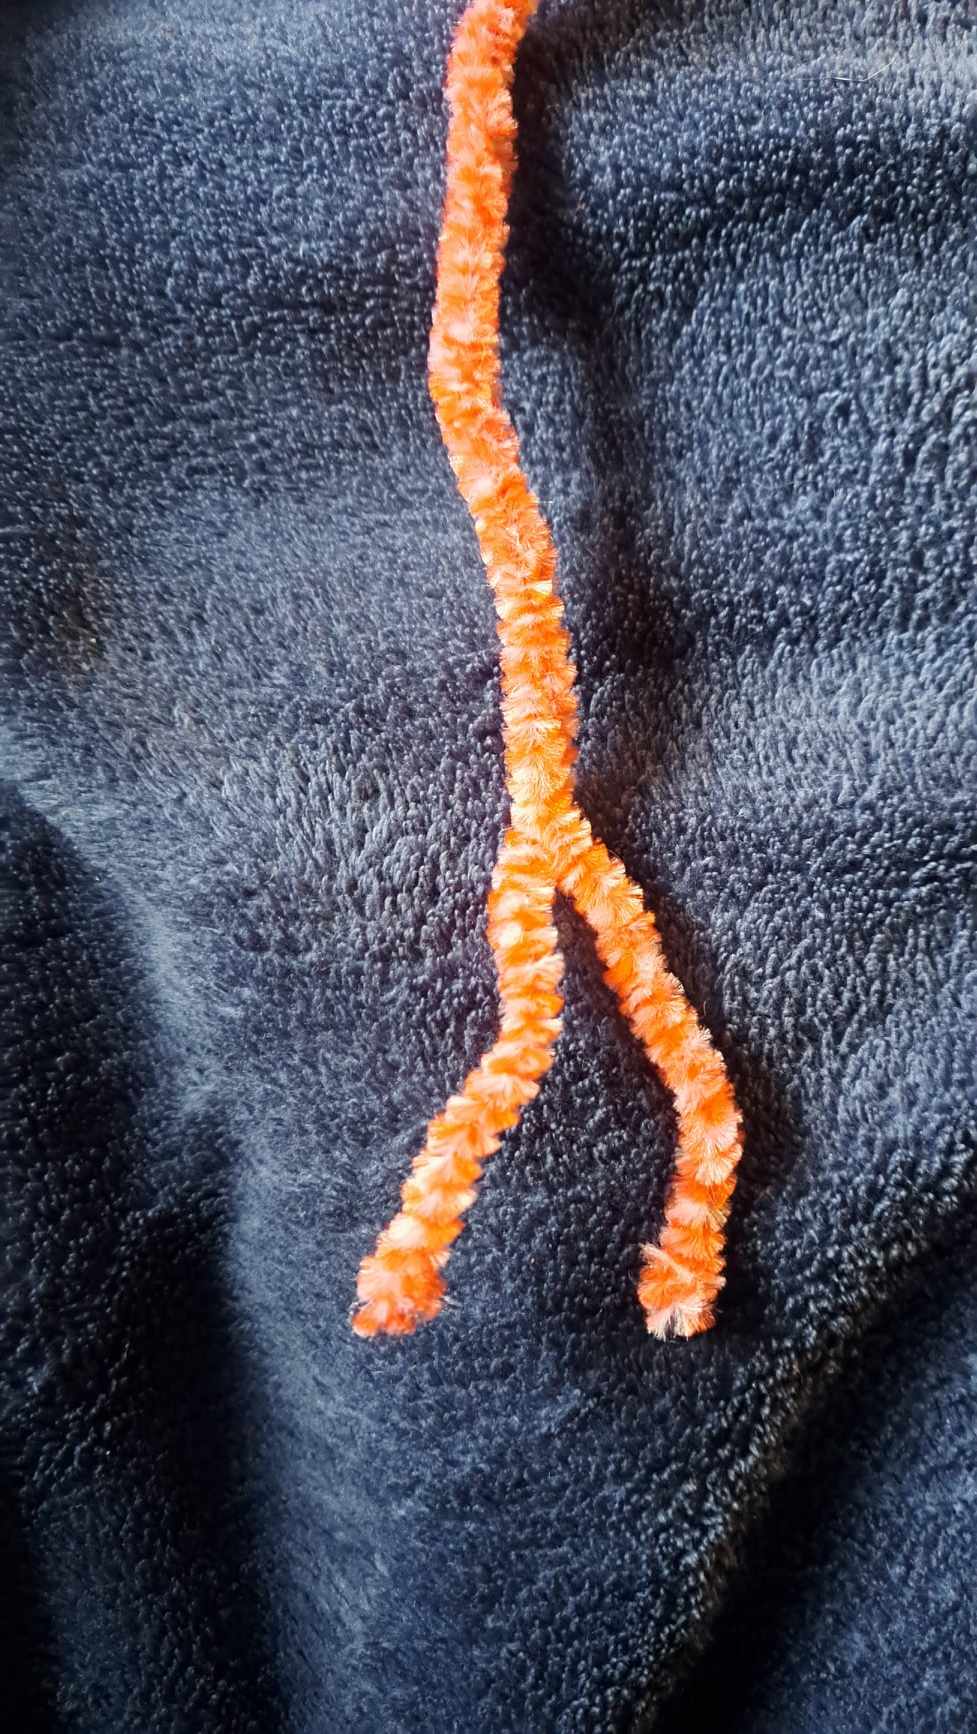
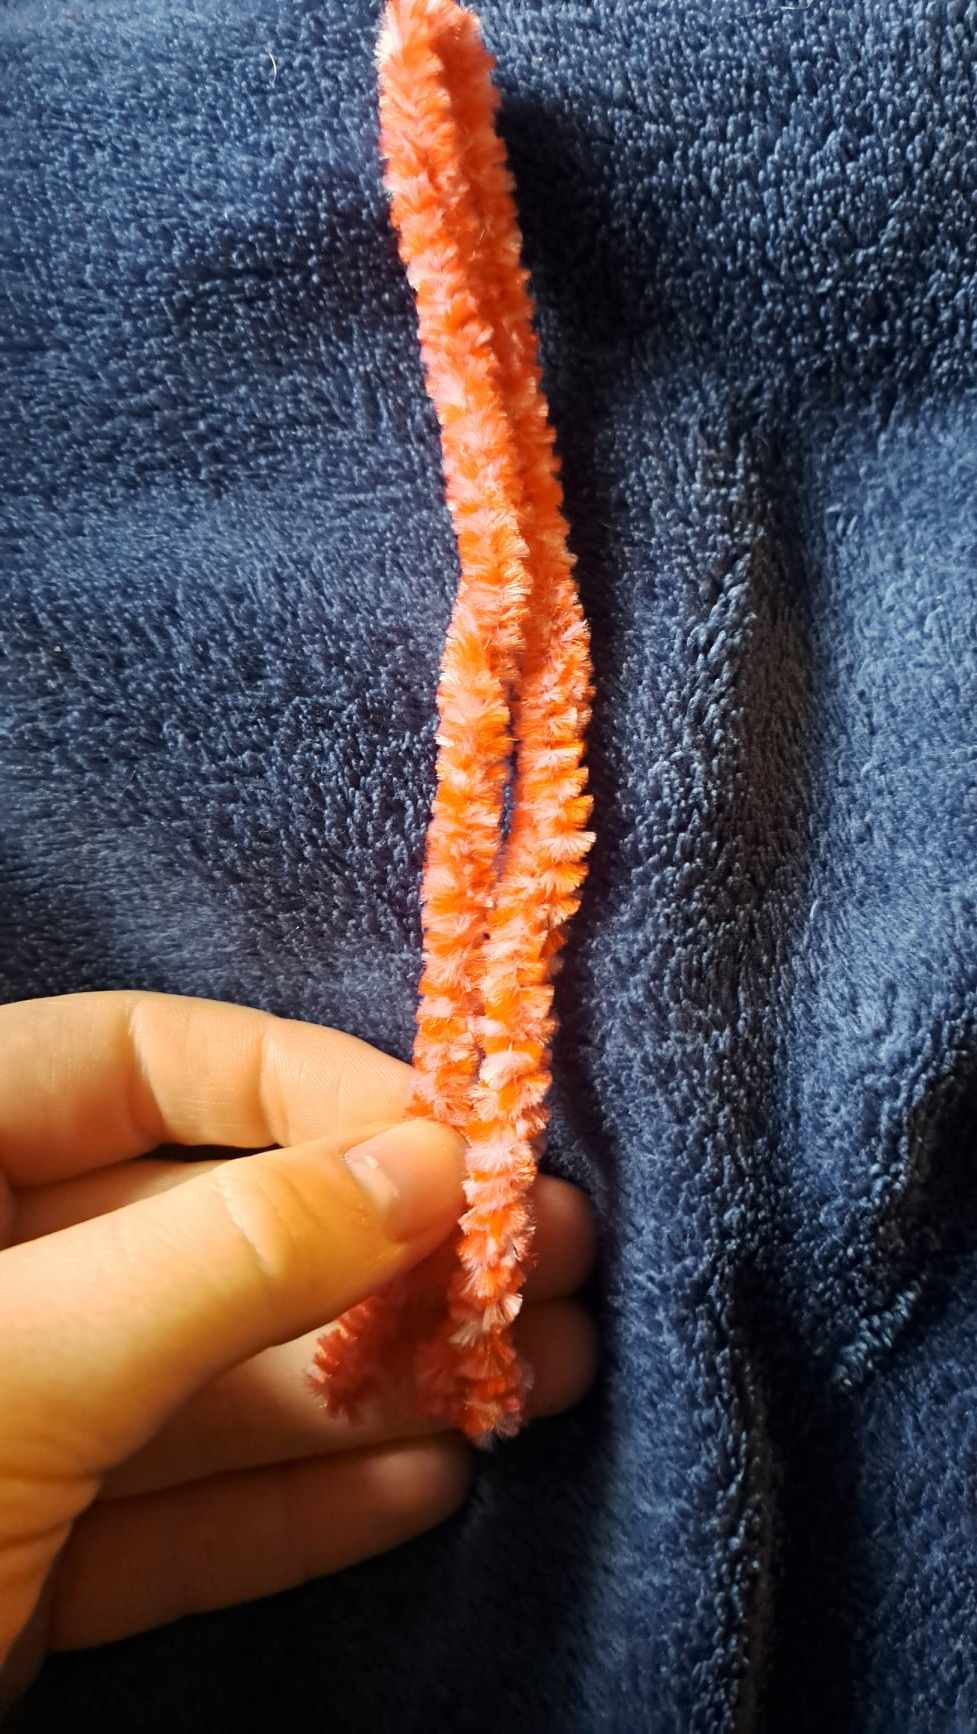
When you’ve finished making the tail, if you’re using pipe cleaners twist them together then fold in half, then twist together again to make it strong. If you’re using craft wire make sure you’ve got a thick, sturdy length for the tail.
Insert the wire into the tail and poke it right up to R11. You may wish to add a few rounds to the end of the tail or take a few away depending on how long you want the tail to be.
Please see pictures for referencing.
OPTIONAL EYES (x2):
You may wish to make the eyes out of felt and glue, embroidery or even needle felt. If however you’d like to crochet them this section is for you!
Take up your 3mm crochet hook.
[If you’re using a larger hook to make a larger Mew, for the eyes drop down by an entire hook size otherwise they end up too large for the face.]
Starting in white: Start with a long tail as this will be used for sewing.
Chain 6, sc in the 2nd loop from the hook and sc back to the starting ch. (5)
Change to blue.
1 Dec, sc, dec (3)
2 sc, dec (2)
3 Decrease (1)
- Finish off, leave a long blue tail as you can use this for sewing. Tie off the finishing white tail and starting blue together.

Assembly
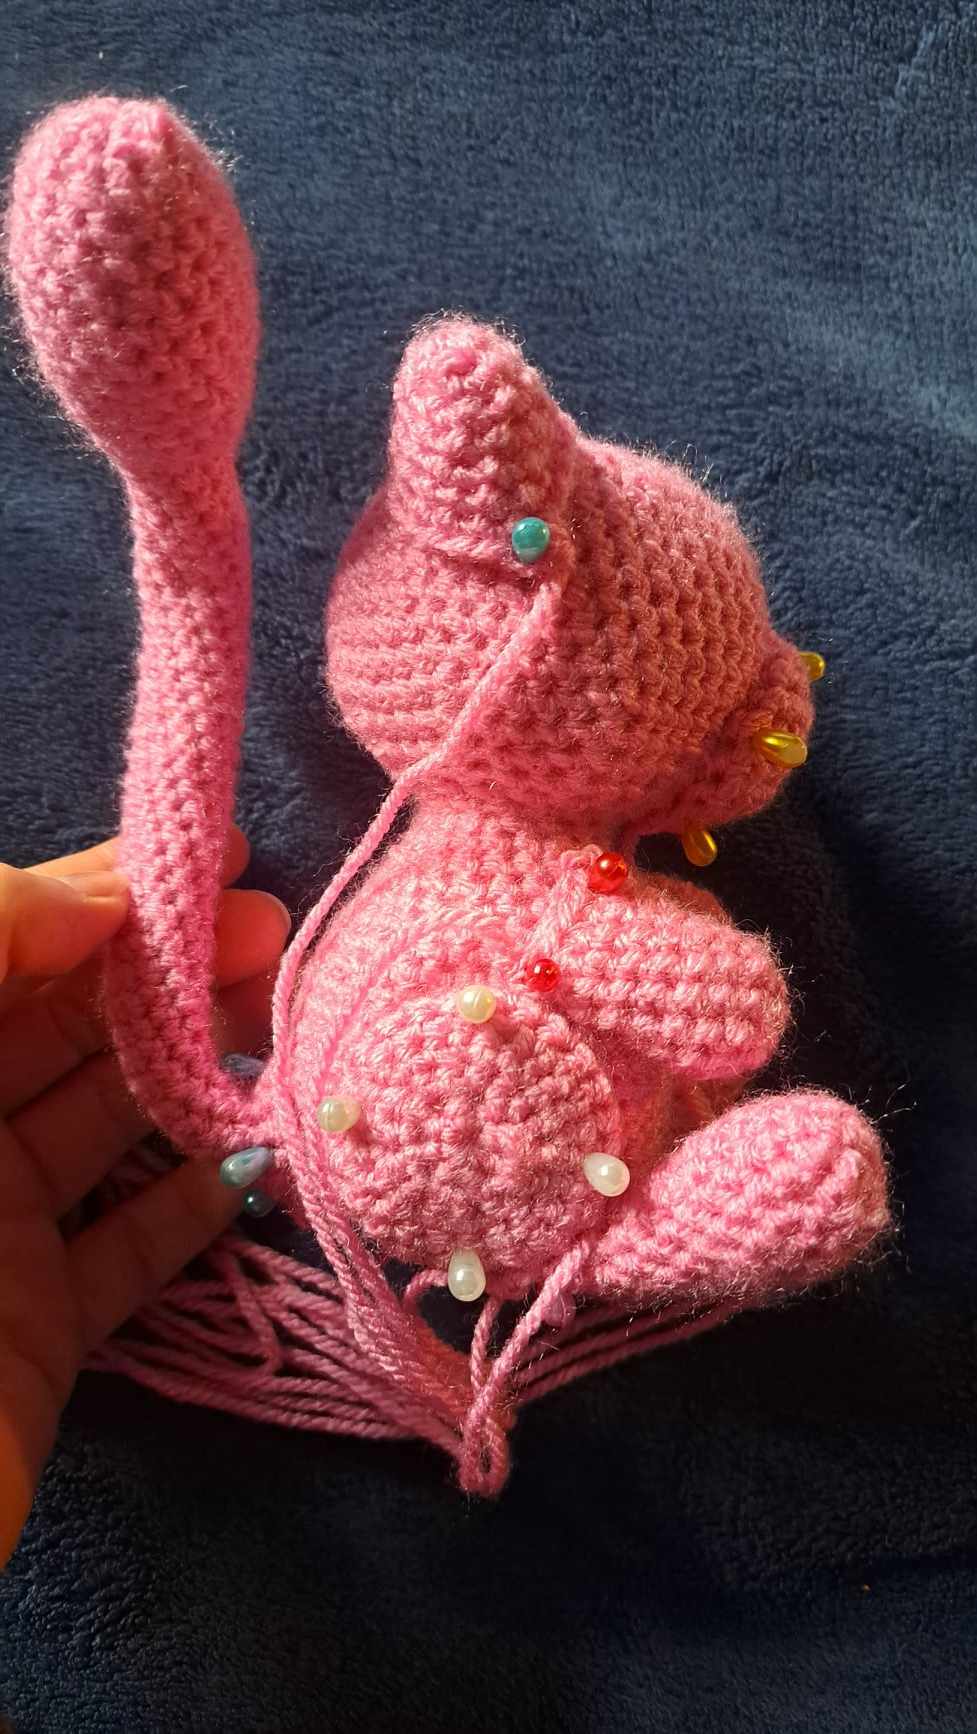
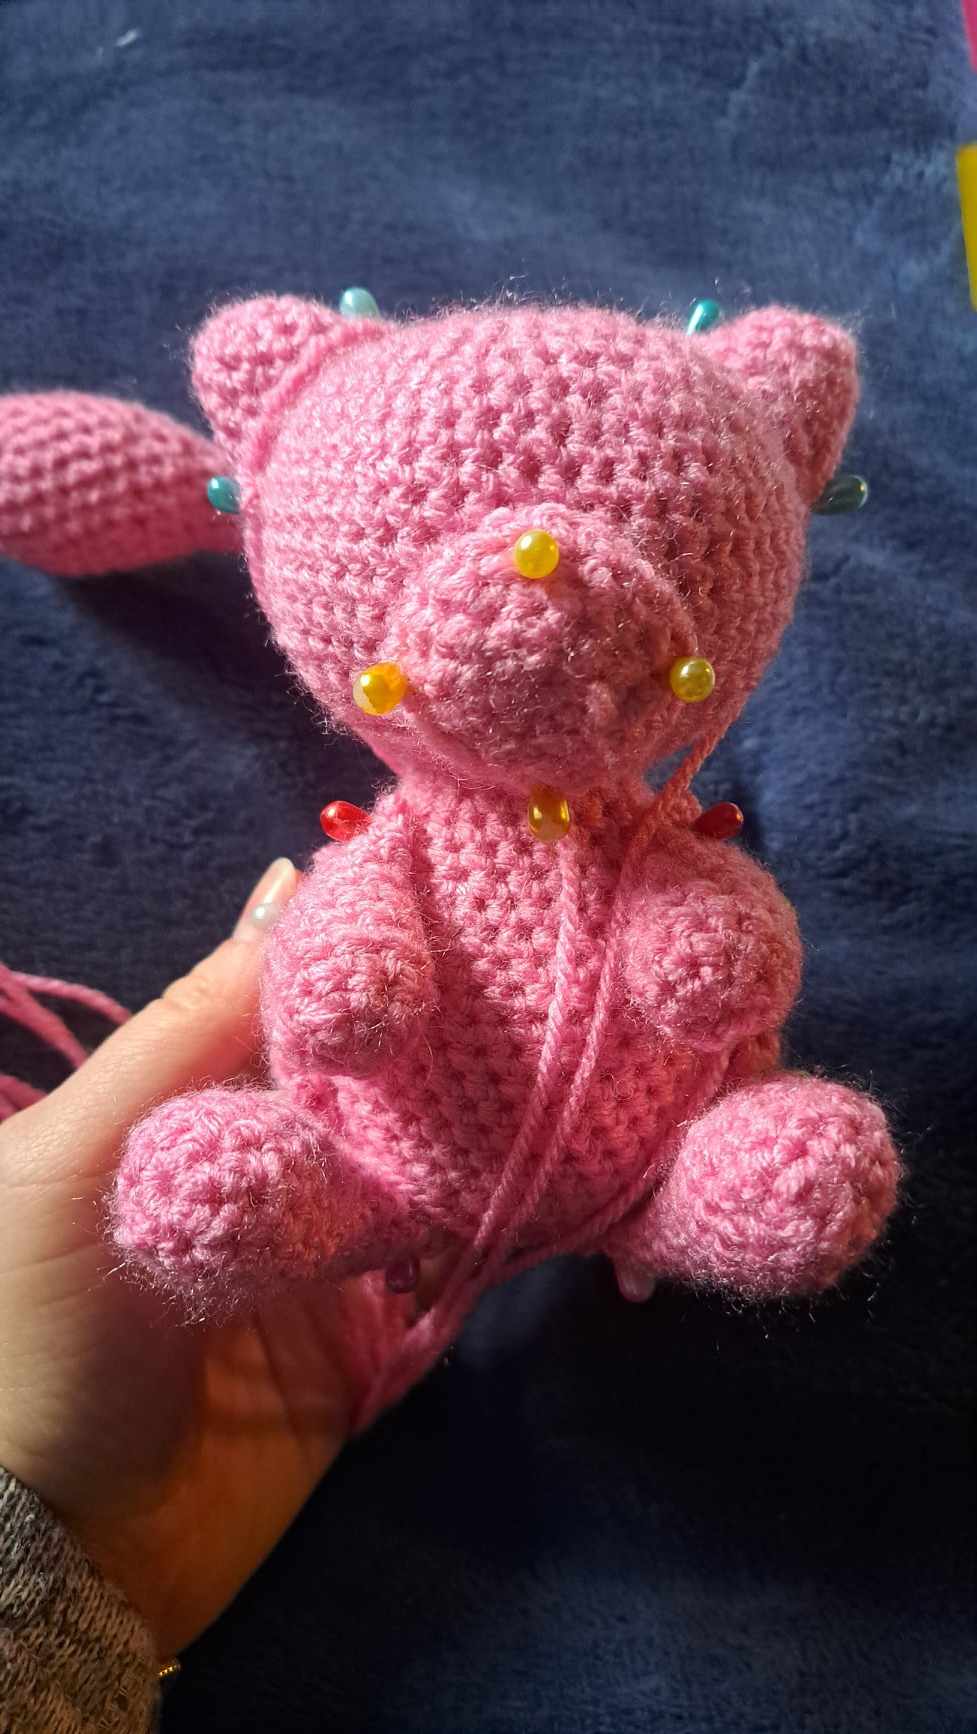
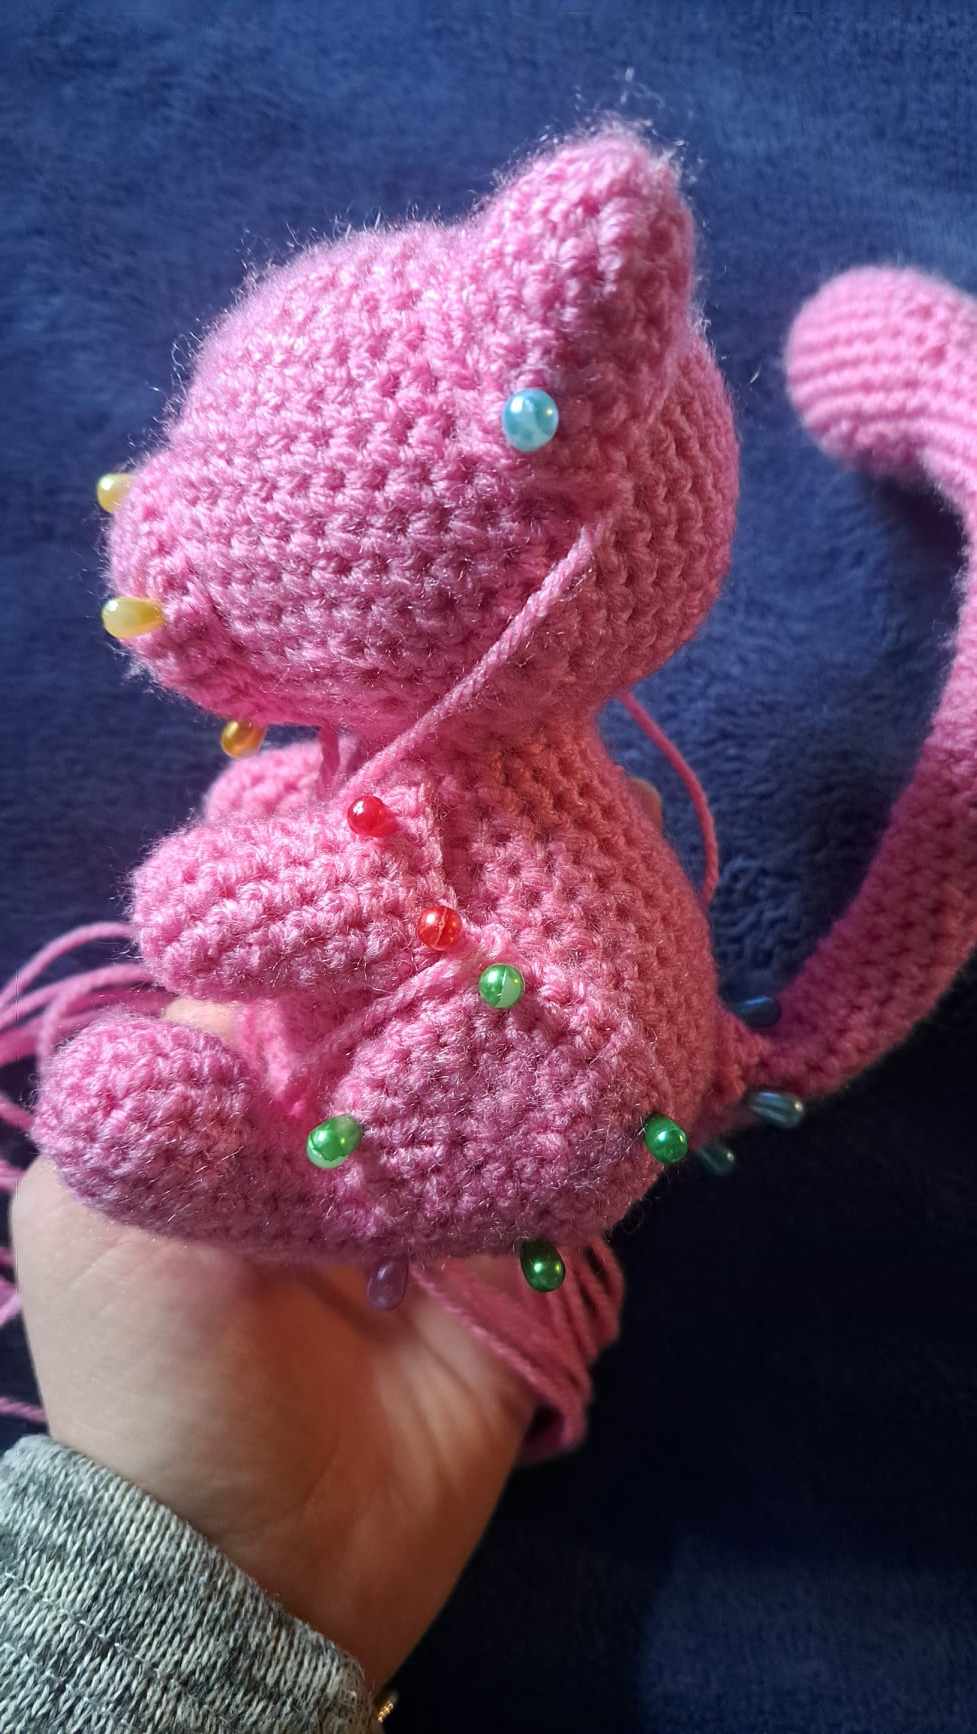
You may wish to pin all of Mew together to get placements right and to make sure it can sit well. This is what I did and found it helped a lot, the only thing I didn’t pin on were the eyes – this helped me place the eyes on the final stage as I knew everything else was exactly how I wanted it and wouldn’t move around in the sewing process.
Start at the top of the head.
Pin the ears to the top of the head and push them towards the back of the head, then take up the nose and pin it neatly in place.
When the head is pinned up, take up the legs and pin them to the sides of the body, then the feet to the bottom of the plush; half on the legs, half on the underside.
Next, take up the arms and pin them in place. I used anchor stitches to make the arms “hug” the belly slightly, this is optional – I’ll explain when we get there.
Finally, pin the tail on Mew’s rump, making sure it can still sit nicely.
When you’re happy with the placements, start to sew things in place. Start with the ears and next sew the nose on. Before you finish sewing the nose on, insert some stuffing so it sticks out more and shape it as desired. I found that I didn’t need a lot of stuffing to get the size I wanted.
Skip the arms for now and move onto the legs. Just like with the nose, sew almost fully on then stuff them so they bulge out to your desire – again I didn’t use too much to get the end result shape.

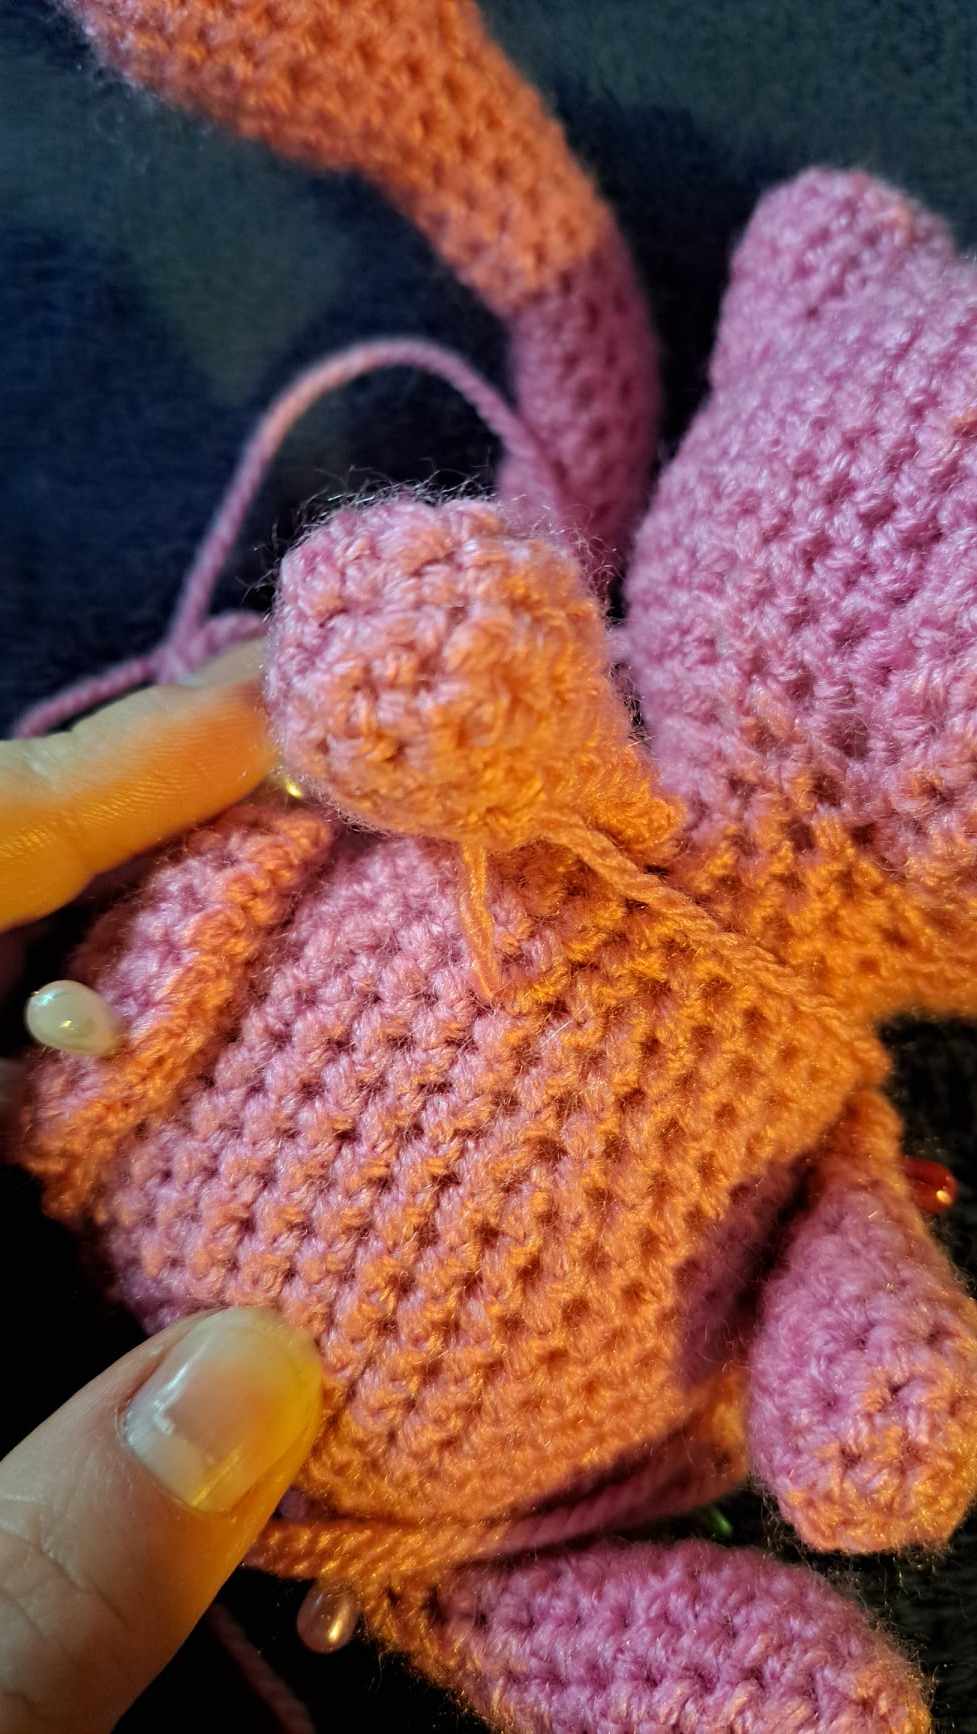
Now let’s do the arms; sew the top part of the arms on using a whip stitch - I found this was the best sewing method for the arms - and now let’s add that optional anchor stitch. If you don’t wish to use one and to leave the arms fully posable, that’s completely up to you!
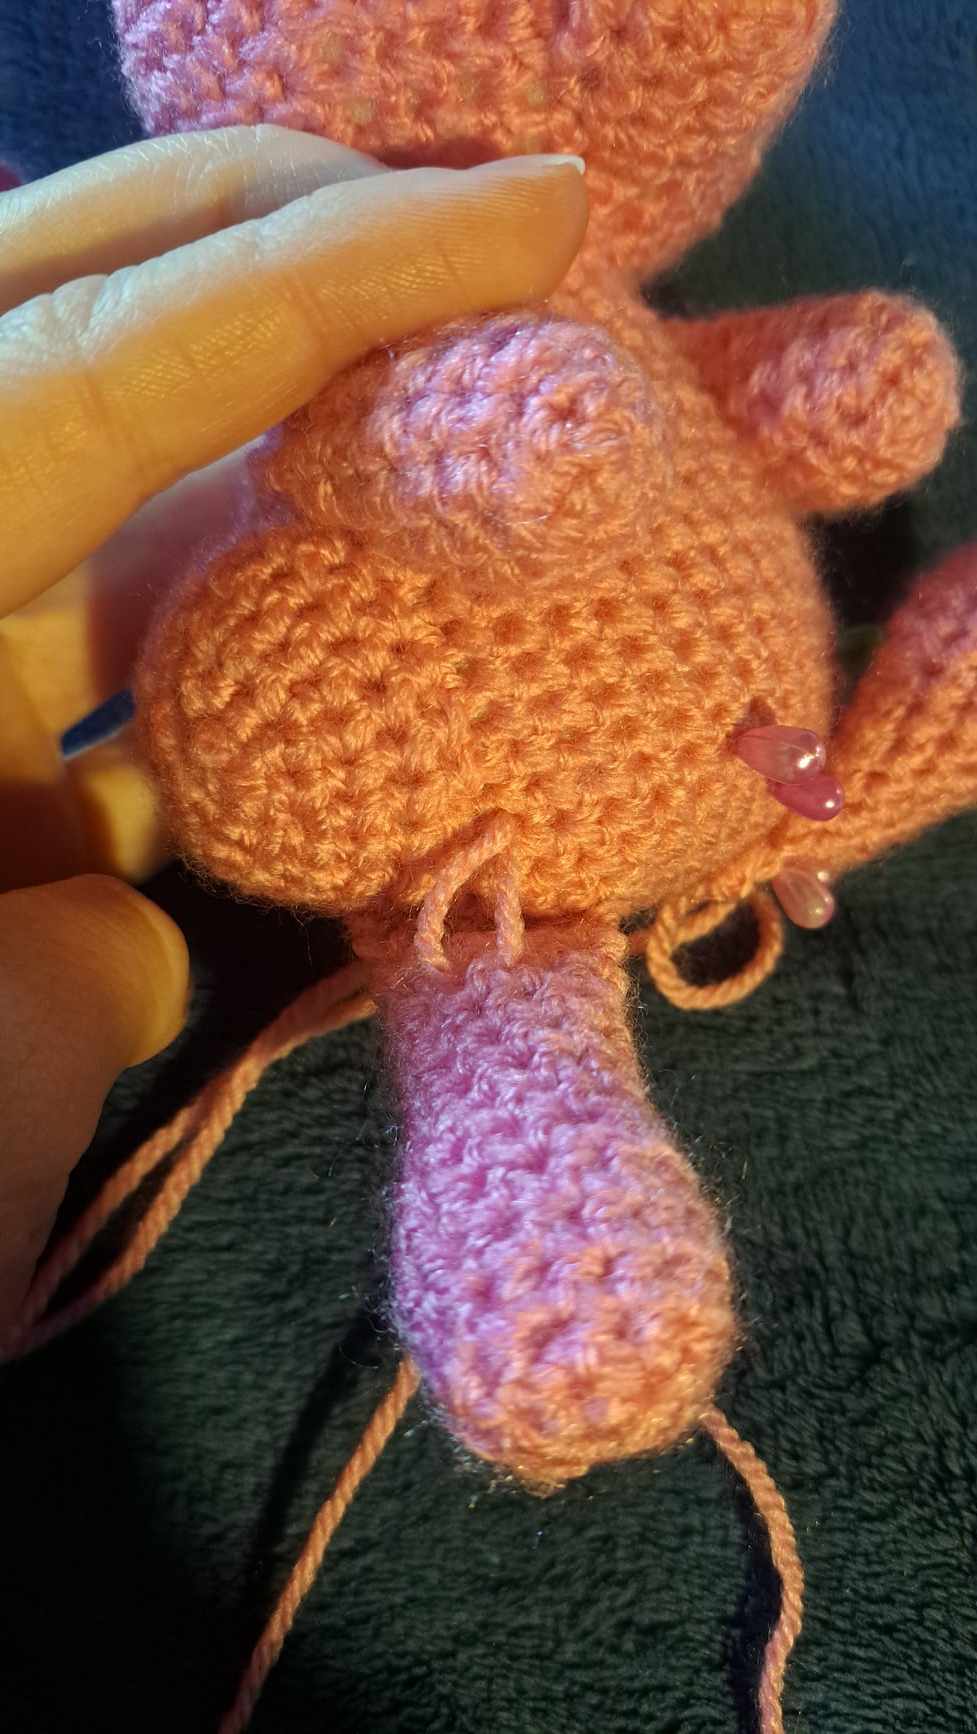
For the anchor stitch, push the needle through Mew’s body and bring it out about half way down where the arm is, then loop up to the arm once or twice depending how strong you want the stitch to be, then poke the needle back through the body and tie off to bring the arm down to the body. Please see photos for reference.
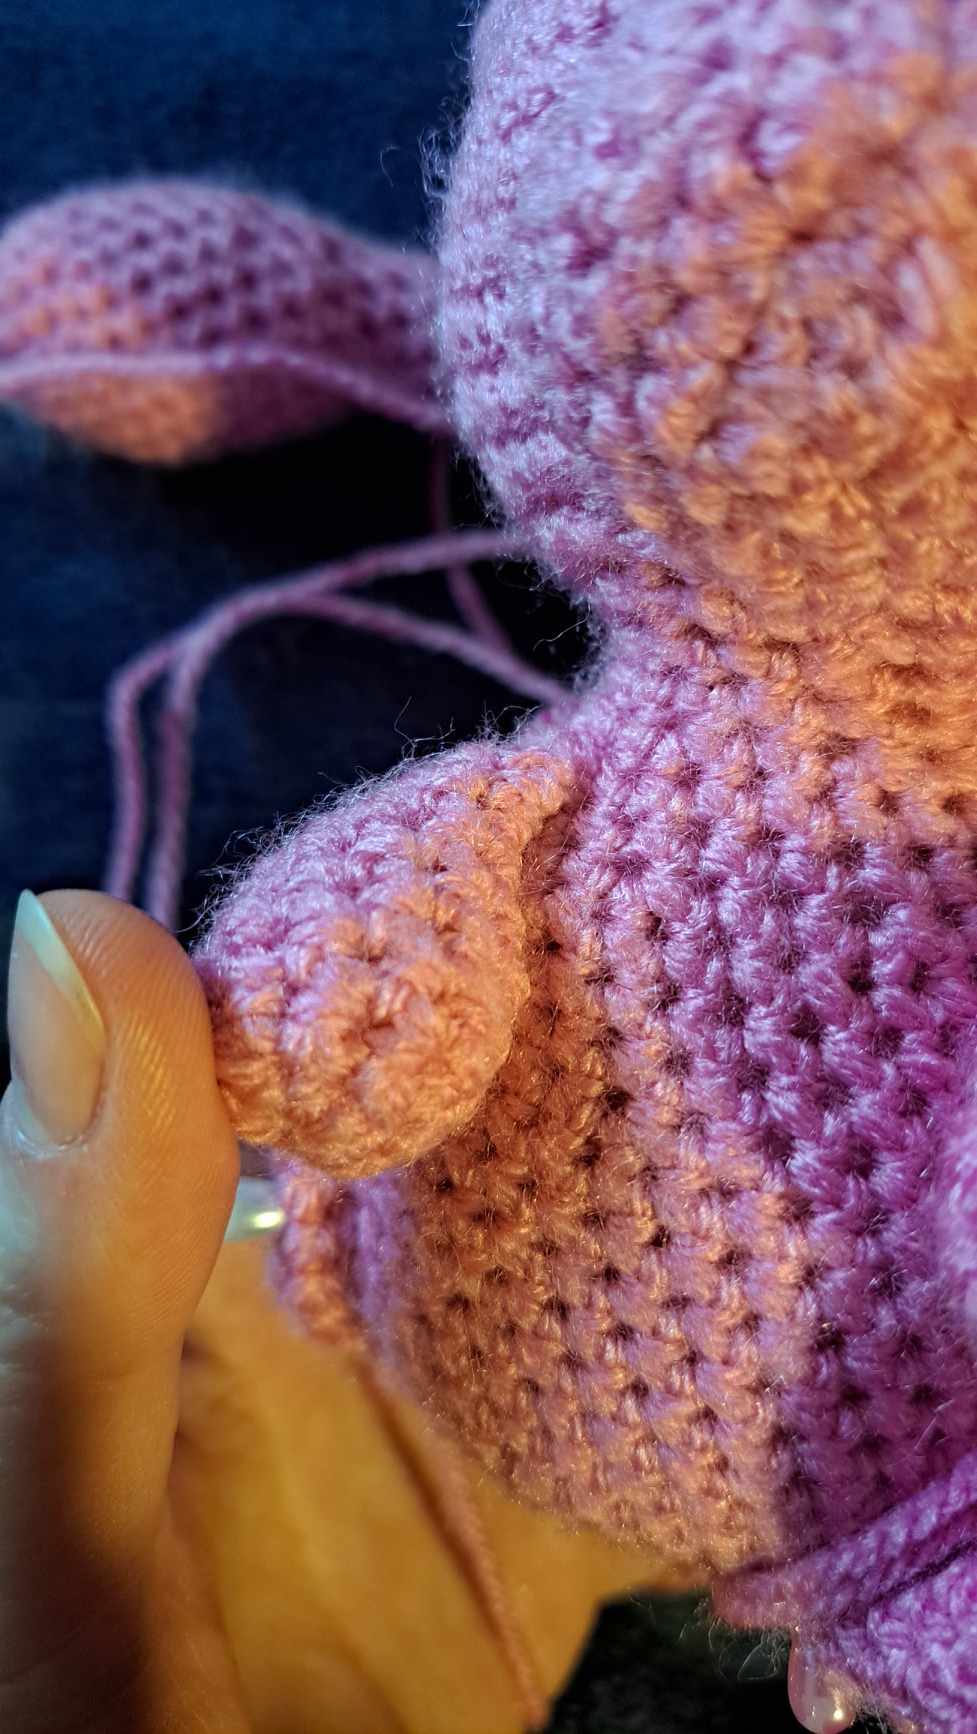
Move onto the feet – again an anchor stitch is optional but I highly recommend it if you want the feet to curl slightly upwards. Again I used a whip stitch to sew the end of the foot to the body of Mew, then added a little stitch each side of the foot to keep it flush, then inserted my anchor stitch to make the feet slightly curl upwards.
See where my anchor stitch is? You can have yours as high or low as you’d like!
Next, the tail. Sew it neatly in place, and if you didn’t use craft wire and stuffed it entirely, add an anchor stitch somewhere on Mew’s back wherever you think looks best if you’d like the tail to stick straight or curve upwards.
Finally move onto the eyes!
If you make them with an alternative method, fix them in place where you see fit.
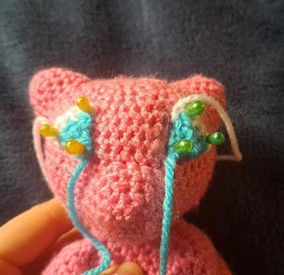
If you crocheted them, pin them to the face and please make sure they’re in line! I followed the row that they sat on to make sure they were in the right place. If you’ve got the tails from the finishing white / starting blue, you can thread them through the head to hide these tails and get them out the way.
When you’re happy with the placements, take up the white tail and sew on the white edge as neatly as possible, hiding the stitches the best you can. Finish off with the white and take up
the long blue tail and sew the blue section on as neatly as you can.
Then that’s it!
You’re done!
Enjoy your new adorable Mew!
STEP BY STEP TUTORIAL
If you have any questions about this pattern, feel free to contact me.
This pattern is property of BlueFoxPaws. Please do not claim or resell this pattern as your own. You can sell the finished product as long as credit is given -BlueFoxPaws-.
Leave a Reply