
SNOM CROCHET PATTERN
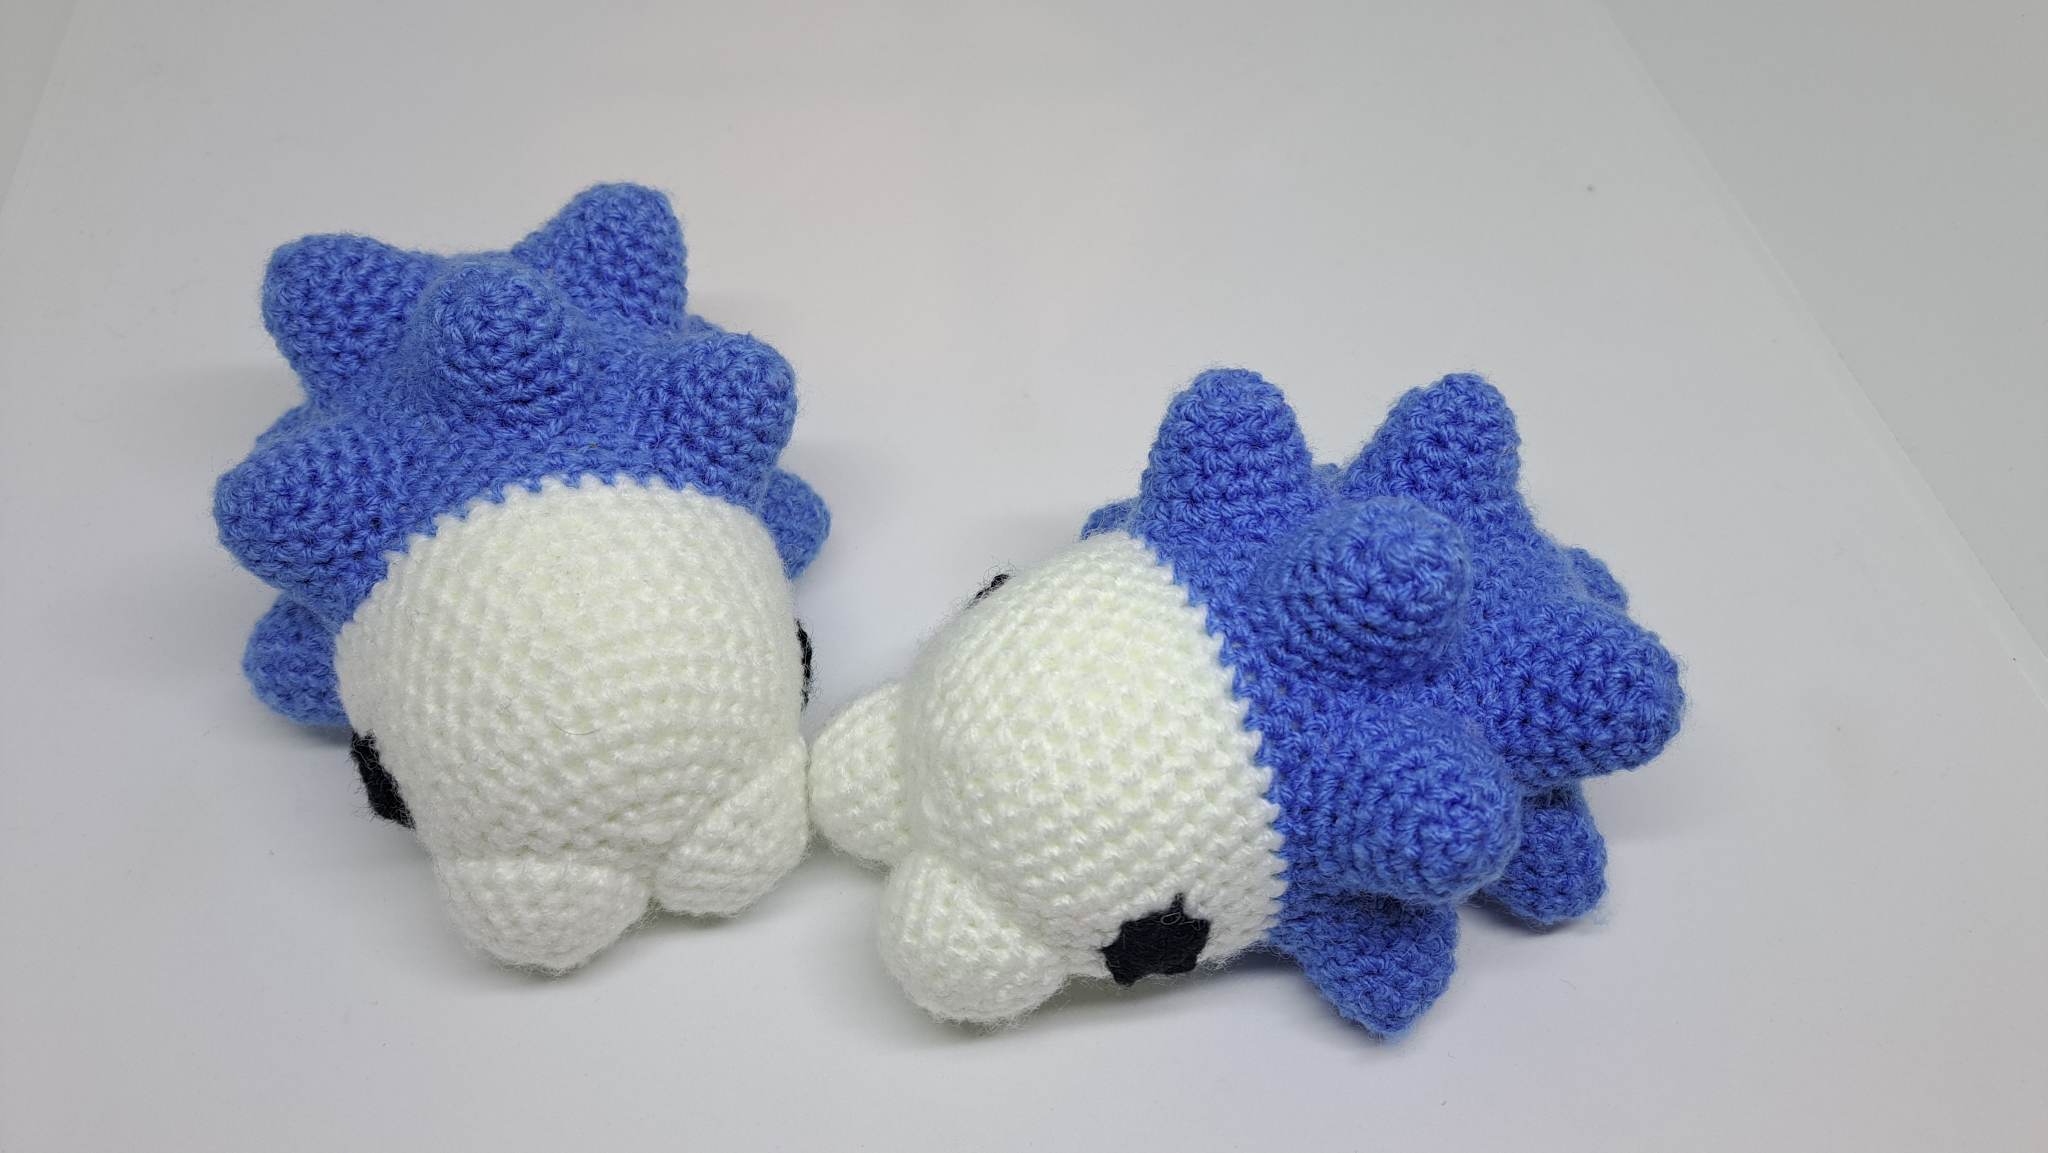
Snom!
What a crazy little soul, this lovely Pokémon is from Generation 8 of the very popular Pokémon franchise and is a fast growing fan favourite! I must admit I absolutely LOVED working on this little critter.
This loving creature comes in at 5.5 inches long and an adorable 3 inches tall, so the perfect size to fit into any bag!
I'd class this pattern as beginner friendly as there's only 3 basic stitches used (in US terms, SC, INC, DEC). If you're not a fan of sewing then this pattern may not be for you as there's quite a few pieces to sew together, but practice makes perfect and this guy is ideal for you to get your practice in!
Printable PDF version available in my Etsy Store
Materials:
4mm crochet hook
4mm yarn in Black (optional for the eyes), Blue and White
Toy stuffing
Tapestry / yarn needle
Abbreviations:
SC – Single Crochet
INC – Increase
DEC – Decrease
** - Repeat around
Pattern
Head and Body - Start with White
Stuff this piece as you go
Magic Ring 8 (8)
1 Inc around (16)
2 *sc, inc* (24)
3 *2 sc, inc* (32)
4 *3 sc, inc* (40)
5 – 13 Sc around (40)
- Change to Blue -
14 – 29 Sc around (40)
30 *3 sc, dec* (32)
31 *2 sc, dec* (24)
32 *sc, dec* (16)
33 Dec around (8)
- Finish off, finish stuffing and tie end neatly closed.
Mouth (x2) - White
Magic Ring 6 (6)
1 Inc around (12)
2 *sc, inc* (18)
3 – 5 Sc around (18)
- Finish off, stuff lightly and leave a long tail for sewing.
Body Spikes (x10) - Blue
Magic Ring 8 (8)
1 *sc, inc* (12)
2 Sc around (12)
3 *2 sc, inc* (16)
4 Sc around (16)
5 *3 sc, inc* (20)
- Finish off, turn inside out, stuff lightly and leave a long tail for sewing
OPTIONAL – You may want to use needle felting or embroidery, or even gluing on circles of black felt for the eyes
Eyes (x2) - Black
Magic Ring 8 (8)
Finish off, leave a long tail for sewing
Assembly
You may want to pin the entire plush together before you start, this is what I did for my Snom as I found it helped with placements.
The most important thing about this Snom, is to make sure the colour change on the body is on the belly of Snom so it’s less visible.
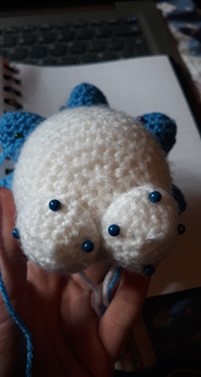
Take up the mouth pieces and pin them to the front of your Snom (the white section), close to the bottom of the ‘nose’
When you’re happy with these placements, sew them neatly on.
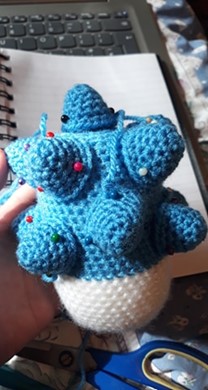
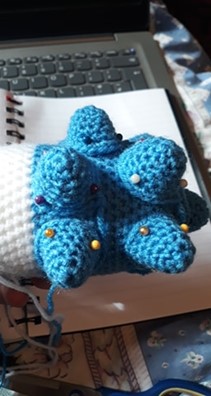
Next, take up the 10 back spikes and pin them all to the blue section of Snom’s body!
You need 5 going around the edge of the body (2 on each side, one on the rear where the Finish Off point was), and 5 spikes on the back (I placed these like the ‘five’ side face of a dice, just slightly wonky!)
See the pictures below for the side, above view and the other side for referencing.

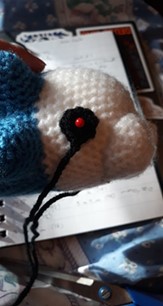
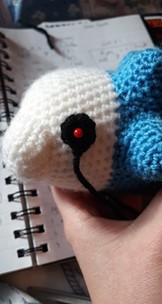
Lastly the eyes!
If you crocheted the eyes, pin them to the side on Snom’s face just behind the mouth, and made sure they line up with each other, then sew. If you used another method, make sure the eyes are in the right place then work them on.
Then that’s it!
You’re done!
Enjoy your new absolutely adorable Snom!
STEP BY STEP TUTORIAL
If you have any questions about this pattern, feel free to contact me.
This pattern is property of BlueFoxPaws. Please do not claim or resell this pattern as your own. You can sell the finished product as long as credit is given -BlueFoxPaws-.
Leave a Reply