
TRAPINCH CROCHET PATTERN
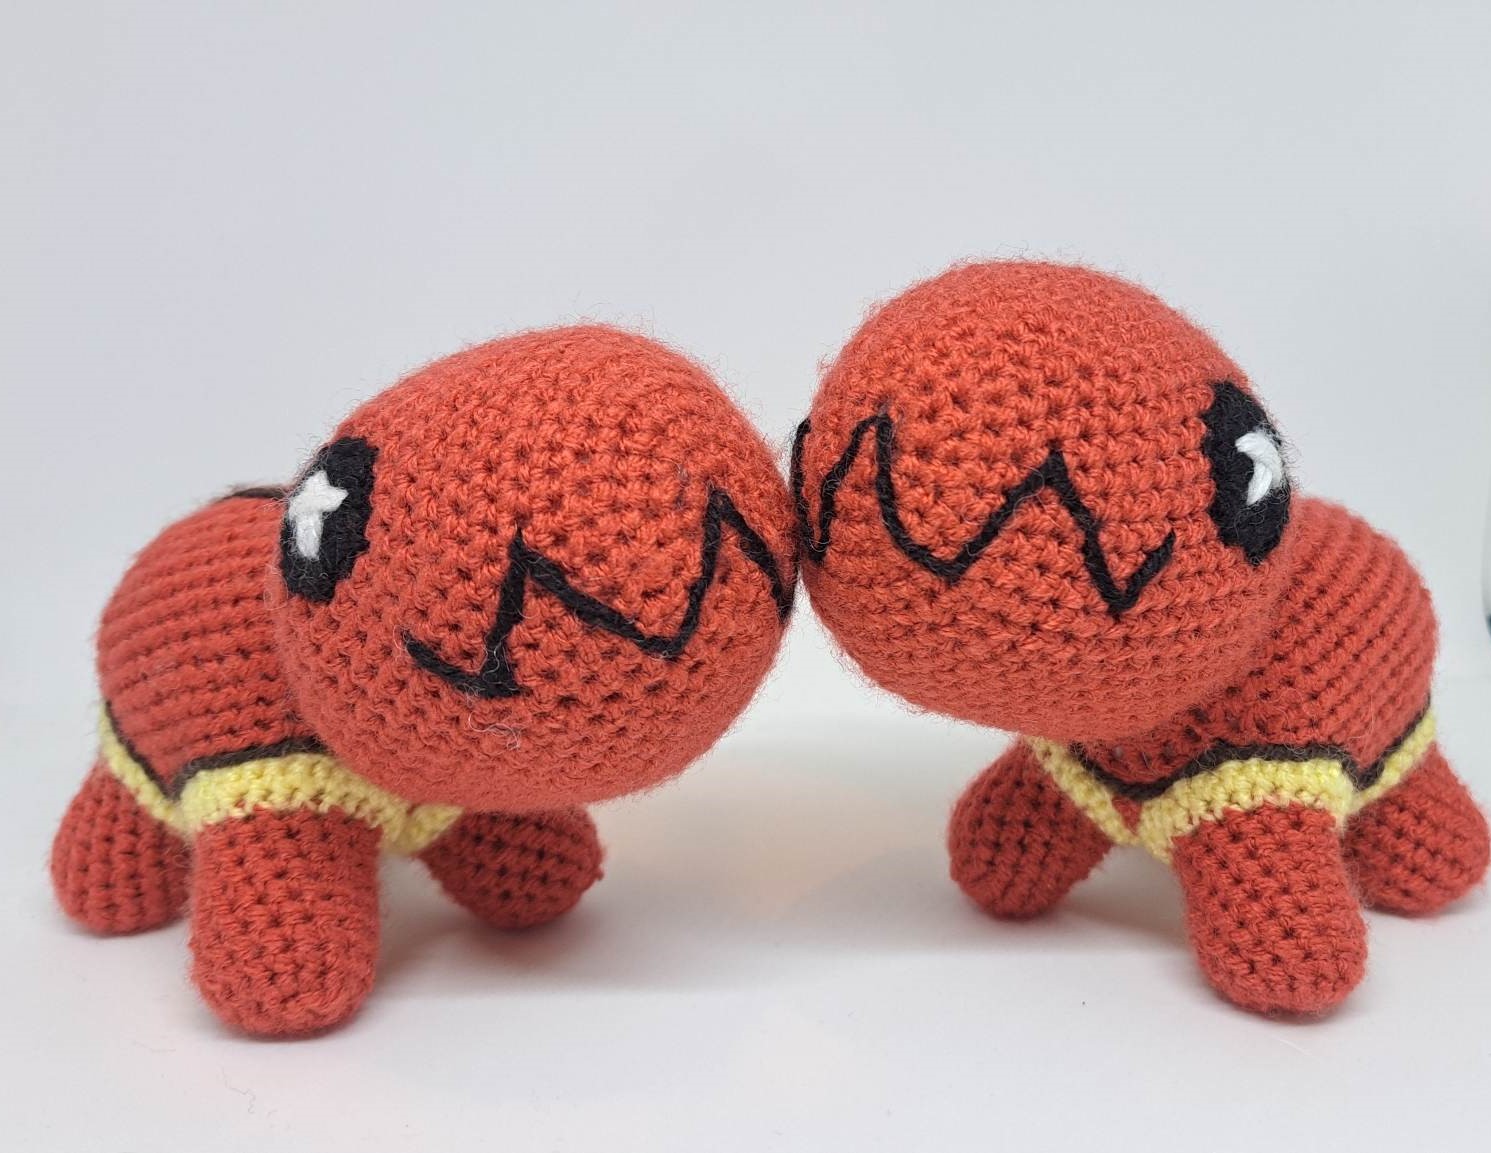
Ah Trapinch, a classic personal favourite of mine - it takes me back to being a kid again when I first got Ruby when it first came out and I obsessed over this guy and the evolution line! How could I resist making one? In fact... why stop at one?! I've made two just because.
Trapinch works up quite quickly and would make a perfect gift for any Pokémon lover! I pop my little guy in my bag when I go out to play Pokémon GO and I swear he brings me luck!
Basic knowledge of embroidery is needed for the details around the legs and also for the eyes if you choose to crochet them.
Printable PDF version available in my Etsy Store
Materials:
4mm crochet hook
4mm yarn in dark brown, yellow, orange, black and white.
Toy stuffing
Tapestry / Embroidery needle
Abbreviations
SC – Single Crochet
INC – Increase
DEC – Decrease
** - Repeat around
Pattern
Head - Dark Orange
Magic Ring 8 (8)
1 Inc around (16)
2 *Sc, inc* (24)
3 *2 sc, inc* (32)
4 Sc around (32)
5 *3 sc, inc* (40)
6 Sc around (40)
7 *4 sc, inc* (48)
8 – 18 Sc around (48)
19 *4 sc, dec* (40)
20 *3 sc, dec* (32)
21 *2 sc, dec* (24)
22 *sc, dec* (16)
23 Dec around (8)
- Stuff, finish off with an Ultimate Finish, leave a long tail for sewing
Body - Dark Orange
Magic Ring 8 (8)
1 Inc around (16)
2 *sc, inc* (24)
3 *2 sc, inc* (32)
4 *3 sc, inc* (40)
5 – 17 Sc around (40)
18 *3 sc, dec* (32)
19 *2 sc, dec* (24)
20 *sc, dec* (16)
21 Dec around (8)
- Finish off, stuff, end with an Ultimate Finish.
Legs (x4) - Dark Orange
Magic Ring 8 (8)
1 Inc around (16)
2 – 8 Sc around (16)
- Change to Pale Yellow -
9 *sc, inc* (24)
10 *2 sc, inc* (32)
- Finish off, stuff, leave a long tail for sewing
Eyes (x2) - Black
Magic Ring 8 (8)
1 Inc around (16)
- Finish off, leave a long tail for sewing
Assembly
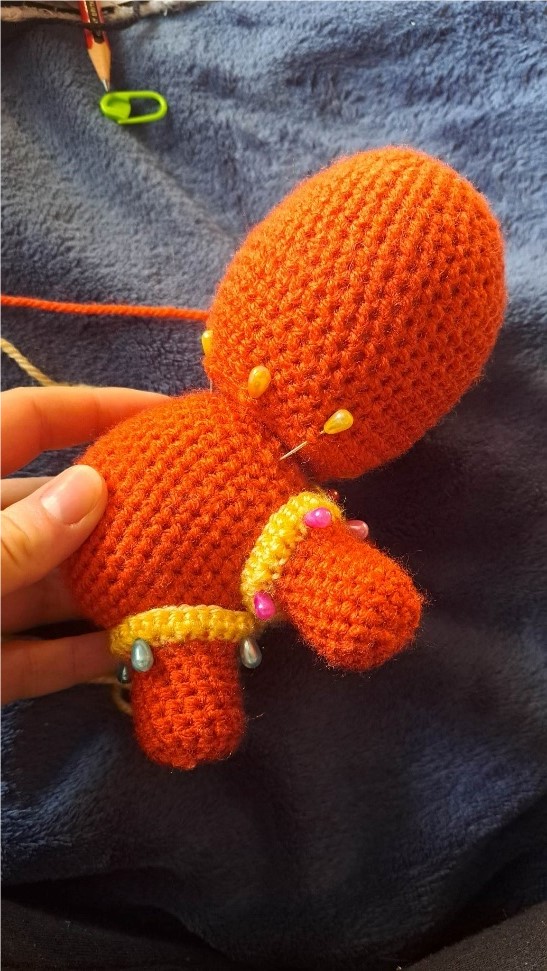
You may wish to pin the whole Trapinch together
before sewing so you can get a rough idea of where everything goes, this is
what I did.
To start, pin the head to the finishing side of the
body, but make sure the head is pointing up slightly. Just be aware that this
plush can get top-heavy!
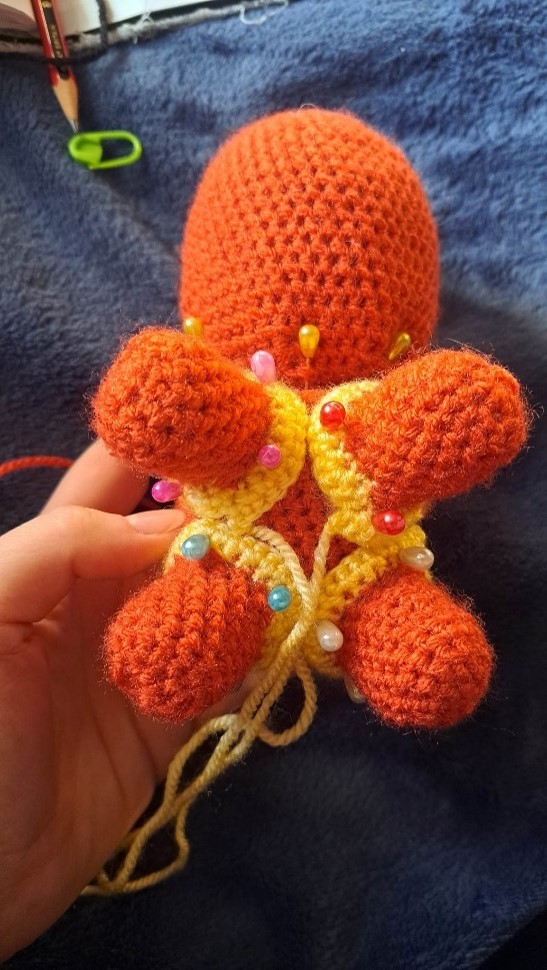
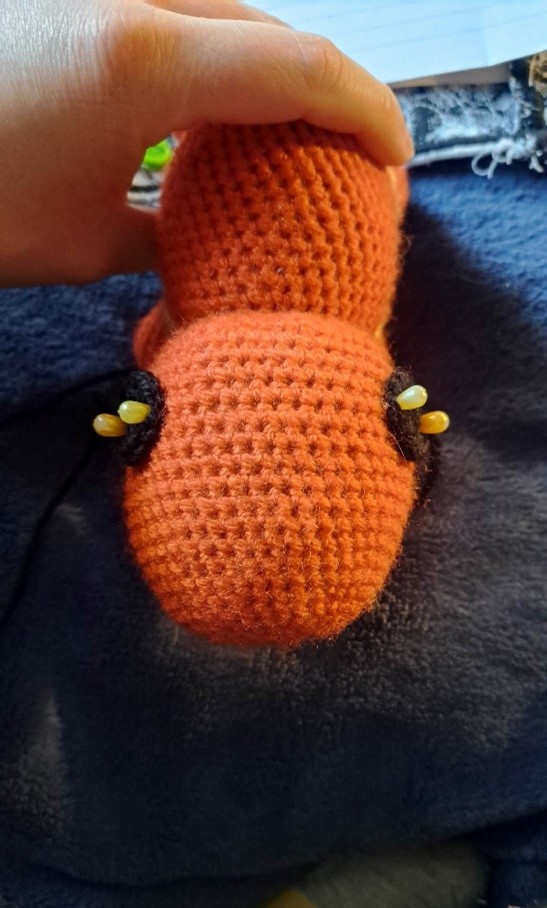
Pin the legs in place on the body making sure that
Trapinch can stand up straight. As I said he might be slightly top-heavy and
topple over to sniff the ground, but you can either place his legs in such a
way that this doesn’t happen or even weigh the back legs down with pellets or other
weights. If this toy is intended for a child do not do this.
I took the former
choice.
When you’re happy with all these placements, sew
everything neatly on. I found for the head using a Ladder Stitch was the best
method to keep the angle right .
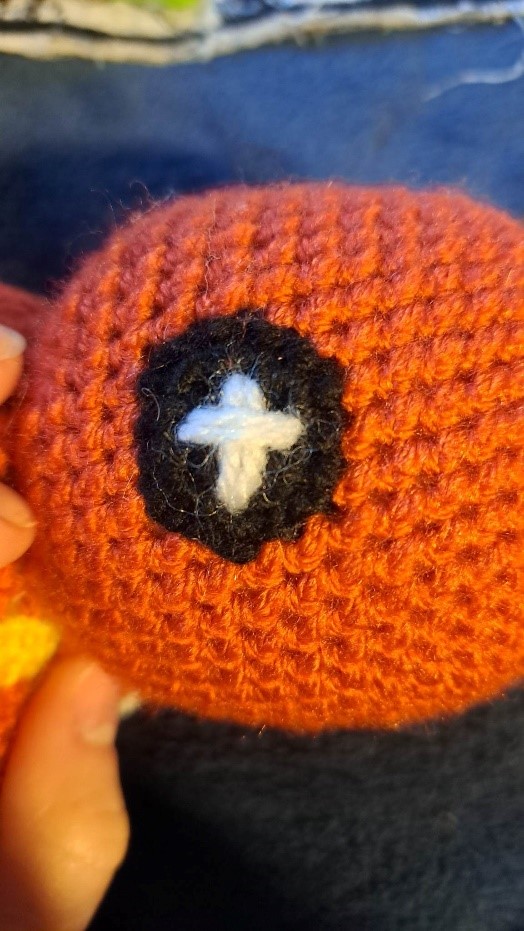
Next, take up the eyes
and pin them to the head. Please make sure they’re in line with each other.
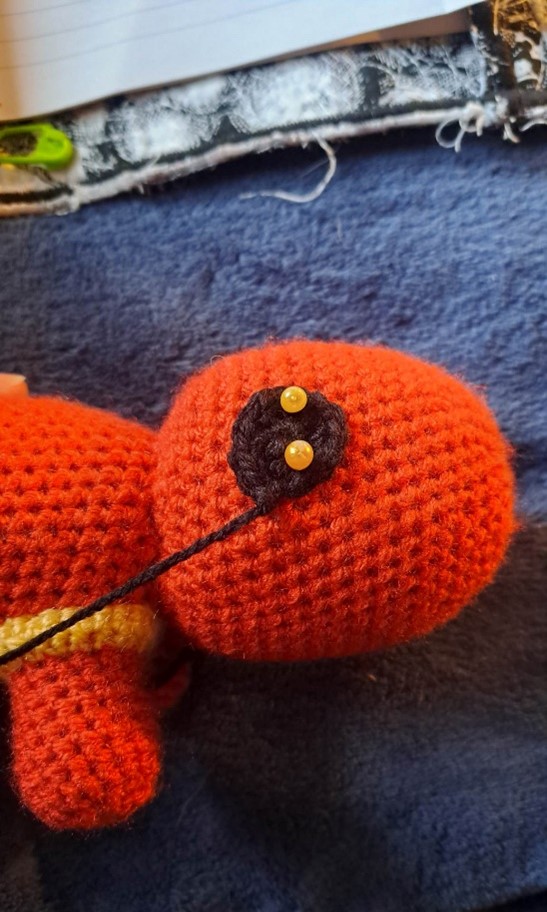
Again when you’re happy with the placements sew them
on as neatly as you can.
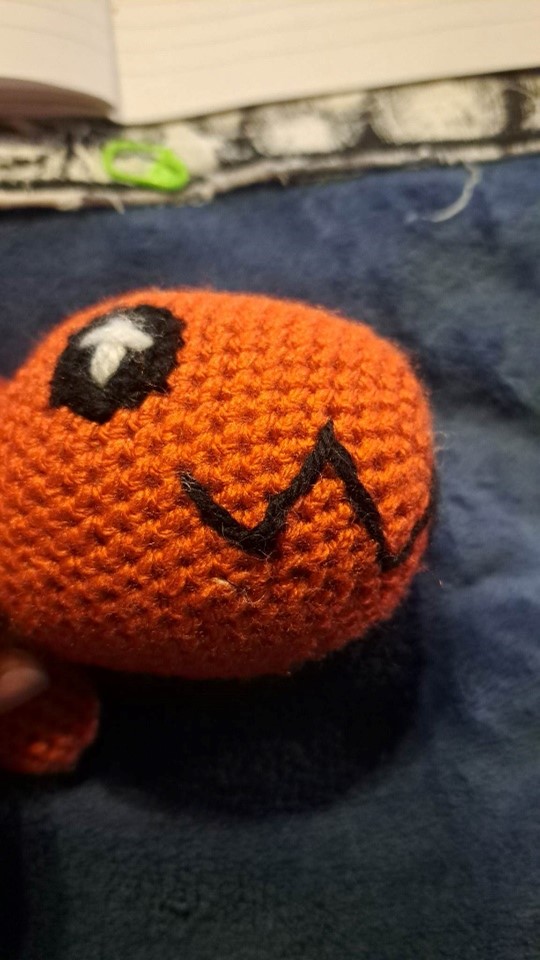
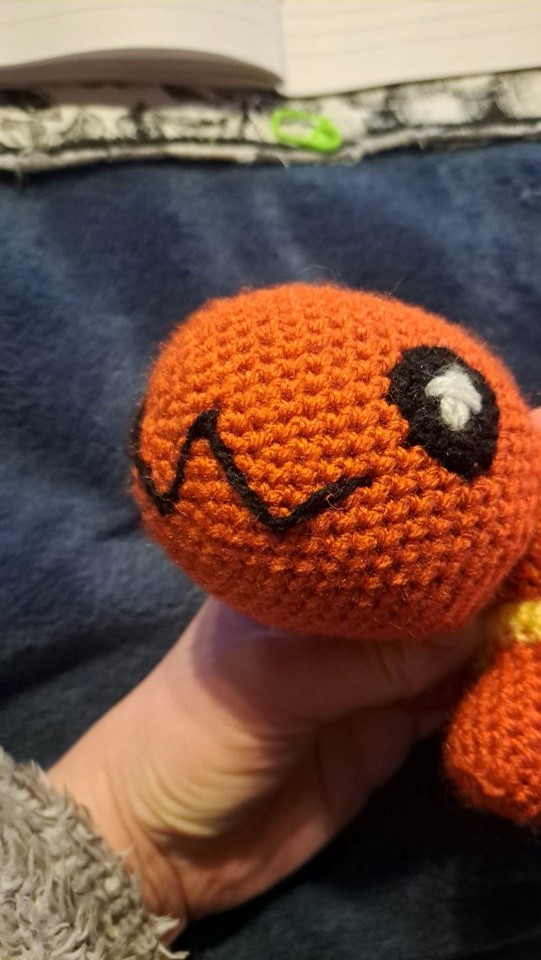
For the pupil, take up some white yarn and your embroidery needle, and embroider a cross shape into each eye. I went over the cross twice to make it bolder.
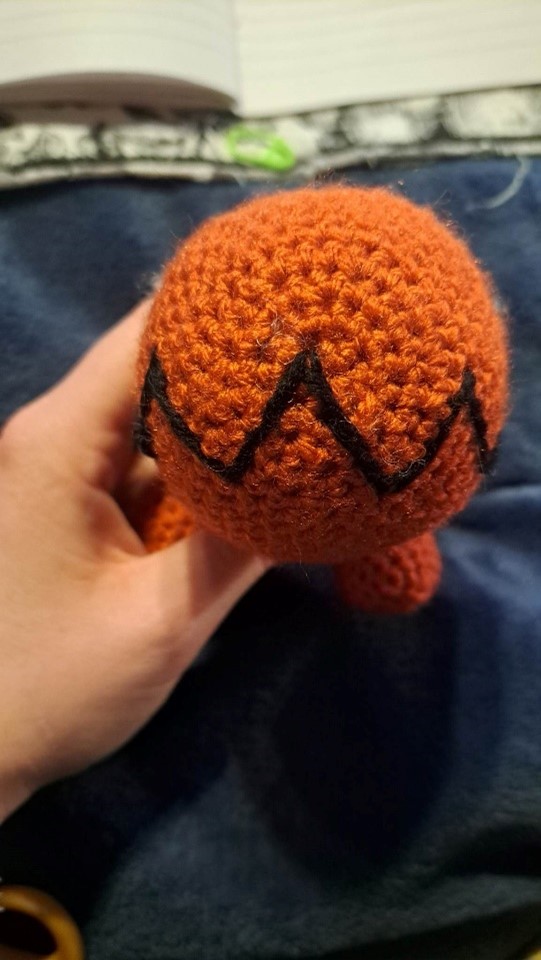
Moving onto the mouth, take up a large strand of black yarn and plot a course across the face in a zigzag fashion. Mine took me a few attempts but I was happy with the final result!
See pictures below for referencing.
Finally onto the last details.
Taking up a long strand of the dark brown yarn and your embroidery needle, start by working your way over each leg to give them an edge.
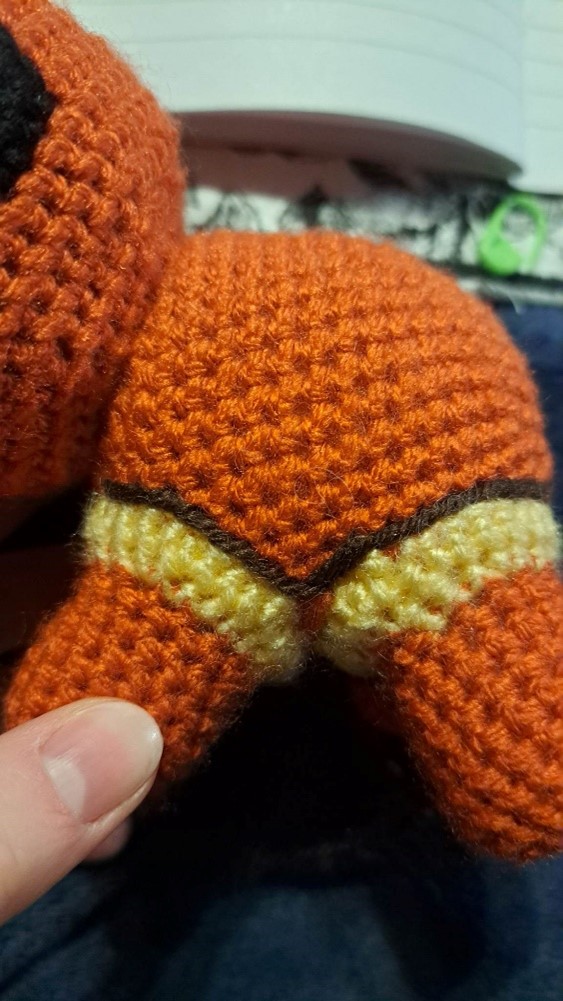
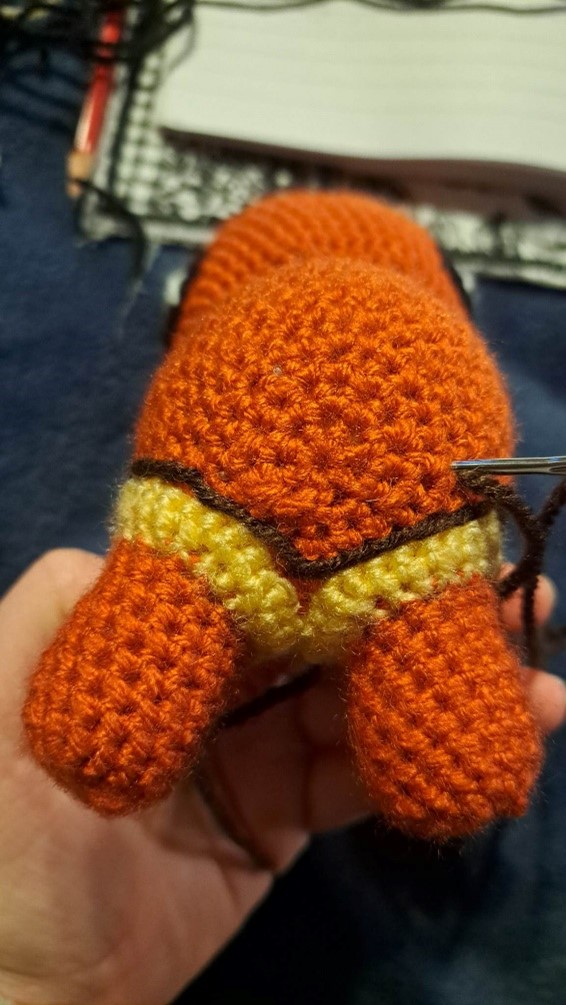
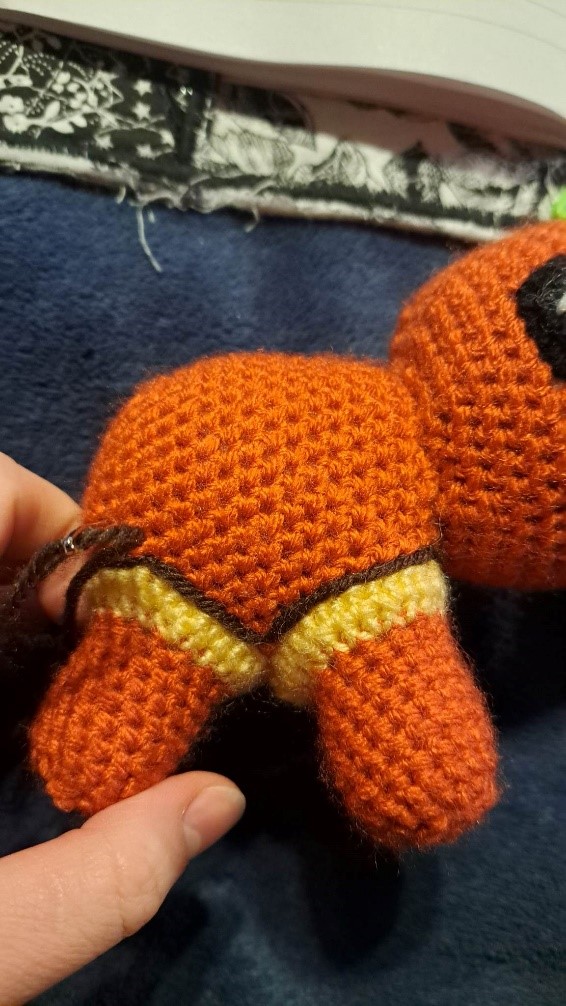
After the border across the legs is completed, thread the yarn back through to his rear end and work a semi-circle over R2.
See picture.

And finally, work a long line straight up the centre of his back to the back of the head.
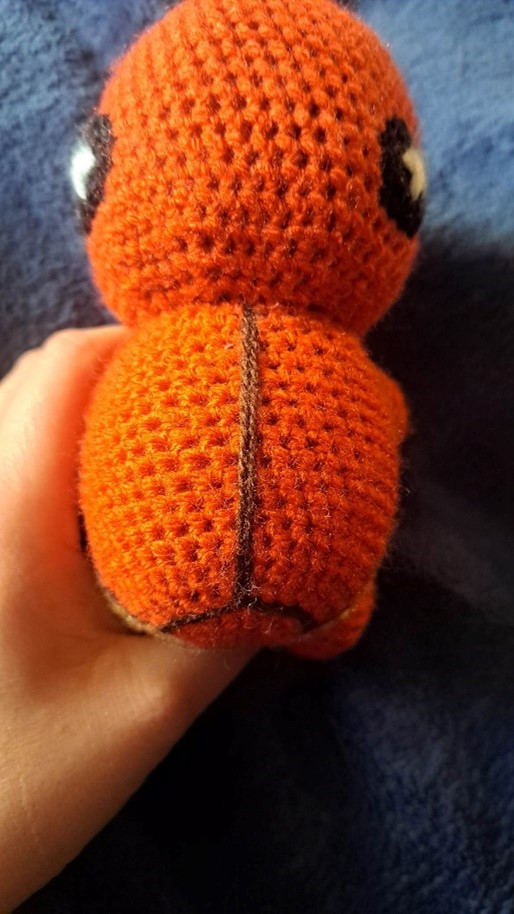
Then that’s it! You’re done!
Enjoy your new adorable Trapinch!
Just be careful of those jaws, they can really… pack a pinch.
(Sorry I’ll see myself out.)
STEP BY STEP VIDEO TUTORIAL
If you have any questions about this pattern, feel free to contact me.
This pattern is property of BlueFoxPaws. Please do not claim or resell this pattern as your own. You can sell the finished product as long as credit is given -BlueFoxPaws-.
Leave a Reply